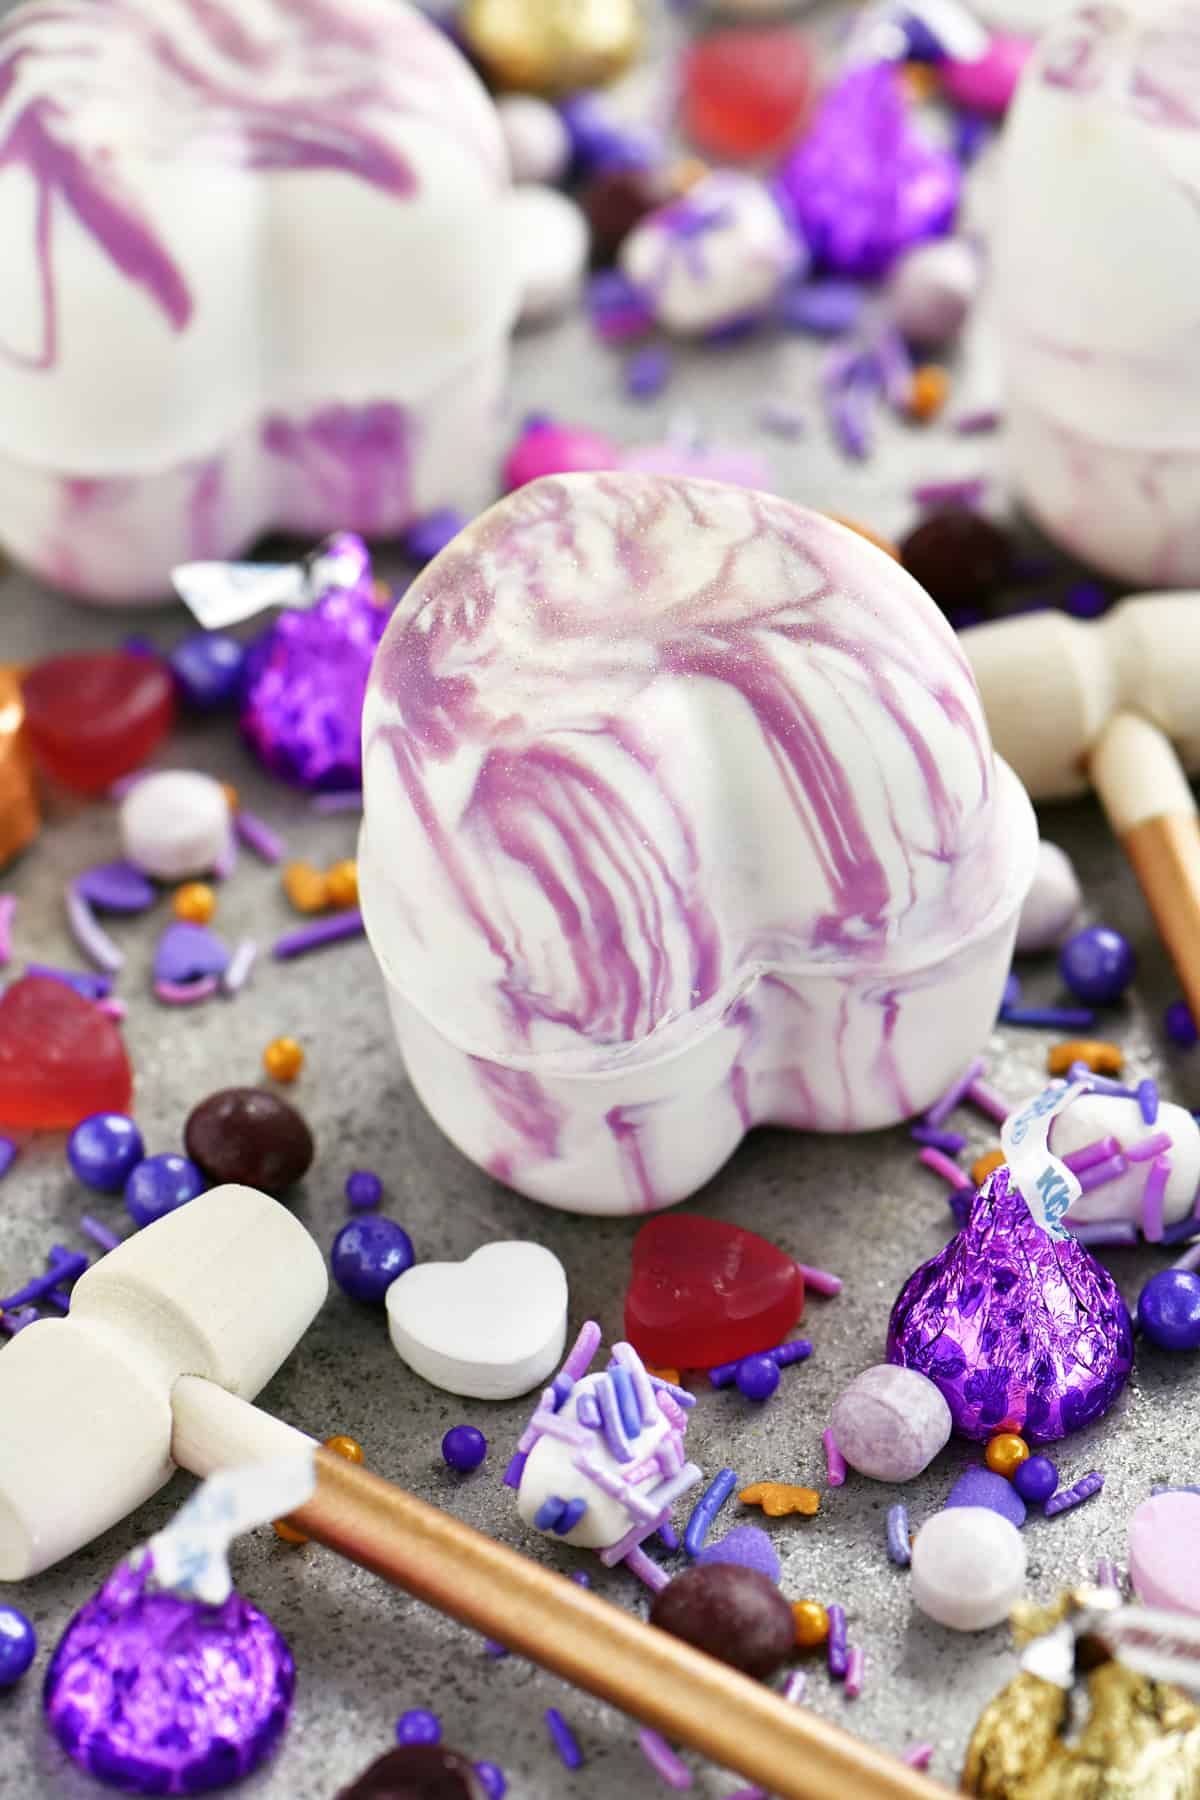
Breakable Chocolate Hearts are like edible pinatas filled with candy and sprinkles. Perfect for Valentine’s Day gift bags with a mini mallet.
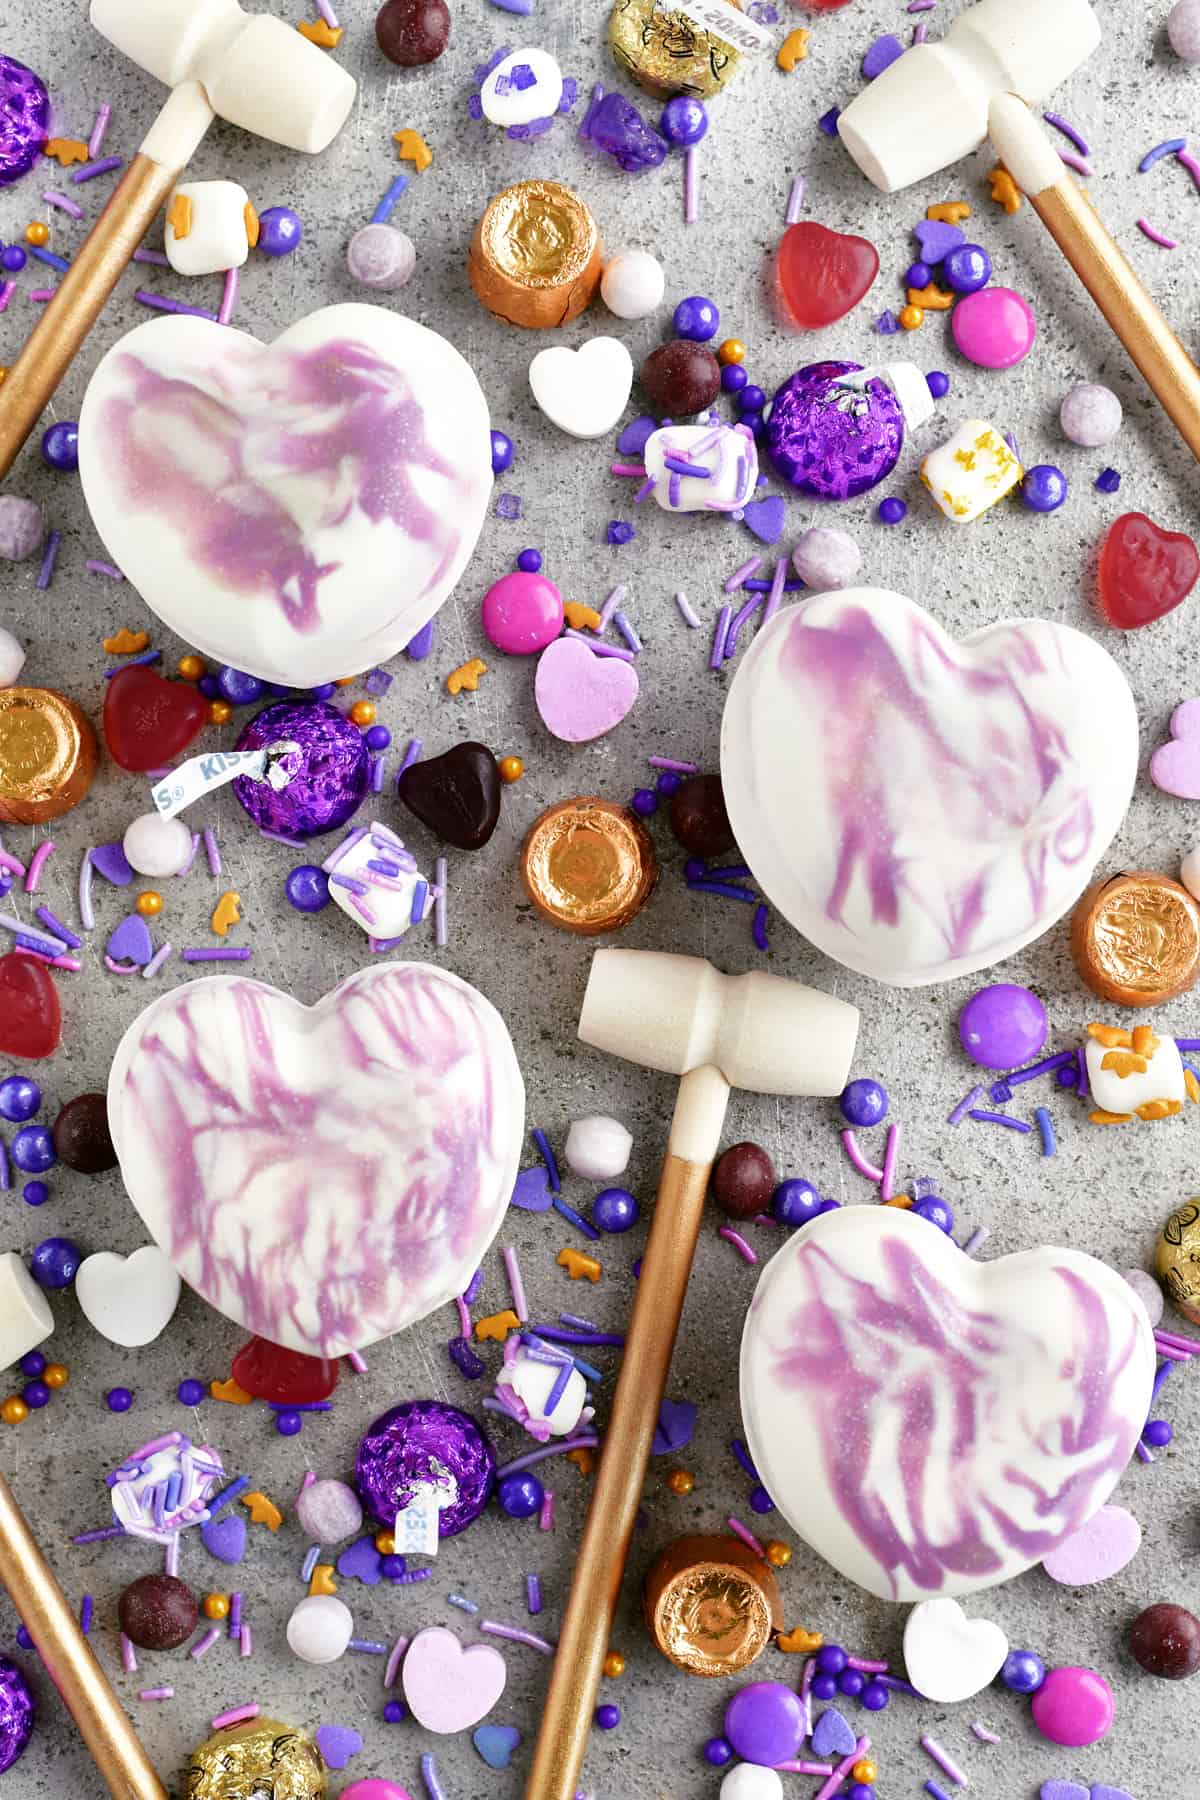
When I was making hot chocolate bombs for Valentine’s Day, I also made some of these super fun breakable chocolate hearts. They are filled with candy and sprinkles. Put the heart, mallet, and candy in little gift bags with a tag!
Table of contents
How To Make Breakable Chocolate Hearts
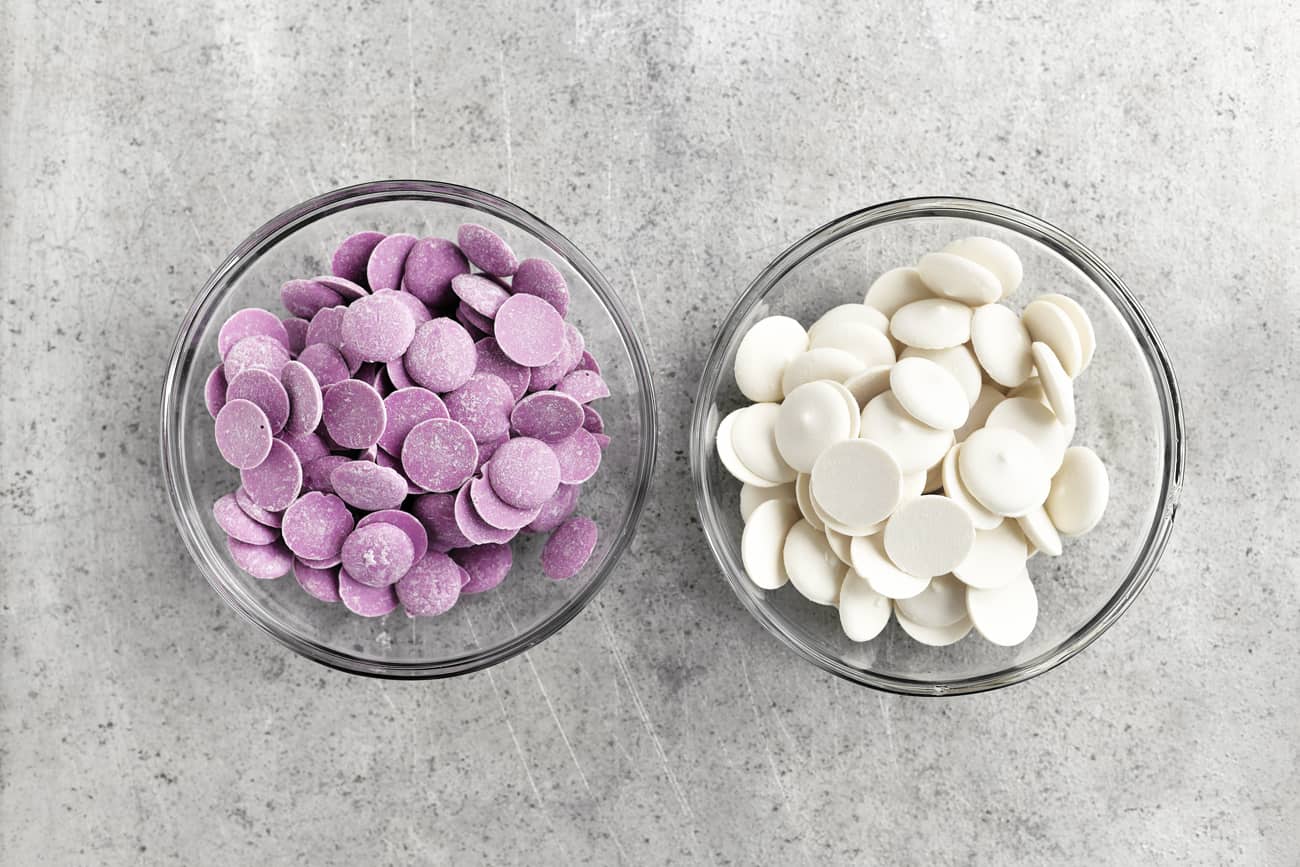
Start by putting purple candy wafers in one small, microwave-safe bowl and white candy wafers in another.
How To Use Chocolate Instead Of Candy Wafers
You can use chocolate wafers, almond bark, or even chocolate chips instead of candy wafers if you prefer. Here are some of the different options:
- A milk chocolate baking bar is milk chocolate in a bar form that is meant to be used in baked goods but it can be used for making breakable chocolate hearts. Follow the melting instructions on the package.
- Milk chocolate melting wafers are made from sugar, palm oil, milk, and cocoa. They are similar to the candy wafers I used but are chocolate flavored instead. Wafers are easy to melt and easy to work with.
- Couverture milk chocolate discs are milk chocolate in a disc form. They are made from cocoa butter, sugar, milk, and cocoa. It is top-of-the-line in terms of quality and price. This kind of milk chocolate is not as easy to work with and needs to be tempered when melted.
- Milk chocolate chips are perfect when baking since they hold their shape. If you do want to use them for these breakable chocolate hearts, you may need to add a teaspoon of shortening per 6 ounces of milk chocolate chips when melting them to make it smoother.
- For a lighter version, try using sugar-free milk chocolate chips. Follow the instructions on the package for melting the chocolate chips.
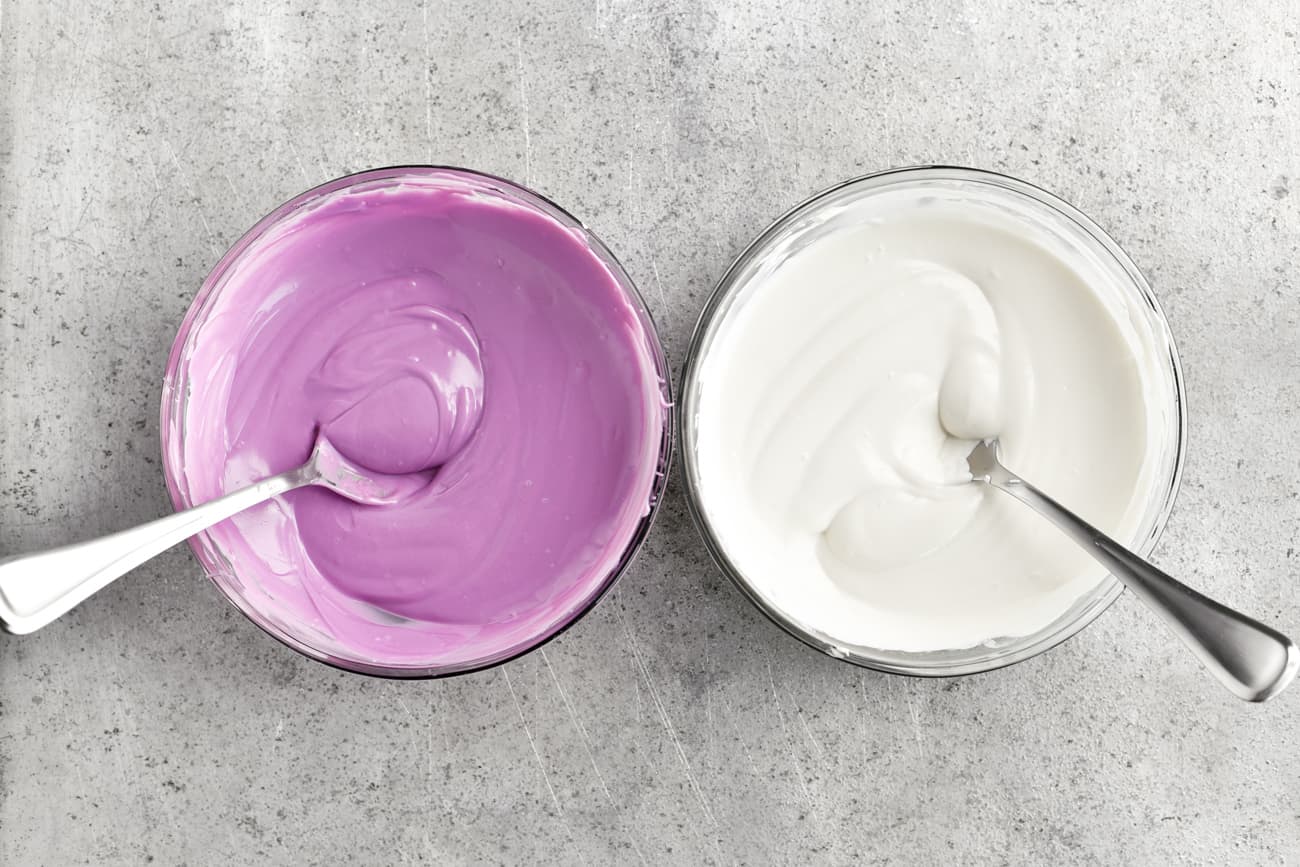
Warm the candy wafers in the microwave at 50% power for one minute and then stir. Continue warming them in the microwave at 50% power in 10-second intervals, stirring each time until smooth.
How To Melt Candy Wafers On The Stovetop
Using the double boiler method, you can melt the candy wafers on the stovetop instead of the microwave. Bring 1-2 inches of water to a simmer in a small pot and remove from heat. Place the candy melts in a glass bowl over the pot of hot water. Make sure the bottom of the bowl does not touch the water. Stir the candy wafers until smooth.

Drizzle the melted purple candy wafers in the heart-shaped silicone mold. Then, add a spoonful of melted white candy wafers to each cup of the silicone mold.
As you can see, I used all nine cups even though it is an uneven number. The extra heart can be used in the event that one of them doesn’t turn out or breaks when you remove it.
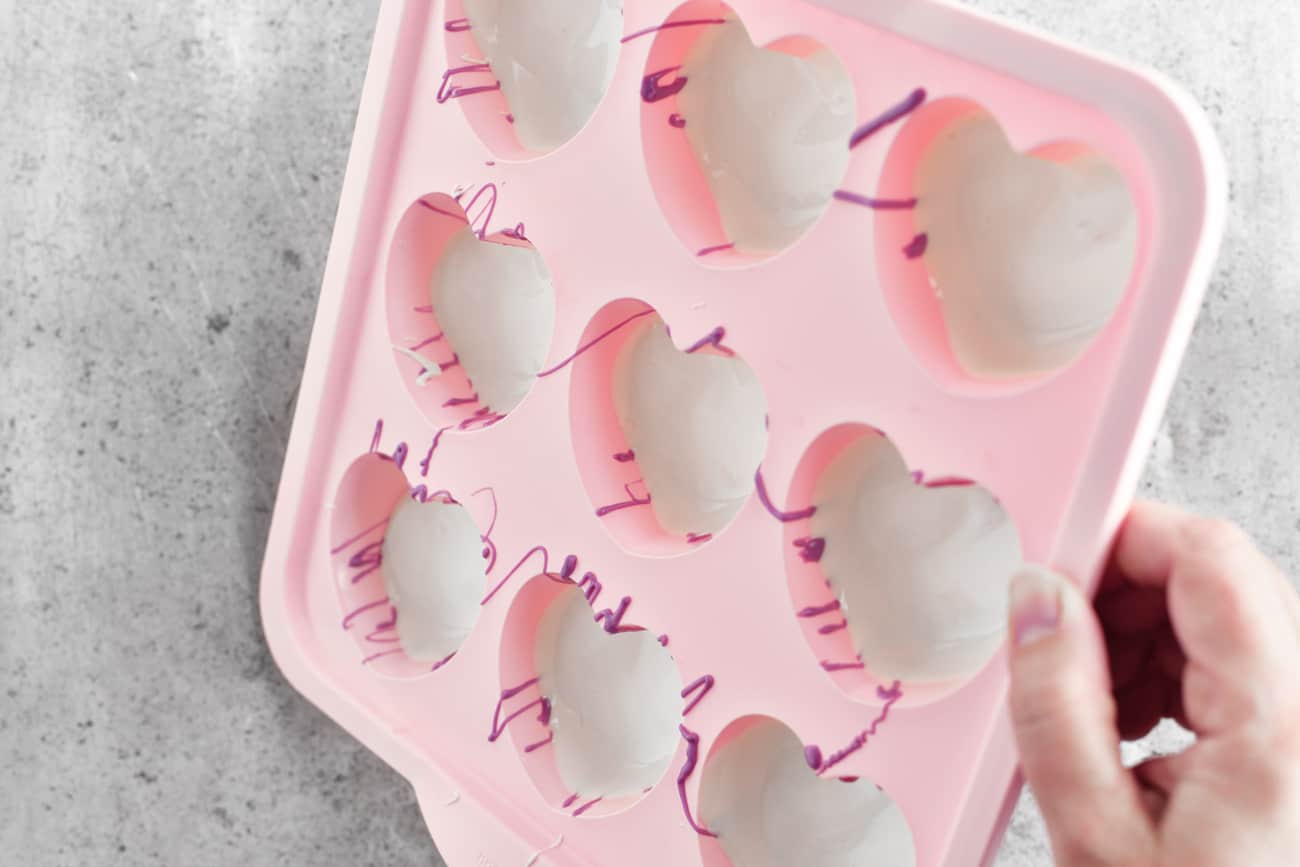
Tilt and turn the mold to allow the melted white candy to flow around the cups in the mold.
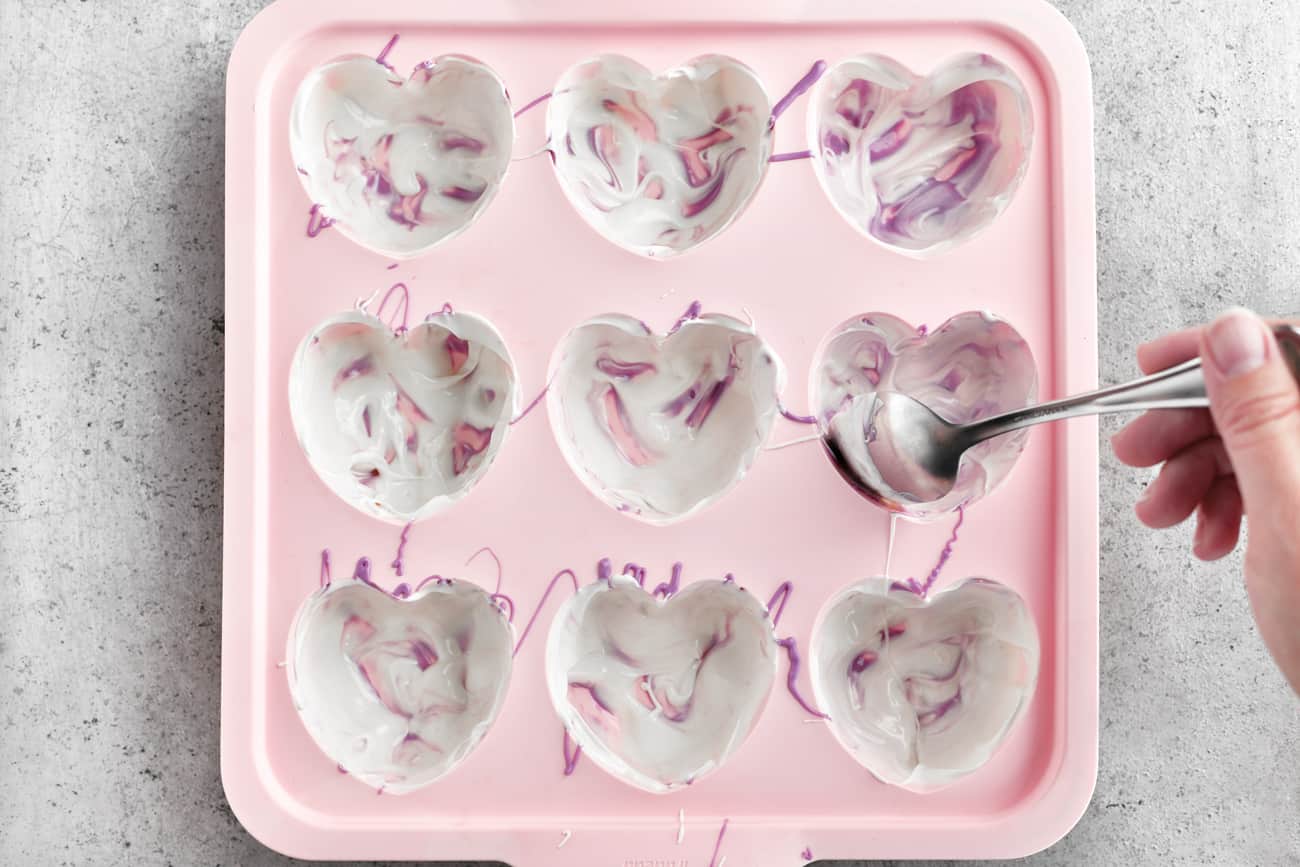
Use the back of a spoon to help coat the sides of the mold. Allow the candy coating to harden.
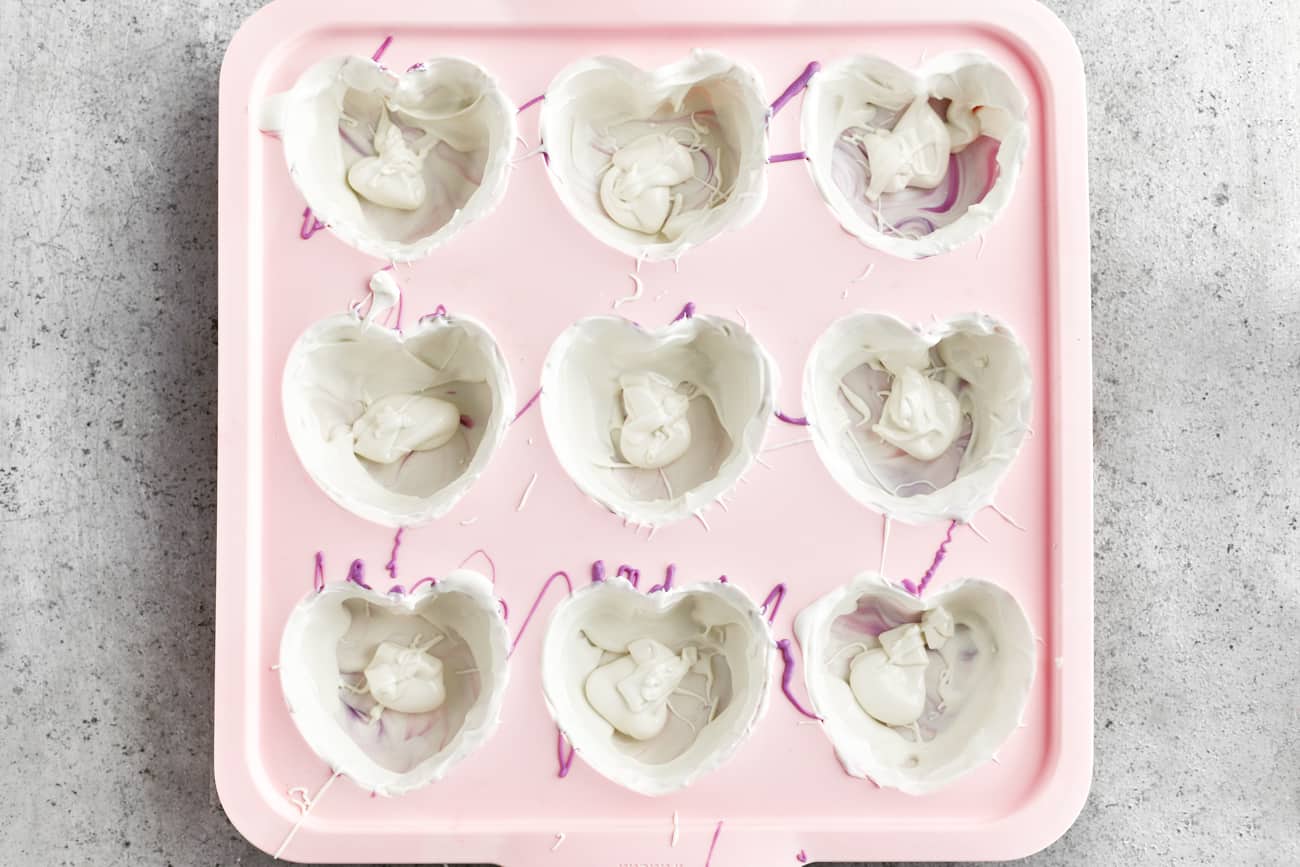
Remelt the white candy wafers in the microwave. Then, add a second layer to the breakable chocolate hearts in the silicone mold and allow it to harden.
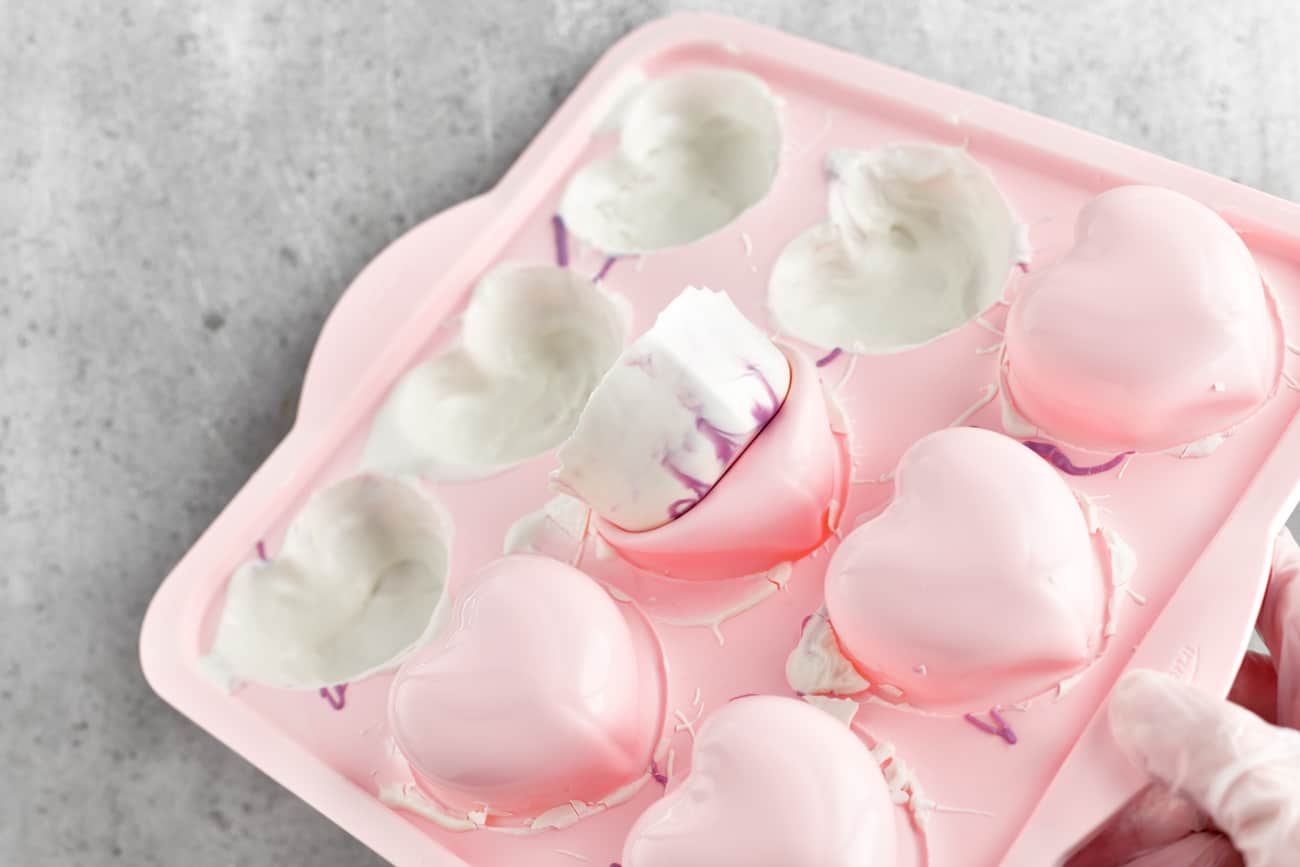
Remove the hardened, breakable chocolate hearts from the silicone mold. I like to wear disposable gloves when handling the chocolate hearts to help prevent getting fingerprints in the shiny coating.
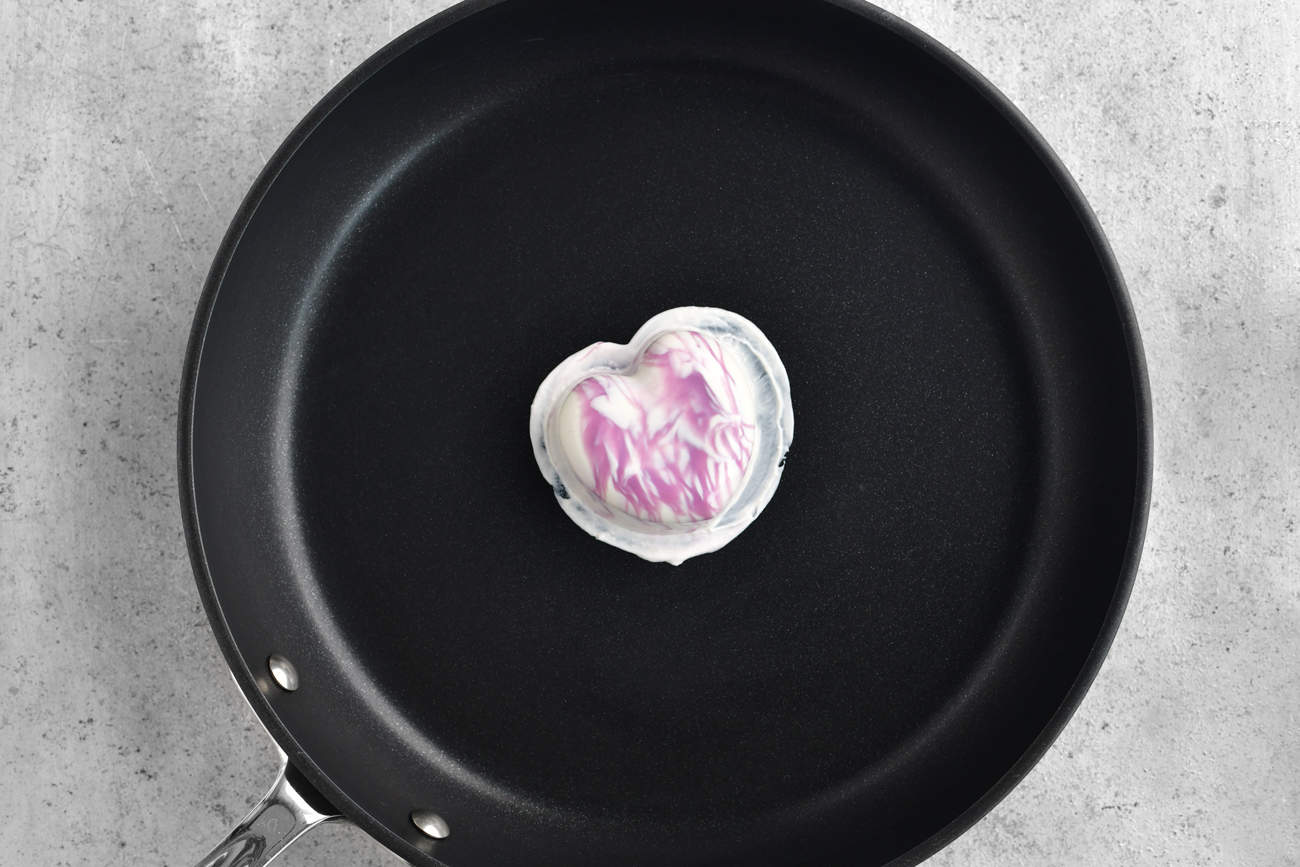
Warm a skillet over low heat and remove from heat. Rub the edges of a breakable chocolate heart on the warm skillet to smooth the edges.

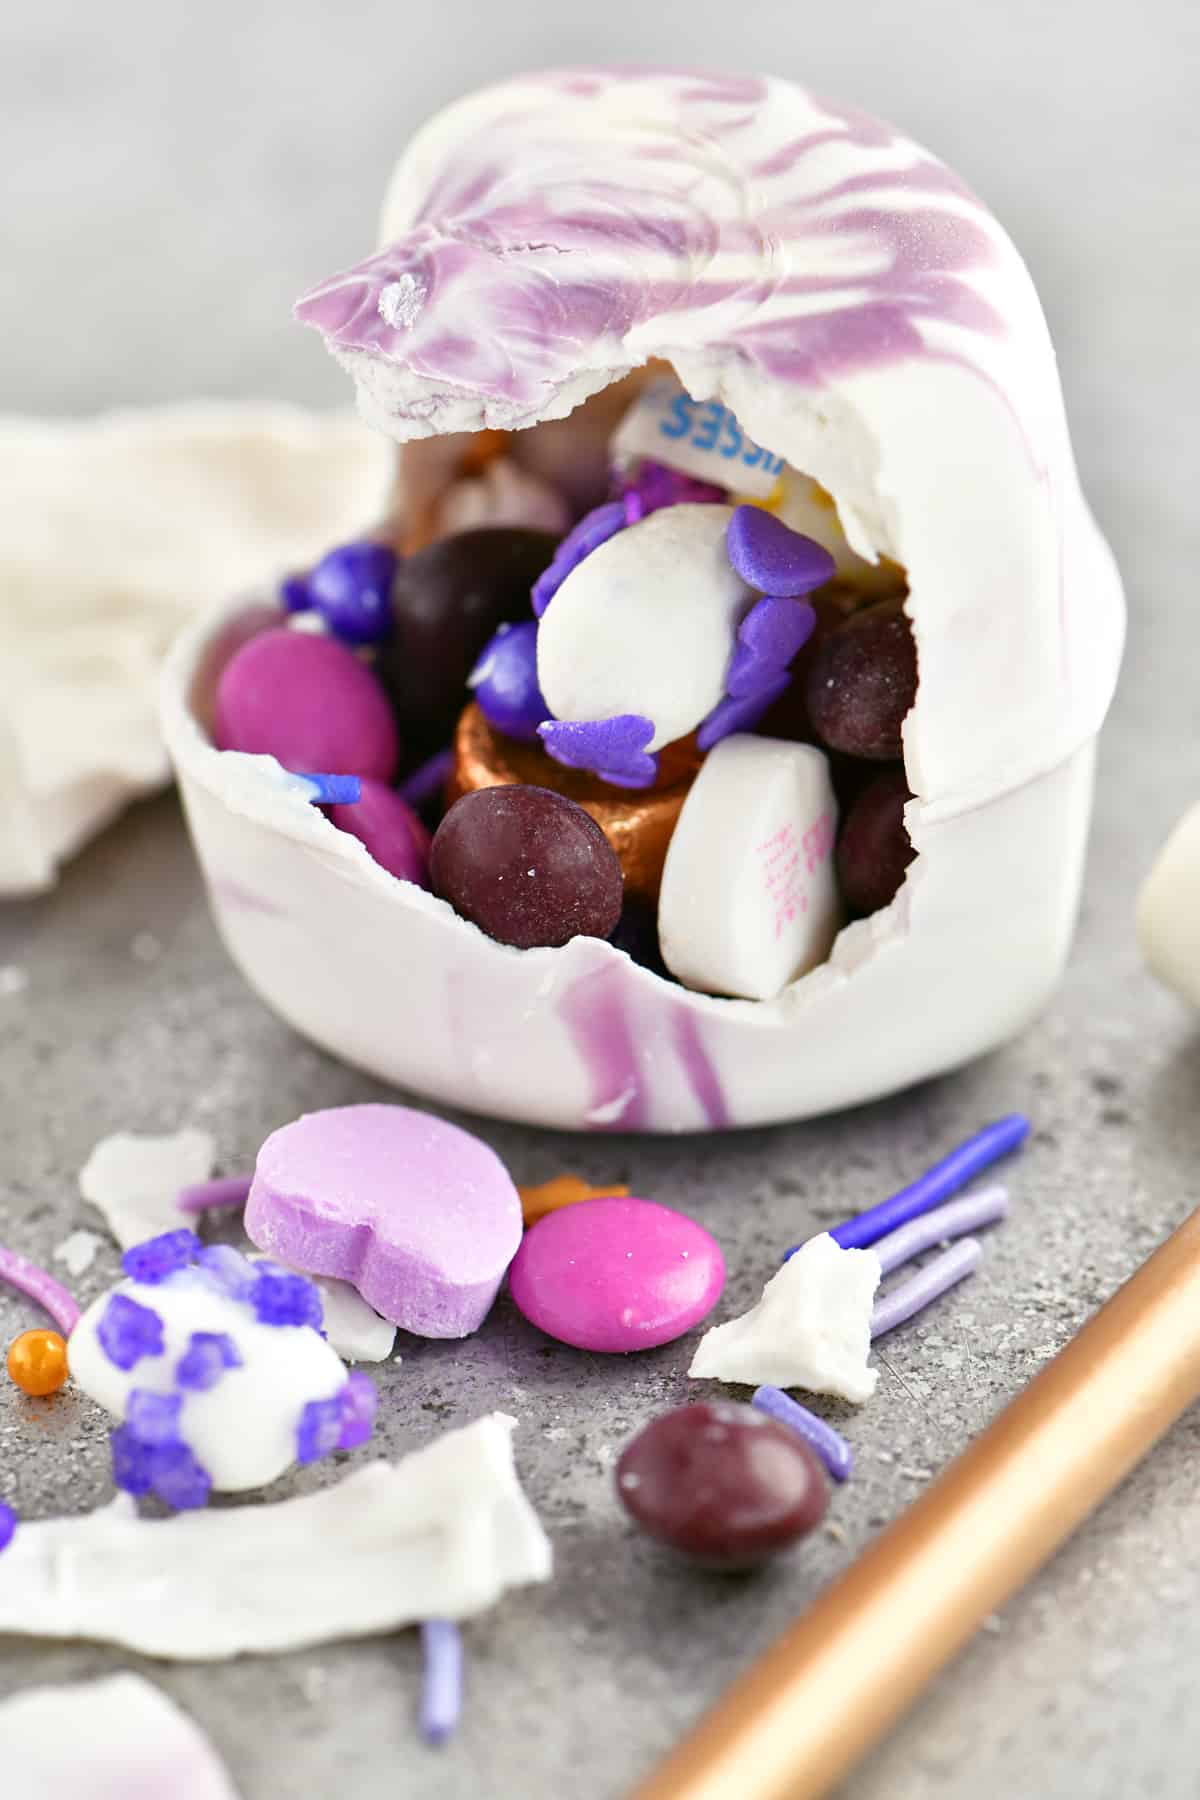
Fill one breakable chocolate heart with small, colorful candies, decorated marshmallows, and sprinkles. Be sure to choose candies that won’t shatter when someone breaks the mold with a mallet. Want to add marshmallows coated with sprinkles? Find my post on how to decorate marshmallows here.
Rub a second breakable chocolate heart on the warm skillet to smooth the edges, and then immediately place it on the filled heart. Use your fingertip to smooth out the seam.
How do I fill in tiny holes along the seam of the breakable chocolate hearts?
Sometimes, the seams don’t match perfectly, which is okay! Use the melted candy wafers left on the warm skillet (or still in the bowls) to fill in tiny holes. Put a little on a toothpick, the back of a spoon, or your fingertip, and smooth it over the hole.
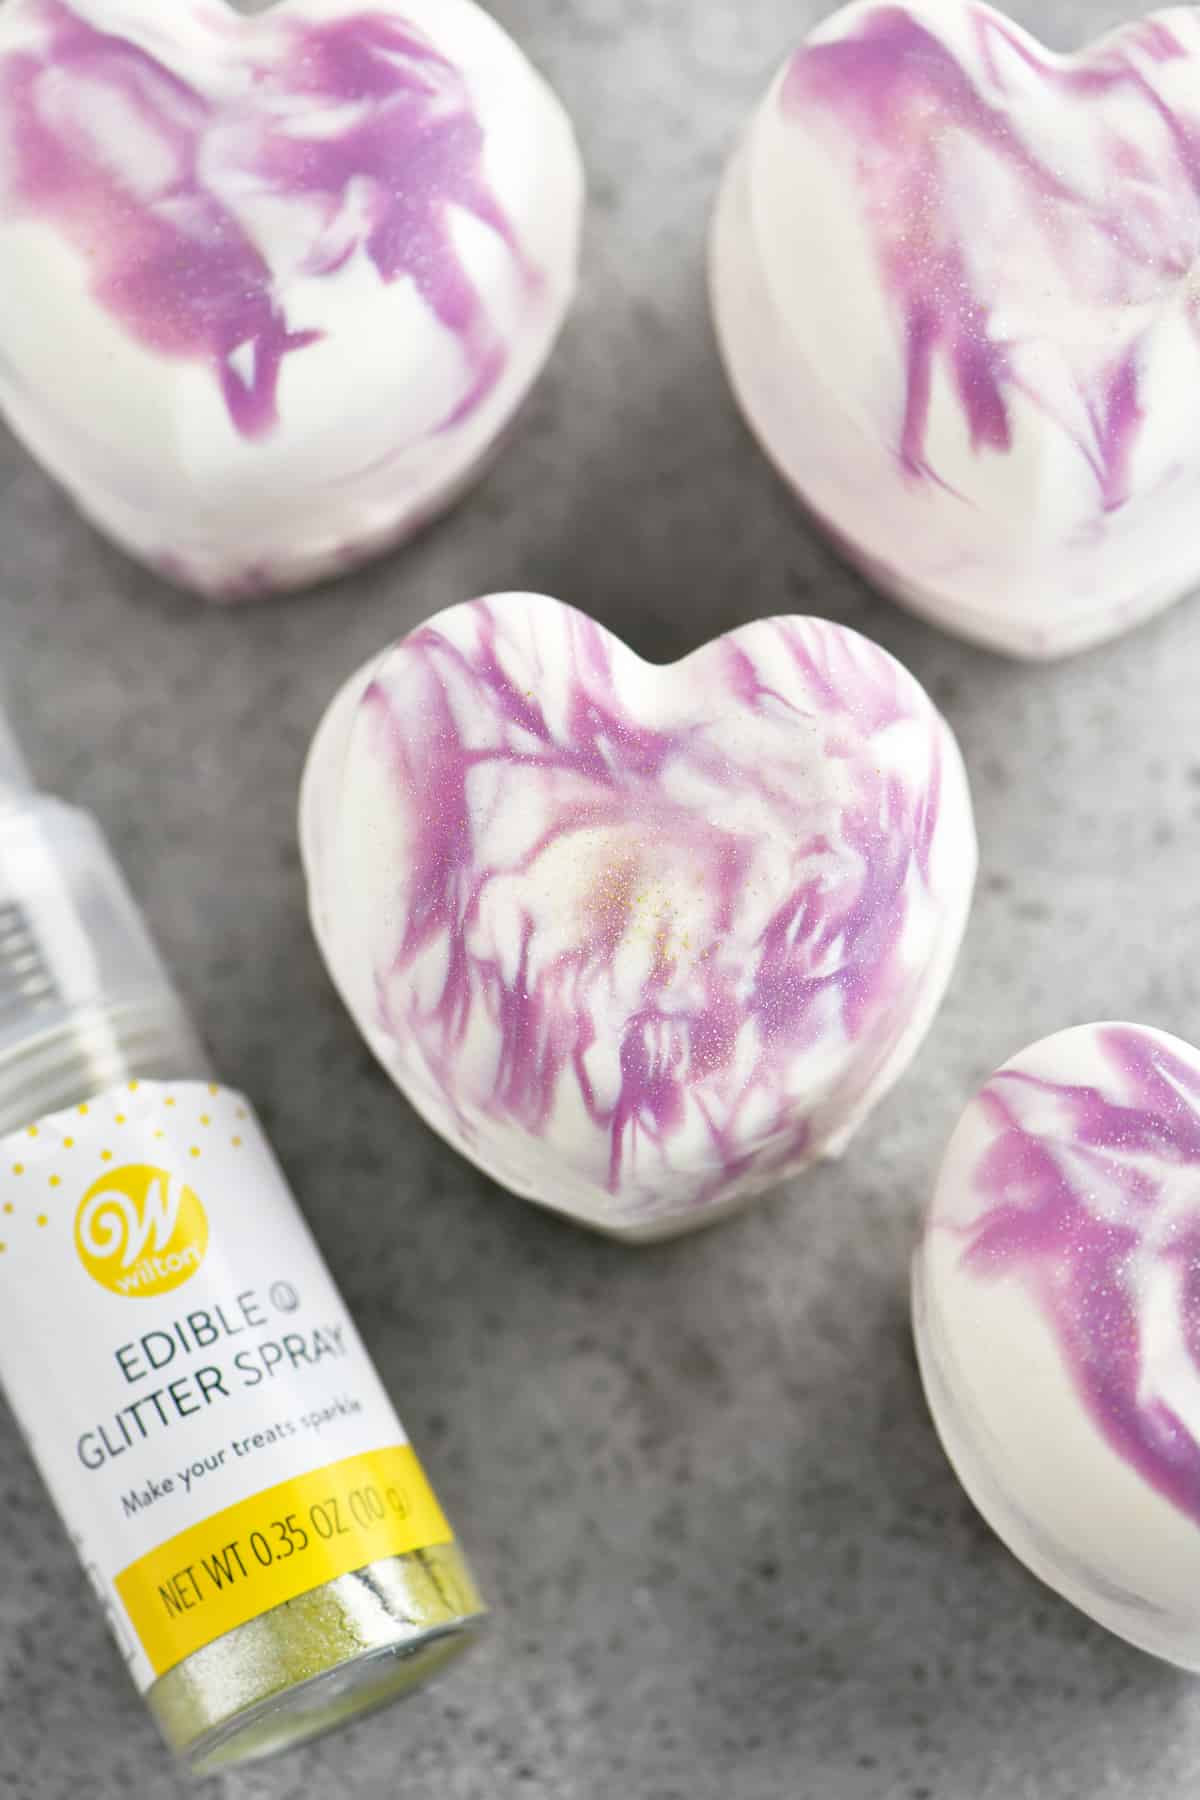
Use some edible glitter spray on the top to give the breakable chocolate hearts a little extra shine.

Put the edible heart-shaped pinata in a cellophane bag with a mini wooden mallet and some extra candy.
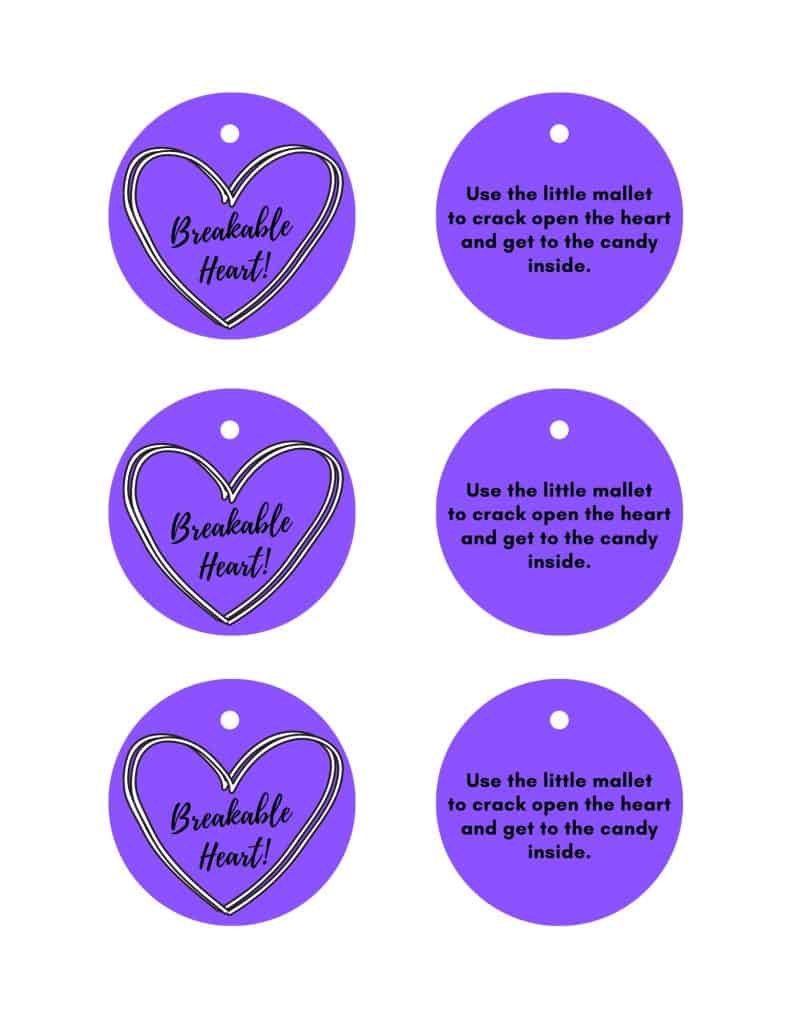
I made some printable Breakable Heart labels to add to the gift bags. You can download the labels here.
More Valentine’s Day Recipes
- Give Heart Shaped Hot Chocolate Bombs as gifts!
- Homemade Chocolate Covered Strawberries are a delicious treat.
- Red Velvet Hot Chocolate Cookie Cups are almost too cute to eat.
- Use these 25+ Valentine’s Day Ideas to make treat bags.

Breakable Chocolate Hearts
Equipment
Ingredients
- 4 oz purple candy wafers
- 8 oz white candy wafers
- 1 cup candy various kinds that won’t shatter
Instructions
- Put the candy wafers in two small microwave safe bowl. Melt in the microwave at 50% power for 1 minute and then stir. Continue heating at 50% power in 10 second intervals, stirring after each time, until smooth.
- Drizzle the melted purple candy wafers into the silicone mold. Top with a spoonful of the melted white candy wafers.
- Tilt the mold to allow the melted candy wafers to flow around the cups in the mold. Use the back of a spoon to fully coat the sides.
- Allow the candy coating to harden.
- Remelt the white candy wafers and add a second layer to the hearts.
- Allow the second layer to harden and then remove the hearts from the silicone mold.
- Warm a skillet over medium heat and then remove from heat. Rub the edges of a chocolate heart on the warm skillet to smooth the edges.
- Fill the heart with various kinds of candy that won’t shatter.
- Rub the edges of a second heart on the warm skillet and then immediately place it on the filled heart. Smooth out the seam with your fingertip.
Video
Notes
- My mold had nine hearts so I had one extra heart shaped cup. I like making the extra one in case one of the others breaks but you can only fill eight of the cups if you prefer.


Leave A Review