
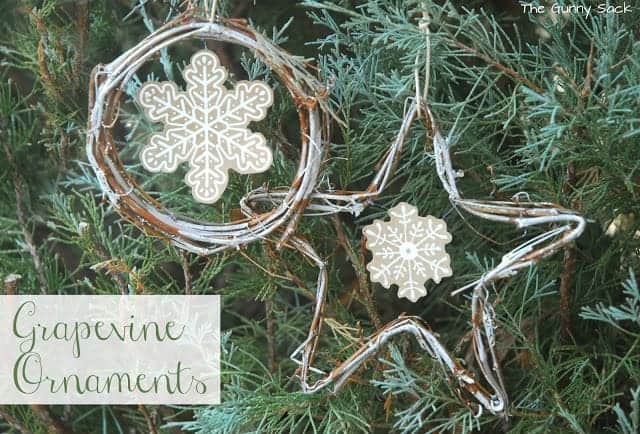
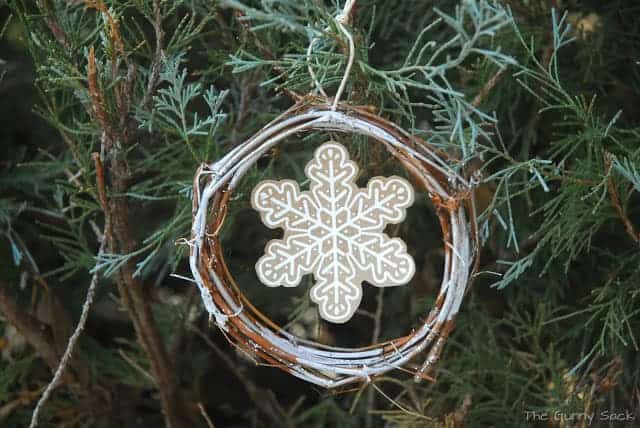
Are you ready for the start of the holiday season? With Thanksgiving next week and our first dusting of snow this week (it has already melted), I am getting excited! I decided to make Grapevine Snowflake Ornaments.
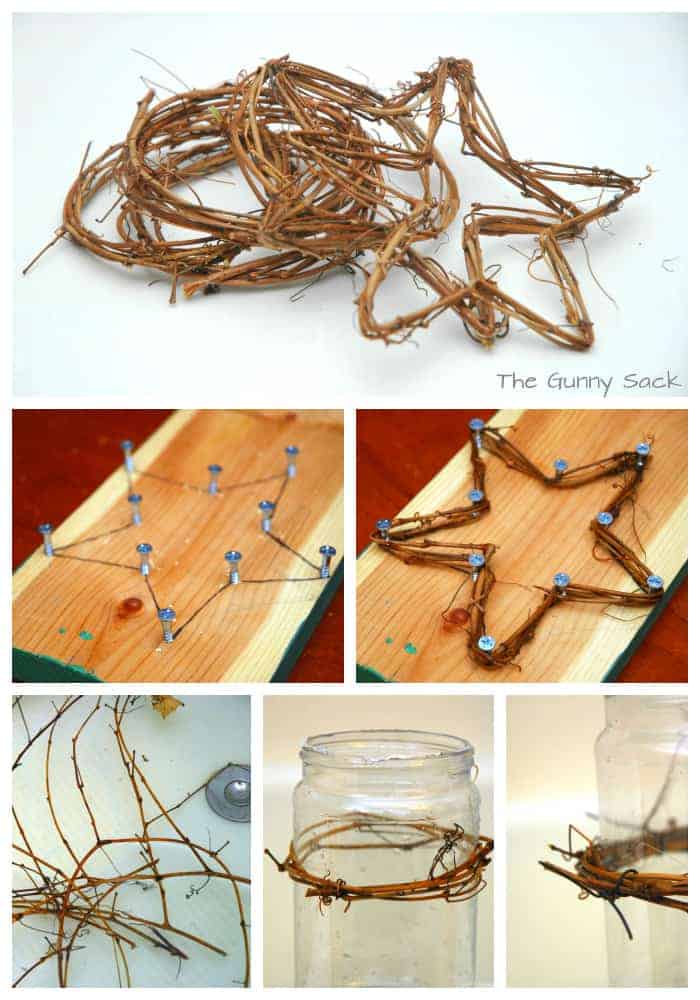
But I finally narrowed it down to making my own mini wreaths. I call the vine I used grapevine, but really it is just some weed that was growing in our bushes. I cut out a bunch of the vine and put it in my bathtub in water to soak overnight to make it pliable. To make the star shapes, I drew a star on a piece of wood and drilled in screws around the star.
Then, I just wound the vine around the shape. To make the circle wreaths, I wound the vine around a plastic jar and held it in place with a piece of wire before sliding it off to start the next one. I let the shapes dry for several days and then removed the screws from the board. Next, I used a hot glue gun as well as some brown thread to hold the shapes firmly together.
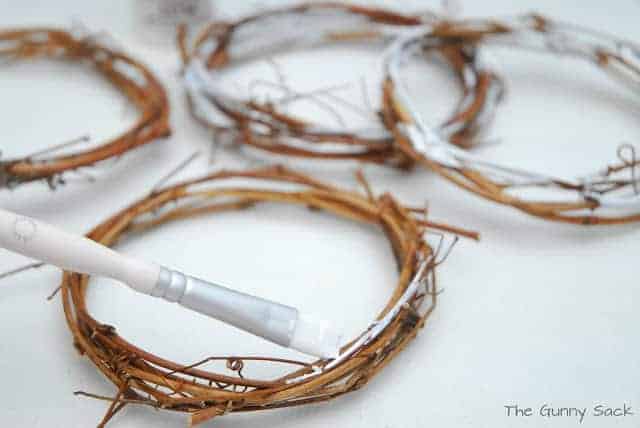
I used white craft paint to paint various parts of the ornaments randomly.
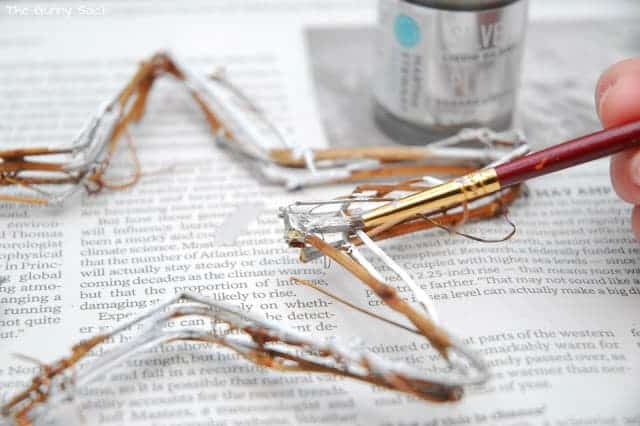
Next, I used silver paint and once again randomly painted the shapes.
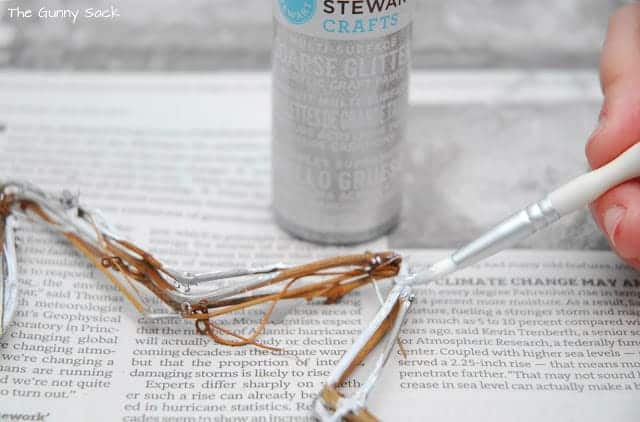
Finally, I added some sparkle with glitter paint.

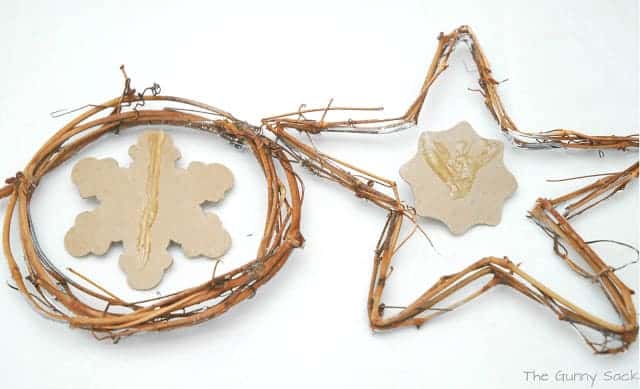
Now, I just needed to put the snowflakes into the vine shapes.
I attached a piece or pieces of fishing line to the ornaments and then hot glued the fishing line to the backs of the snowflake shapes.
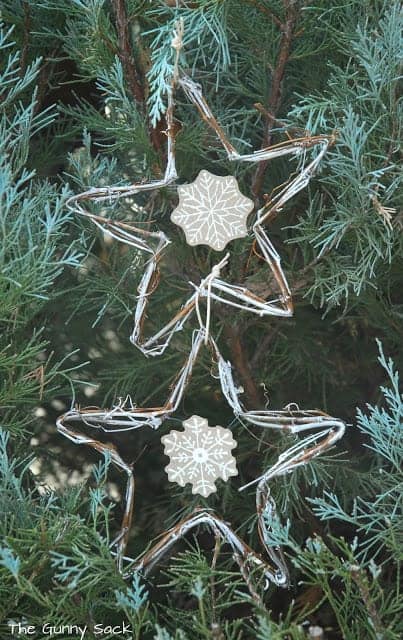
These could easily be made using premade grapevine shapes but it was fun to make my own!
Since we do not celebrate Christmas with a Christmas tree, these ornaments will be placed all around the house in windows and hanging from knobs.
Anne @ Domesblissity says
These look gorgeous Tonia.
Anne xx
Lindsay @ Delighted Momma says
Love these!! Such a great craft to do with the kids too!
Tonia L says
Thanks Lindsay!
Erin Fickert-Rowland says
That was a wonderful tutorial, and a very creative way to use the stencils and paint. I loved it!
Tonia L says
Thanks Erin! Your glasses turned out great too!
Ginger says
You made your own grapevine shapes!!?? You are so awesome!
Tonia L says
Awww…thanks Ginger!
Lyuba @ Will Cook For Smiles says
Girl! You are just too creative! This is an awesome craft, I need to find some grapevine.
Tonia L says
Thanks Lyuba! It was really easy to do!
Janel from NellieBellie says
so pretty!! Love this idea!
Tonia L says
Thanks Janel! I love how you used driftwood to make your centerpiece!
AnaMB says
great idea! I was thinking about making something similar since I’ve got A LOT of grapevine in my vineyard, but much larger in size 🙂
Tonia L says
My nieces and nephews made some large wreaths with their neighbor and they turned out great!