
My daughter needed a bag to haul her ice skates around in. Up to this date, she has been using a plastic grocery bag, and as you can imagine that wasn’t working so well. So, I thought I would make her a bag. I looked through the fabric that I had on hand and then found a bag that I already had to use as a pattern.
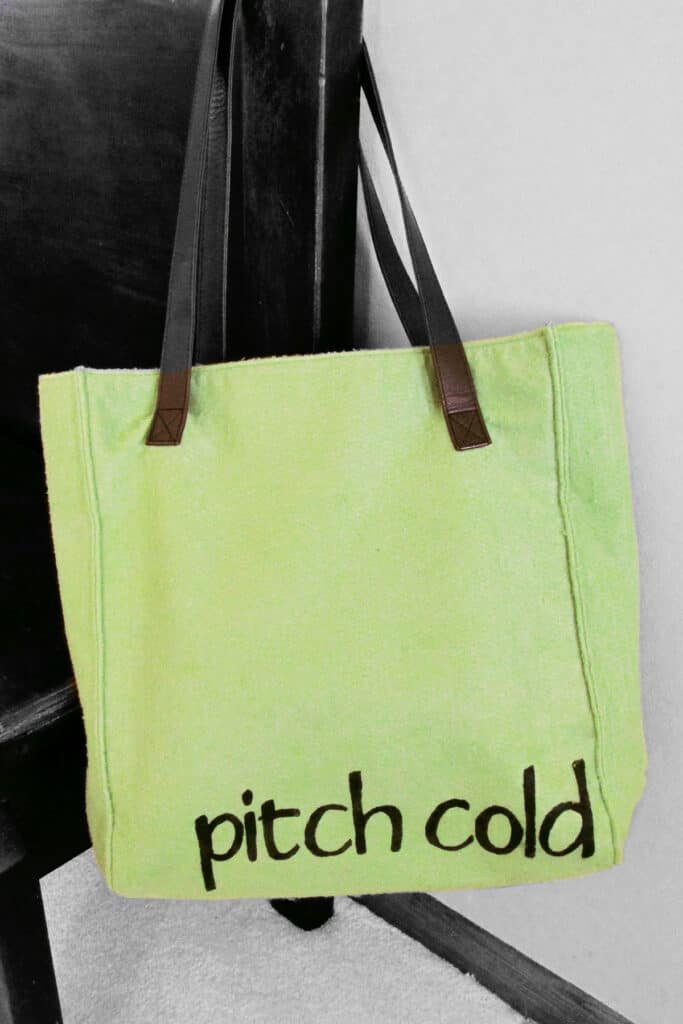
But once I got back to my sewing room, I thought, “Duh, why not save myself some time and just use the bag I already have!” The only problem was that the bag was very plain. So, I decided to do some freezer paper stenciling. After giving some thought to what I should stencil, I decided on “Pitch Cold”.
When my daughter was very young, she was leaving grandpa and grandma’s house, at night, in the winter. She jumped into the car where it was really cold and shivering she stammered, “Da..Da..Dad, it’s p..p..pitch cold out!” She mixed together pitch dark and freezing cold. So, that is what went onto the bag.
In case you have never tried Freezer Paper Stenciling, I will show you how I did it, with my *FIRST* tutorial.
Items Needed:
Cloth to Stencil On
Freezer Paper
Computer & Printer
Iron & Ironing Board
Fine Tip Marker
X-Acto Knife
Piece of Cardboard
Fabric Paint
Paint Brush
Newspaper
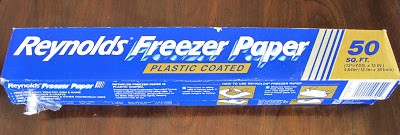
You can buy Freezer Paper (one side of the paper and one side plastic coated) at stores like Walmart with products like waxed paper, parchment paper, and aluminum foil. It looks like this (except not so well-loved):
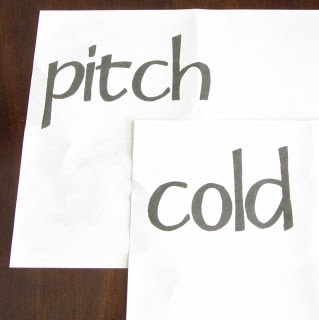
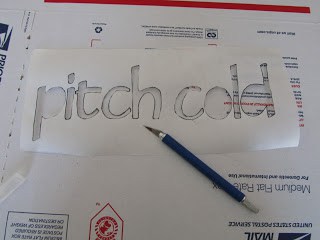
Using Microsoft Word, I chose a font called “the Blue Cabin” which I bumped up to 200pt. I had to change the page layout to landscape and it printed out on 2 pages.
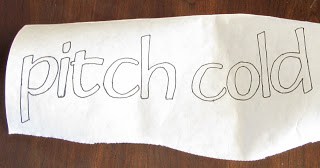
Next, tear off a piece of freezer paper for the size project you will stencil. I needed a long, skinny piece. Place the Freezer Paper PLASTIC COATED (shiny) SIDE DOWN on top of the image you printed. (I taped my 2 pieces of printed paper together to keep them from sliding around). Using a fine-tip marker trace the image onto the PAPER SIDE of the Freezer Paper.
Place the Freezer Paper onto a piece of cardboard or other cutting surface and cut along the lines with your X-Acto knife. Keep in mind you will need the inside pieces like the circle inside the letter “O” so don’t destroy them while cutting.
Heat your iron to the highest setting. Put your fabric on your ironing board and place the Freezer Paper stencil PLASTIC COATED (shiny) SIDE DOWN against the fabric. Iron it onto the fabric briefly. Put any inside pieces in place. I had to up the circles from the letters “P” “O” and “D” inside the letters. Iron all of the pieces briefly. Make sure everything is completely attached, if not iron some more.
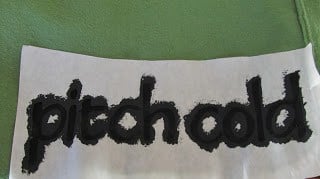
Next, put newspaper between fabric layers, if needed. I put newspaper inside the bag so the fabric paint won’t soak through. Using your paintbrush fill in the stencil with fabric paint.
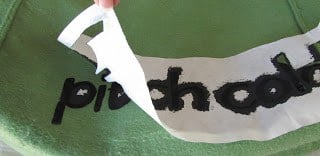
It will be tempting to peel it off immediately but you have to let it dry first!! Or if you are impatient like me, grab your hair dryer to speed things along. Once dry, peel the freezer paper off.
Follow the directions for your fabric paint to heat set the paint. Usually, you just put a piece of fabric over the painted area and briefly iron it with a hot iron.

beckybiddle says
This is a fantastic idea! I have used freezer paper as a pattern to cut out fabric for quilting, and to stiffen fabric (from the back) for painting on it, but never thought to use it to stencil! Thanks for the great idea!