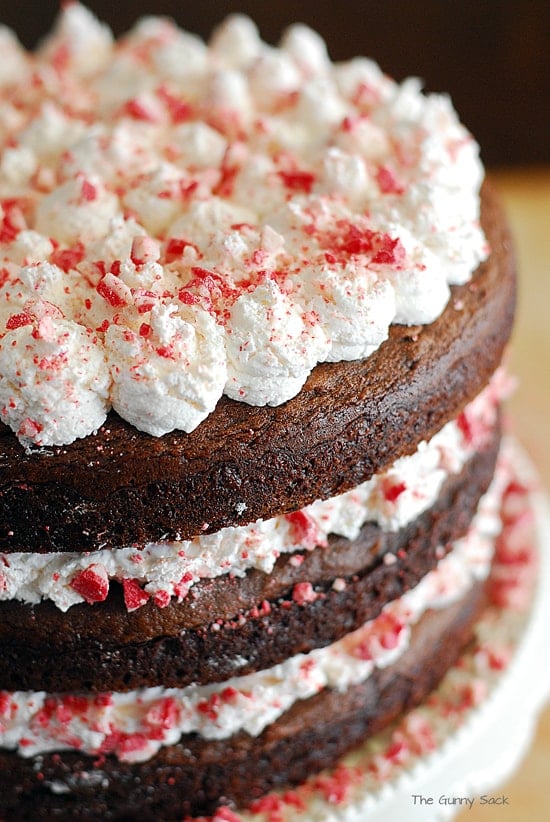
Chocolate and peppermint are the perfect combination for holiday desserts! This Chocolate Peppermint Torte recipe is a layer cake filled with peppermint cream frosting.
With Christmas just around the corner, it is time for a holiday version of one of my favorite desserts: a torte (or cream filled layer cake). There were a few flavors that I was trying to choose from: chocolate truffle, eggnog or peppermint.
I went with peppermint because it has been a peppermint kind of holiday season for me. Plus, Baker’s Square makes a Peppermint Silk Pie that is really good and I wanted to make a filling that reminded me of that pie.
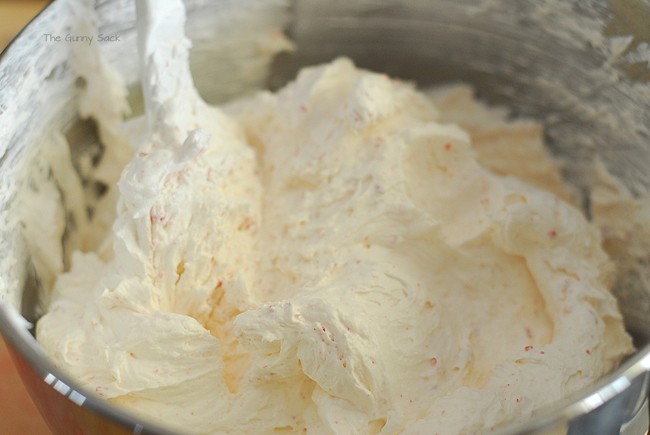
This is the filling that looks like the peppermint pie. In fact, you could just mix up this filling and put it in a graham cracker pie crust and have a Peppermint Silk Pie!
To make this Chocolate Peppermint Torte, start by making the cakes. Mix together a chocolate cake mix, chocolate hazelnut spread, oil, eggs, and milk. Grease three 9 inch round pans and line the bottom with a circle of parchment. Divide the batter into the three pans and bake at 350 degrees for about 15 minutes. Allow the cakes to cool for 15 minutes and then flip them over on a cooling rack, peel off the parchment and flip them right side up again to finish cooling.
To make the peppermint filling, beat one package of softened cream cheese. Add powdered sugar, marshmallow cream, finely chopped peppermint crunch pieces (I used Andes Peppermint Crunch), and peppermint extract. Stir in one large container of Cool Whip by hand.
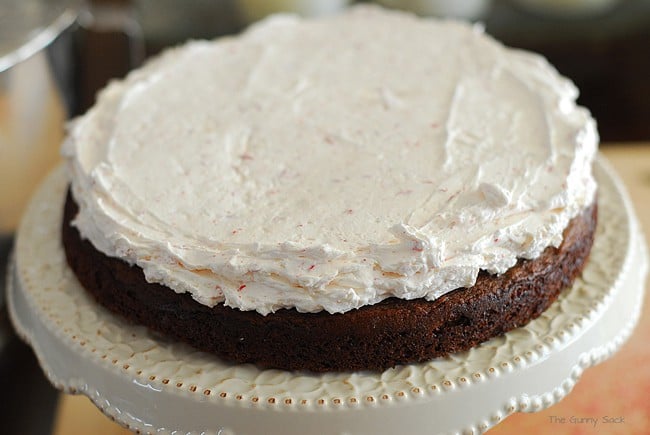
Place one cake round on a cake stand and top it with one-third of the peppermint cream filling. Add another cake and another third of the peppermint cream filling.
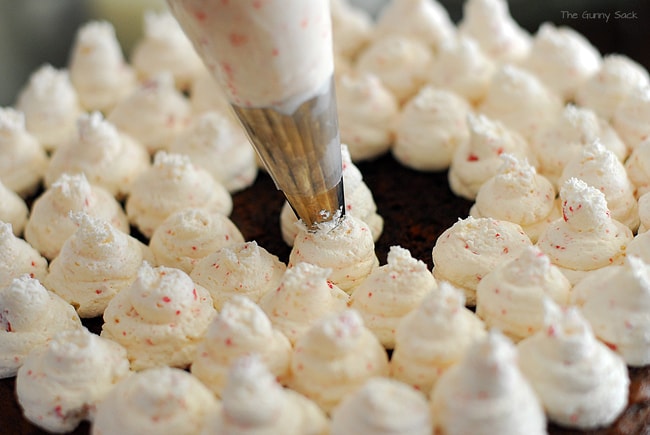
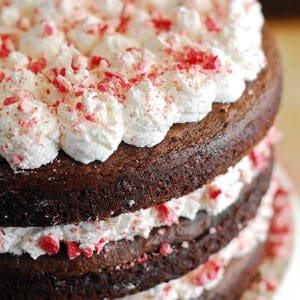
Top with the final cake and using a large tip, pipe dollops of peppermint cream frosting over the top.
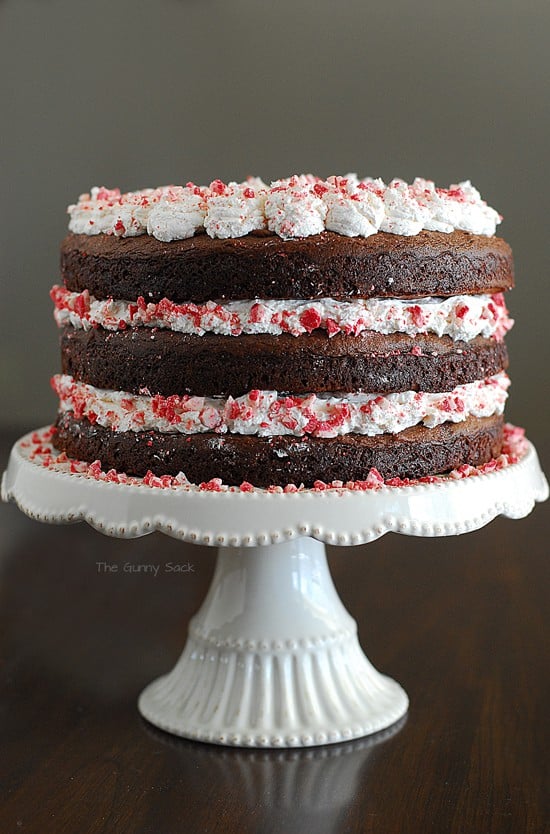
Sprinkle with more of the peppermint candies and press some of the candies into the peppermint cream layers.

My biggest problem (besides wanting to eat too much of the cake) is figuring out how to transport these tortes so that they arrive in one piece! Luckily the peppermint cream filling is pretty sturdy so it holds the cake in place!

Cut yourself a slice of Chocolate Peppermint Torte, grab a cup of coffee and spend a few minutes to enjoy the season!
Chocolate Peppermint Torte
Ingredients
Cake
- 15.25 ounce chocolate cake mix
- ½ cup Nutella
- ½ cup milk
- ⅓ cup vegetable oil
- 4 large eggs
Peppermint Cream Filling
- 8 ounce block cream cheese softened
- 1 cup powdered sugar
- ¾ cup marshmallow cream
- 2 teaspoons peppermint extract
- 16 oz Cool Whip
- ¾ cup finely chopped peppermint candies like Andes Peppermint Crunch
Garnish
- ¼ cup finely chopped peppermint candies like Andes Peppermint Crunch
Instructions
Cakes
- Preheat the oven to 350˚F. Mix together chocolate cake mix, chocolate hazelnut spread, oil, eggs, and milk.
- Grease three 9 inch round pans and line the bottom with a circle of parchment. Divide the batter into the three pans.
- Bake at 350˚F degrees for about 15 minutes.
- Allow the cakes to cool for 15 minutes and then flip them over on a cooling rack, peel off the parchment and flip them right side up again to finish cooling.
Peppermint Cream Filling
- Beat softened cream cheese.
- Add powdered sugar, marshmallow cream, finely chopped peppermint crunch pieces (you can chop up any peppermint candies) and peppermint extract.
- Gently stir in whipped topping by hand.
Assembly
- Place one cake round on a cake stand and top it with one third of the peppermint cream filling.
- Add another cake and another third of the peppermint cream filling.
- Top with the final cake and using a large tip, pipe dollops of peppermint cream frosting over the top.
- Sprinkle with more of the peppermint candies and press some of the candies into the peppermint cream layers.


Rachel says
I made this for the second time today. The first time was flawless, but today the frosting/filling was runny. I am thinking this was because the whipped topping was not totally thawed and I ended up whipping it too much. I added a bit of powdered sugar and it’s a little more like fluff. I can’t imagine anyone is going to complain about that. Ha. It tastes fantastic, but doesn’t look as pretty. Oh well.
Diana Treese says
Making for our Christmas dessert this year. I am just wondering if one cake mix is enough to make three layers?
Tonia says
Hi Diana,
I wanted the cake layers to be thin if you want thicker cakes you can double the cake mix, nutella, milk, oil, and eggs and cook for a longer time.
Merry Christmas!
~Tonia
Diana Treese says
Thank you, merry Christmas!
Marie J. says
This torte was delicious. Followed exactly except used crushed candy canes and not the Andes candy. Was a big hit with everyone. Will be a new Christmas dessert tradition. Many compliments. Was easy to follow. No problems with the frosting. Thank you for sharing.
Barb says
Do you ever make the cakes or brownies from scratch? I don’t use mixes as I have family members who react badly to some of the chemicals used to add shelf-life. Same goes for Cool-Whip. Can real whipped cream be substituted:?
Tonia says
Yes, you can use homemade cake and real whipped cream! Enjoy! ~Tonia
Joni says
I’ve made this three times already, once for work, once for home and once to take to some friends, and it’s been a showstopper each time. It looks and tastes delicious.
Carmen says
Made this yesterday for some friends and they said it was great. A note though, I don’t think it’s a good “day ahead” sort of desert because the filling will de-floof and bit and (if you are like me) and put the candies on top they will melt. So, I’d totally make it again (in fact, I am going to for Christmas tomorrow with the family) but I’d do it the day of and wait to garnish at the end. It does travel really well though!
Now, if I can only get it to LOOK like that!!! *sigh*
Tonia says
Hi Carmen,
I’m glad they enjoyed it! Best of luck on your second go-round for Christmas.
Merry Christmas!
~Tonia
Megan Smola says
I’m not sure what you did differently than your instructions stated, but something was clearly different. I just made this for our Christmas dinner that we celebrate on Christmas Eve and the whipped frosting looked like slop. It is runny and looks horrible. I followed the instructions precisely. Wish I had made a backup dessert bc now I have to throw this in the trash.
Tonia says
Oh no Megan! I’m so sorry to hear that it didn’t turn out for you. Did you use an 8oz Cool Whip? Was your cream cheese warm/hot? Did you add the Cool Whip with your mixer? Those are all things that I can think of that would make it runny.
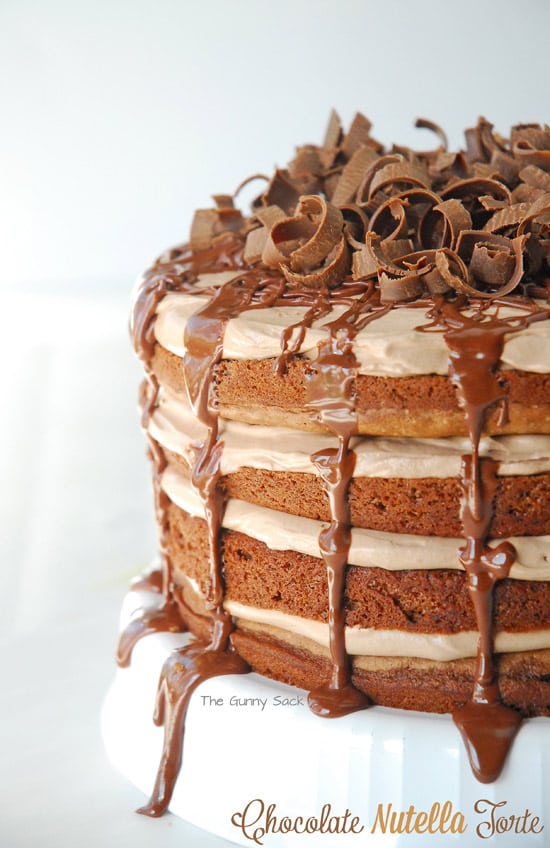
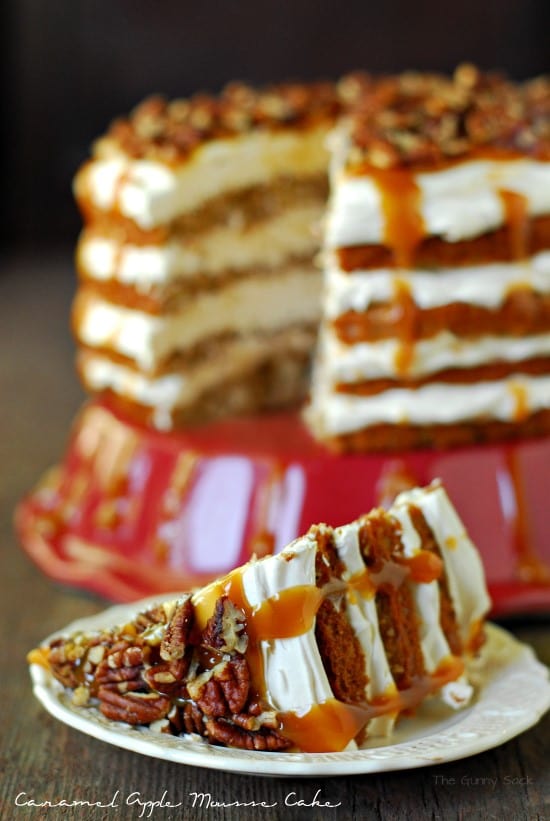
I’ve made almost this exact same filling for many different cakes by just changing the marshmallow cream part of this recipe and it always turns out. If you see something different in these instructions, please let me know and I will update this recipe for everyone. I used chocolate Whips in my peanut butter pie filling: http://www.thegunnysack.com/2013/07/peanut-butter-pie-recipe.html and caramel ice cream topping in my caramel apple mousse filling: http://www.thegunnysack.com/2013/10/caramel-apple-mousse-cake.html and Nutella in my Nutella chocolate torte: http://www.thegunnysack.com/2013/05/nutella-chocolate-torte-recipe.html
Samantha says
My hubby is allergic to hazelnuts. Is there something I can replace that with or should I just leave it out. I’m making this for a dinner party.
Tonia says
Hi Samantha,
You could use Hershey’s Spreads like I did in this post: http://www.thegunnysack.com/2013/12/rocky-road-cheese-ball-recipe-for-chocolate-dip.html I’m not sure who allergic he is but I’m guessing the Hershey’s Spread was made in a factory with nuts. Or you could make it without the spread somewhat like this recipe: http://www.pillsburybaking.com/recipes/details/5294 Happy Baking!
~Tonia
Lindsay @ Life, Love and Sugar says
What a beautiful cake Tonia! That peppermint cream sounds to die for! Pinned!
Maysem says
Oh my goodness!! This looks absolutely AMAZING!!! I’m thinking I’m going to make it this weekend for a party I’m going to… what better excuse! 😉
Nibbles By Nic says
WOW! Loving this cake Tonia! New fan! Thanks for sharing 🙂
Tonia says
You are very welcome and I am delighted to have you on board!
Amanda says
Judi shared your site with me and I am glad she did! Your recipes and photography are so lovely. Great writing too! I am looking forward to reading more! 🙂
Tonia says
Fantastic! I’m so happy you stopped by and I look forward to getting to you know better.
Katrina @ In Katrina's Kitchen says
You nailed this recipe! I just really want to reach in and grab a slice!!
Tonia says
Thanks Katrina! I wish I could send you a piece!
Anna Bennett says
Tonia,
All those cakes looks so YUMMMMMY ………
Tonia says
Thanks Anna!
Faith says
Ooo! Looks delicious! I just wanted to check with you about including the hazelnut spread with the chocolate cakes…what does this add to the cake?? Is it a necessary part of the cake’s moisture??
Tonia says
Hi Faith,
I’m not exactly sure. I think the extra eggs and the added moisture are what make the cake more dense and help it hold up as a layer cake but that is just a guess. When I made the apple cake and a pumpkin torte, I added apple sauce or canned pumpkin so I wanted to add something in place of those things. I’m sure the cake would be delicious without the spread but you might have to add less eggs.
Happy Baking! ~Tonia
Anita says
I just want to say that those pictures of your cakes are wonderful. They (especially your Chocolate Peppermint Torte) look like they belong on a gallery wall!
Tonia says
Thanks Anita! You are so sweet! If I had time today, I would drop a piece of cake off at your house!