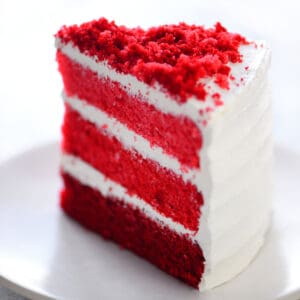
This Sweetheart Cake recipe has three layers of cake in various shades of red with a whipped frosting and pretty cake crumbles on top. It’s perfect for holidays and celebrations!
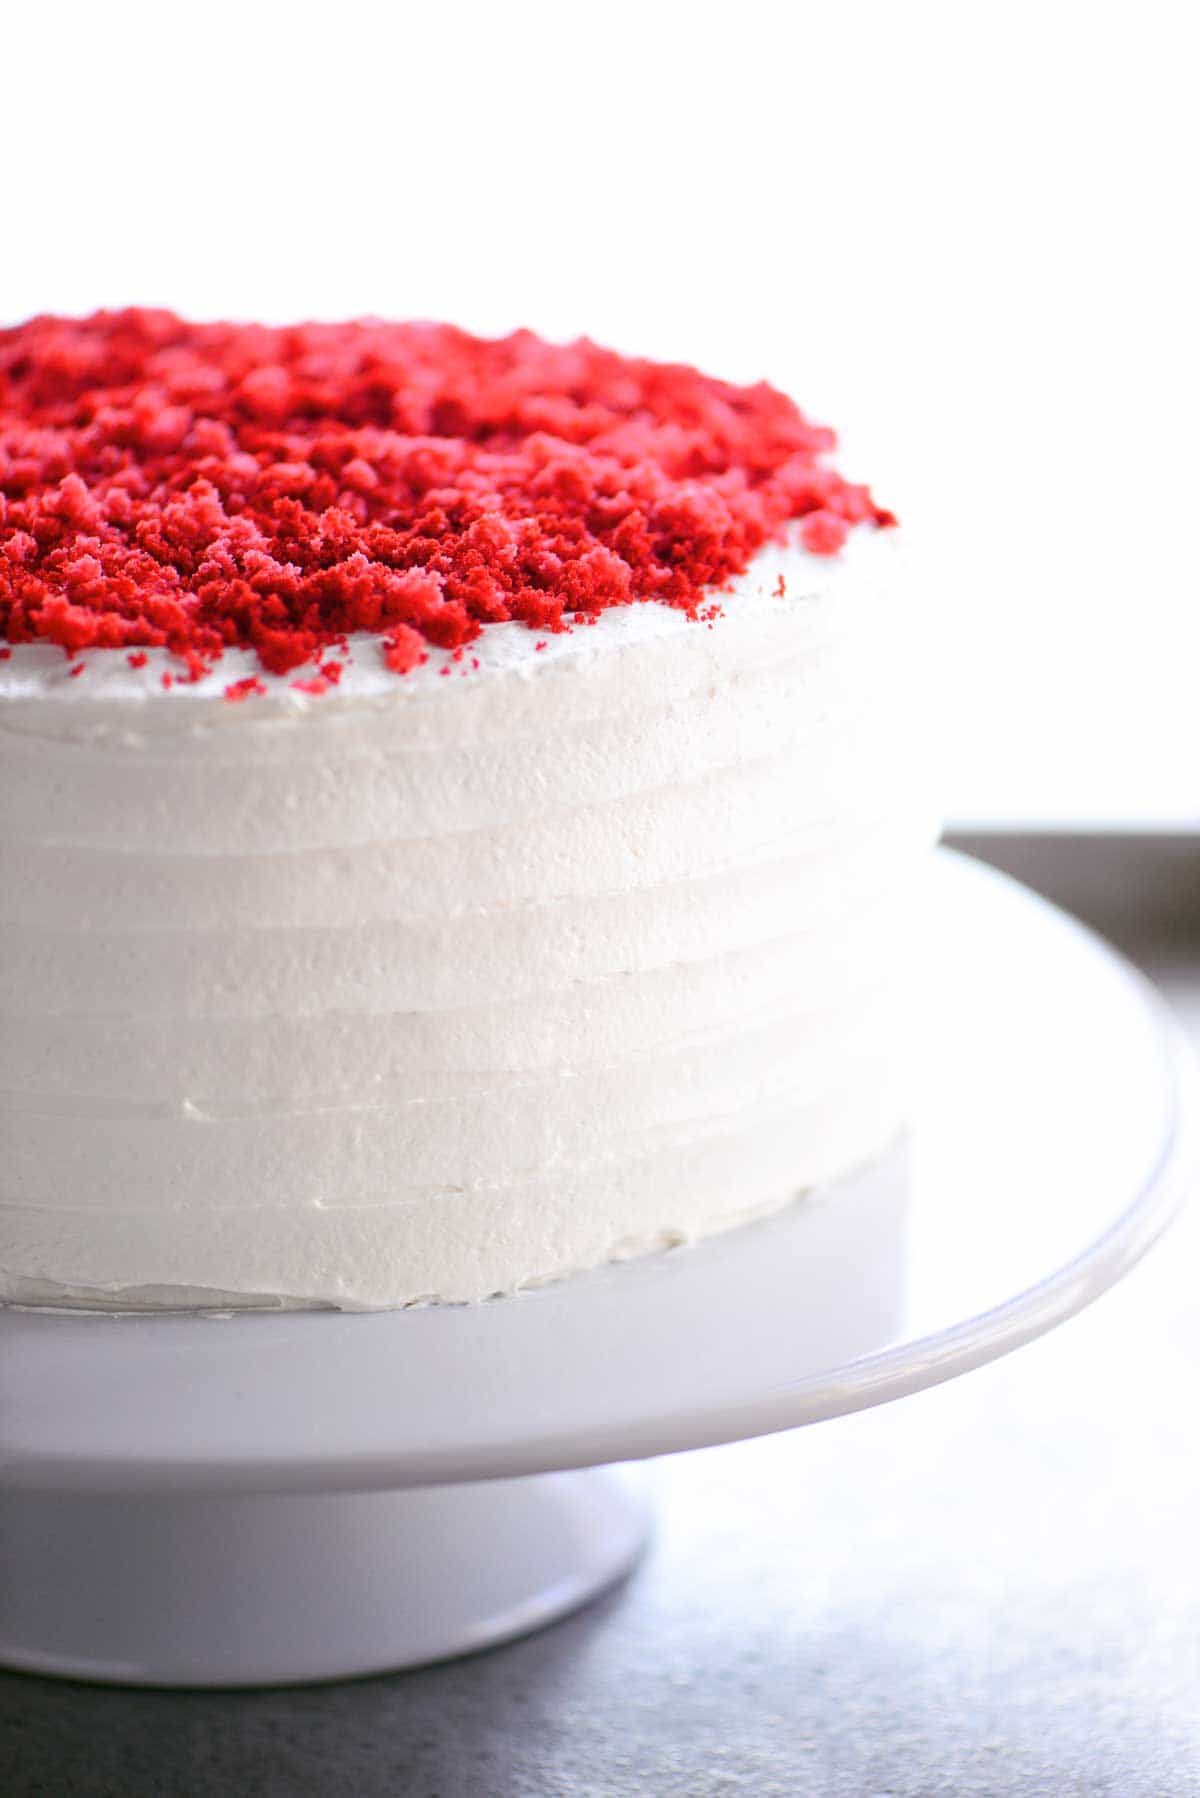
It’s a great idea to have a super cute, super easy to make cake up your sleeve. You can whip it up without too much effort and everyone will be impressed. This Sweetheart Cake has three layers of moist red cake with a light, fluffy whipped frosting and adorable cake crumbles on top.
That’s right, you don’t even need sprinkles for this cake, you just use some of the cake crumbs instead and it looks great!
How To Make A Sweetheart Cake
For this recipe, I used one white cake mix and one red velvet cake mix and combined them to make three different shades. Start by mixing the white cake mix, vanilla yogurt, water, egg whites and oil with a stand mixer.
Mix for about 30 seconds on low, until moistened. Then, beat for 2 minutes. The batter will be thick. Move the white cake batter into a different bowl and then repeat with the red velvet cake mix. You don’t even have to wash the mixer bowl first since the white cake mix will get blended into the red.
Tint The Batter
Next, set out three bowls for mixing the batter, one bowl for each of the three cake layers. Put the following in the three bowls and stir until the color in the bowl is uniform.
- Bowl One: 2 1/2 cups of white cake batter + 1/2 cup of red velvet cake batter
- Bowl Two: 2 cups of white cake batter + 1 cup of red velvet cake batter
- Bowl Three: 3 cups of red velvet cake batter
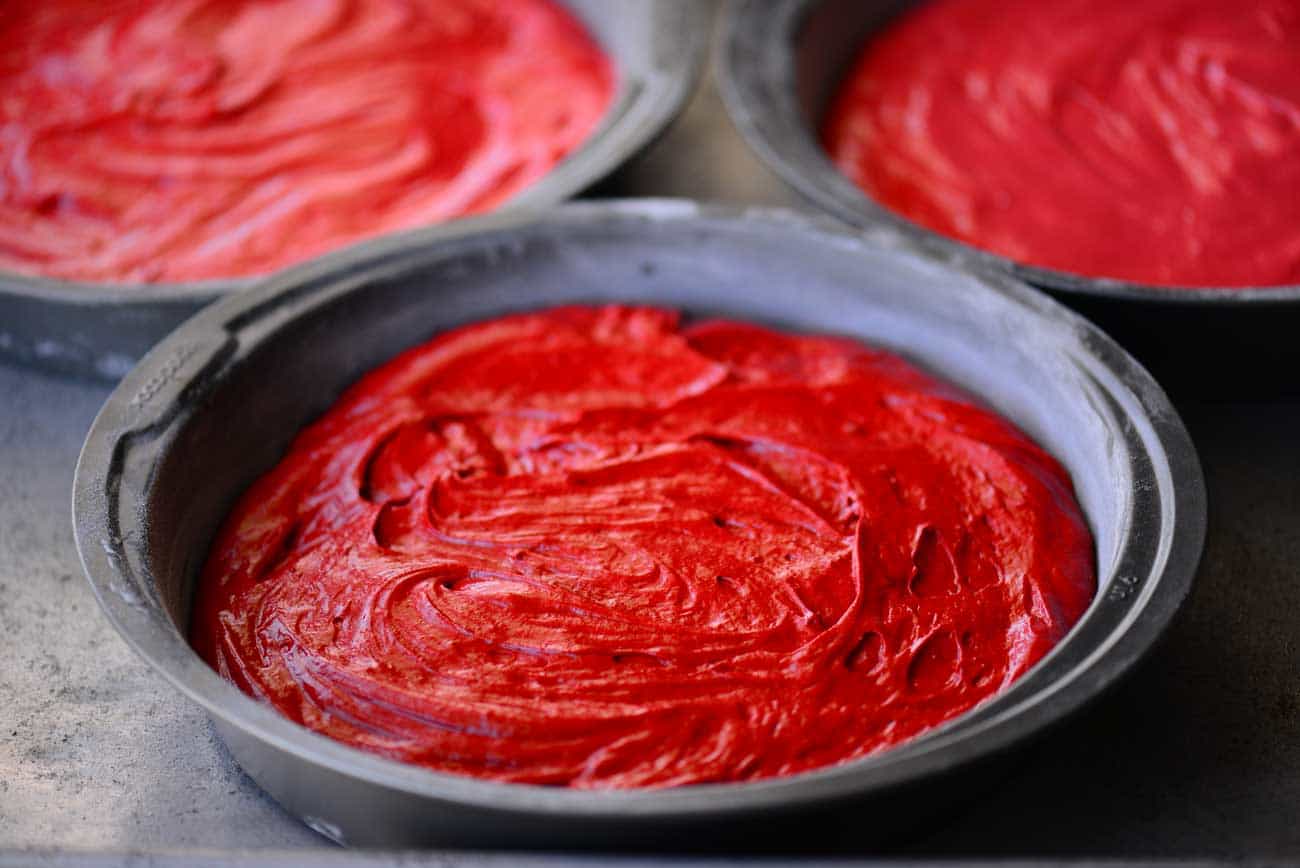
Spread the batter in three 9-inch cakes pans that have been greased, floured, and lined with parchment paper. Bake at 325° for 35-45 minutes until a toothpick inserted in the center comes out clean.
Allow the cakes to cool for 30 minutes on a wire rack. Carefully remove the cakes from the pans and peel off the parchment circles. Cool the cakes completely on a wire rack.
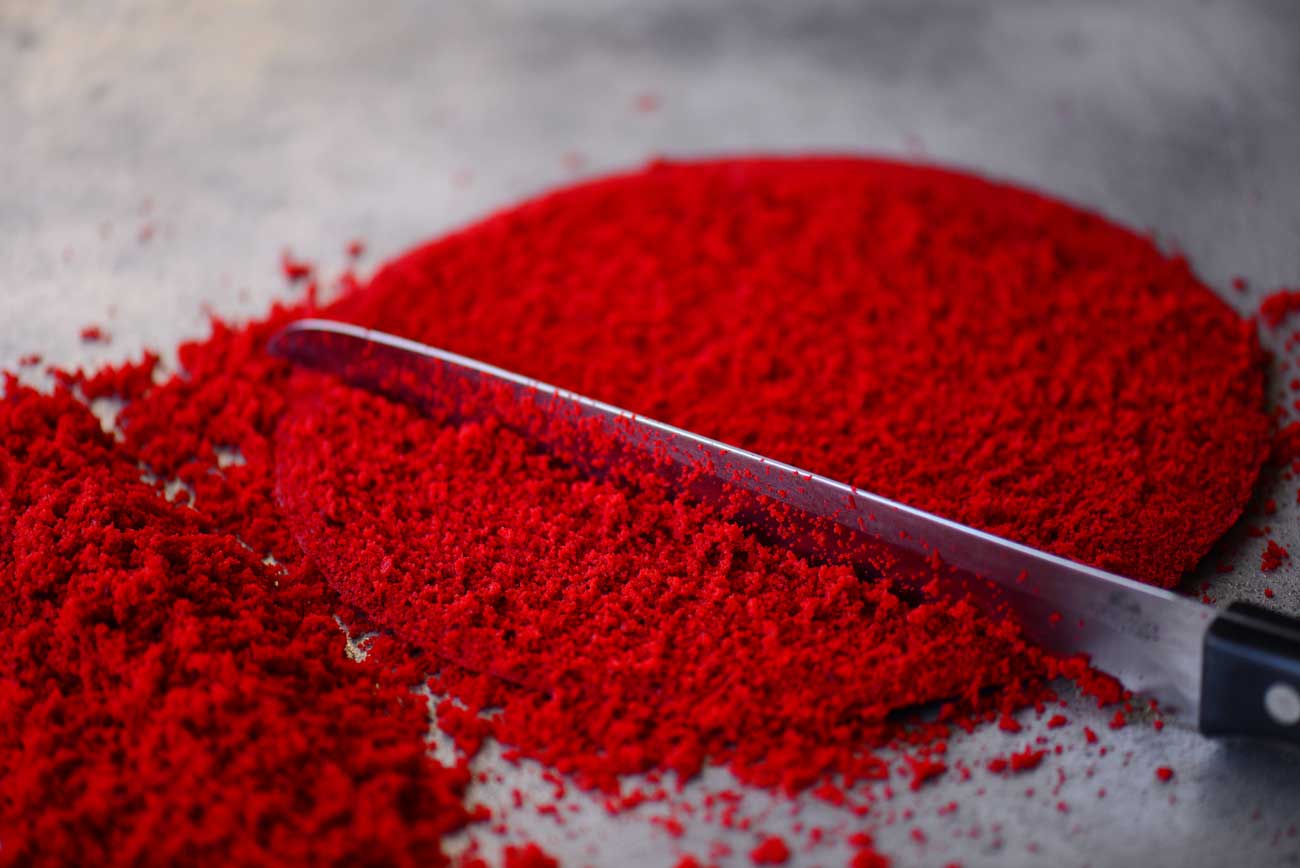
Make Crumb Sprinkles
Once the cakes have cooled, level them by using a long serrated knife to cut off the rounded tops. Gently run the serrated knife over the rounded cake tops that you just cut off to make cake crumbs that will be used for decorating the cake. Set the cake crumbs aside.

Place the darkest cake layer on a cake stand on a turntable (add a cardboard cake round if you prefer). Spread about one cup of the frosting on the first layer and repeat with the two remaining layers going from darkest to lightest.
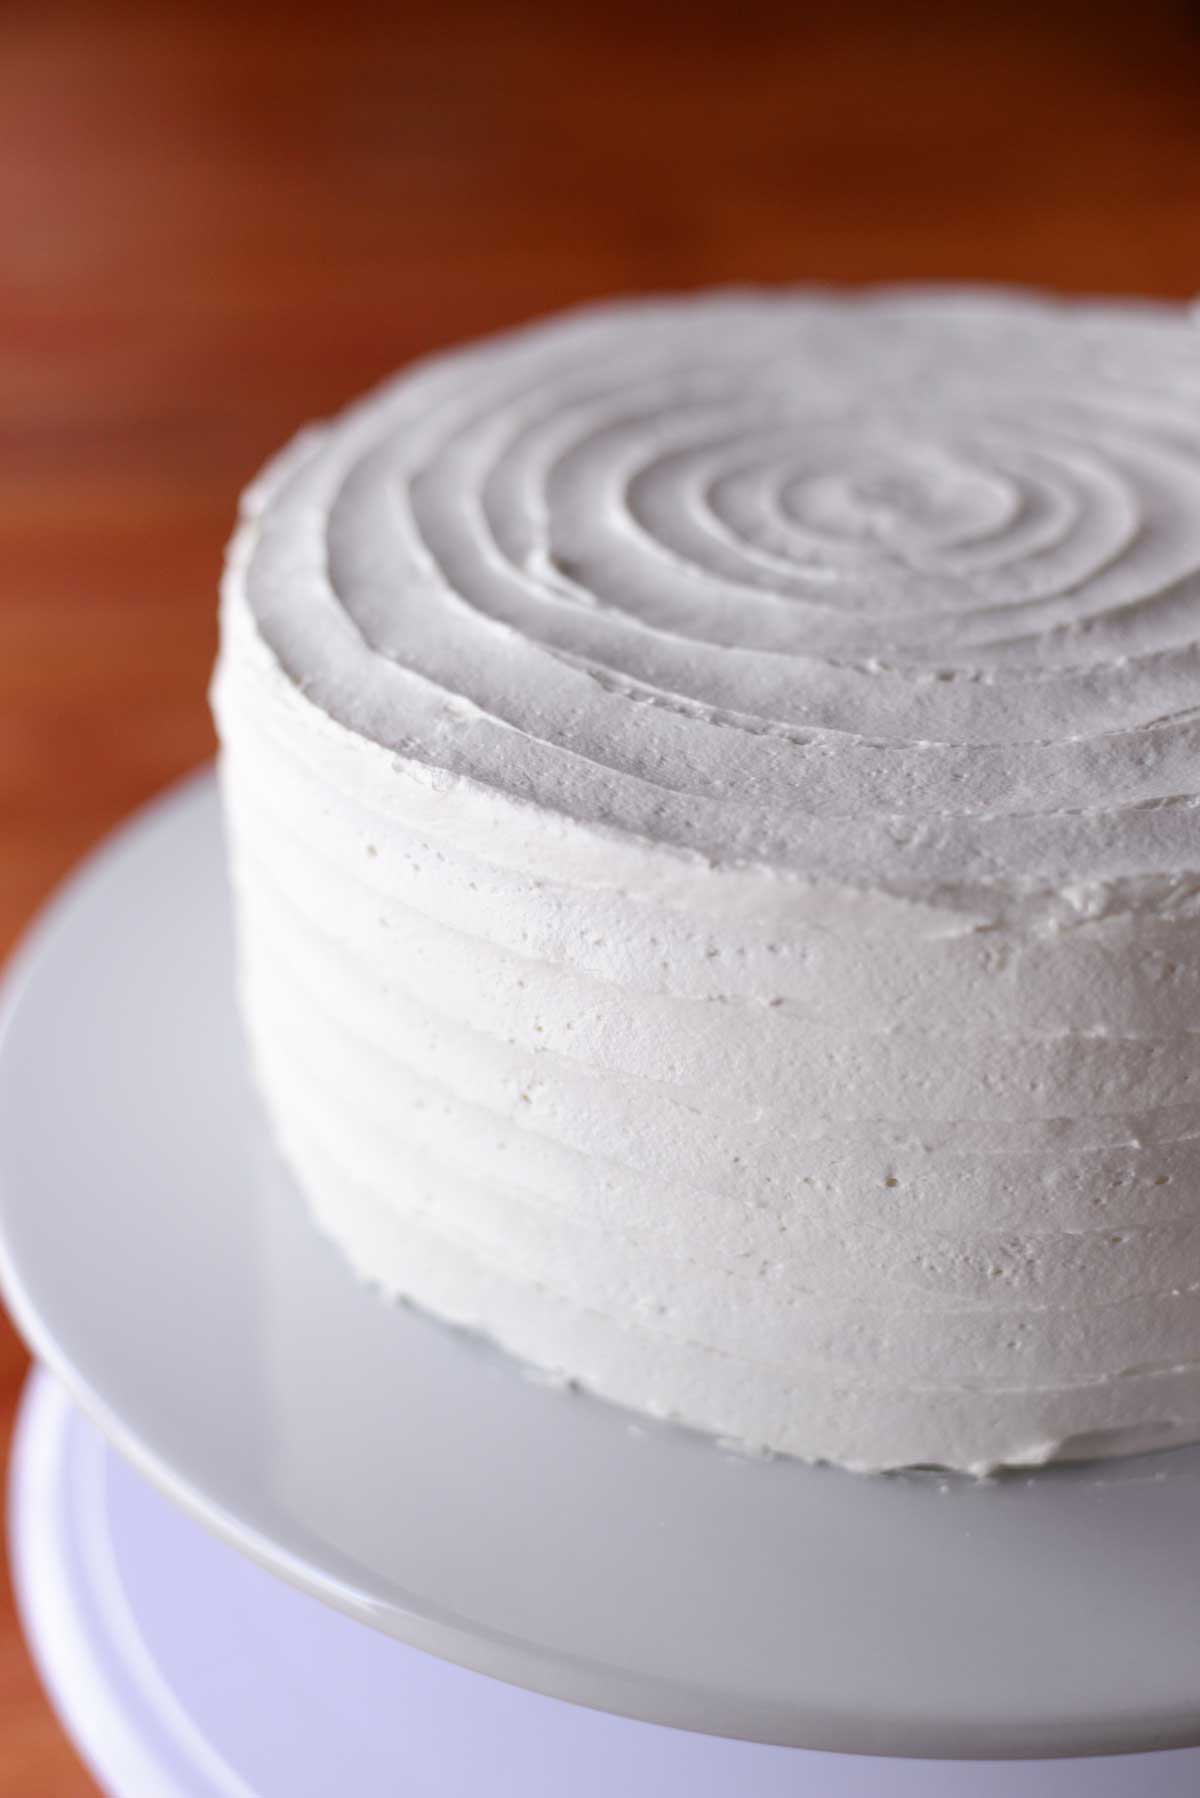
Frost The Cake
Use the remaining frosting to cover sides of the cake. Start with a thin layer of frosting and then top it with another layer. Smooth the sides with a large offset spatula or icing smoother (like the one I used in the video above). You don’t need to go crazy trying to make the sides perfectly smooth because the sides will have lines around them. It’s more about making the sides level.
Next, use the tip of a small offset spatula to make lines around the cake and a spiral on the top of the cake. Hold the tip of the offset spatula in the frosting and turn the cake turntable until you get back to where you started. Continue making lines, moving up the cake after each one. To make the spiral on the top of the cake, hold the tip of the spatula at an angle along the edge of the cake, turn the cake turntable while slowly moving the spatula to make smaller and smaller spirals ending in the center.

Sprinkle some of all three colors of cake crumbs on the top of the cake. Use a fork to move them around and spread them out.
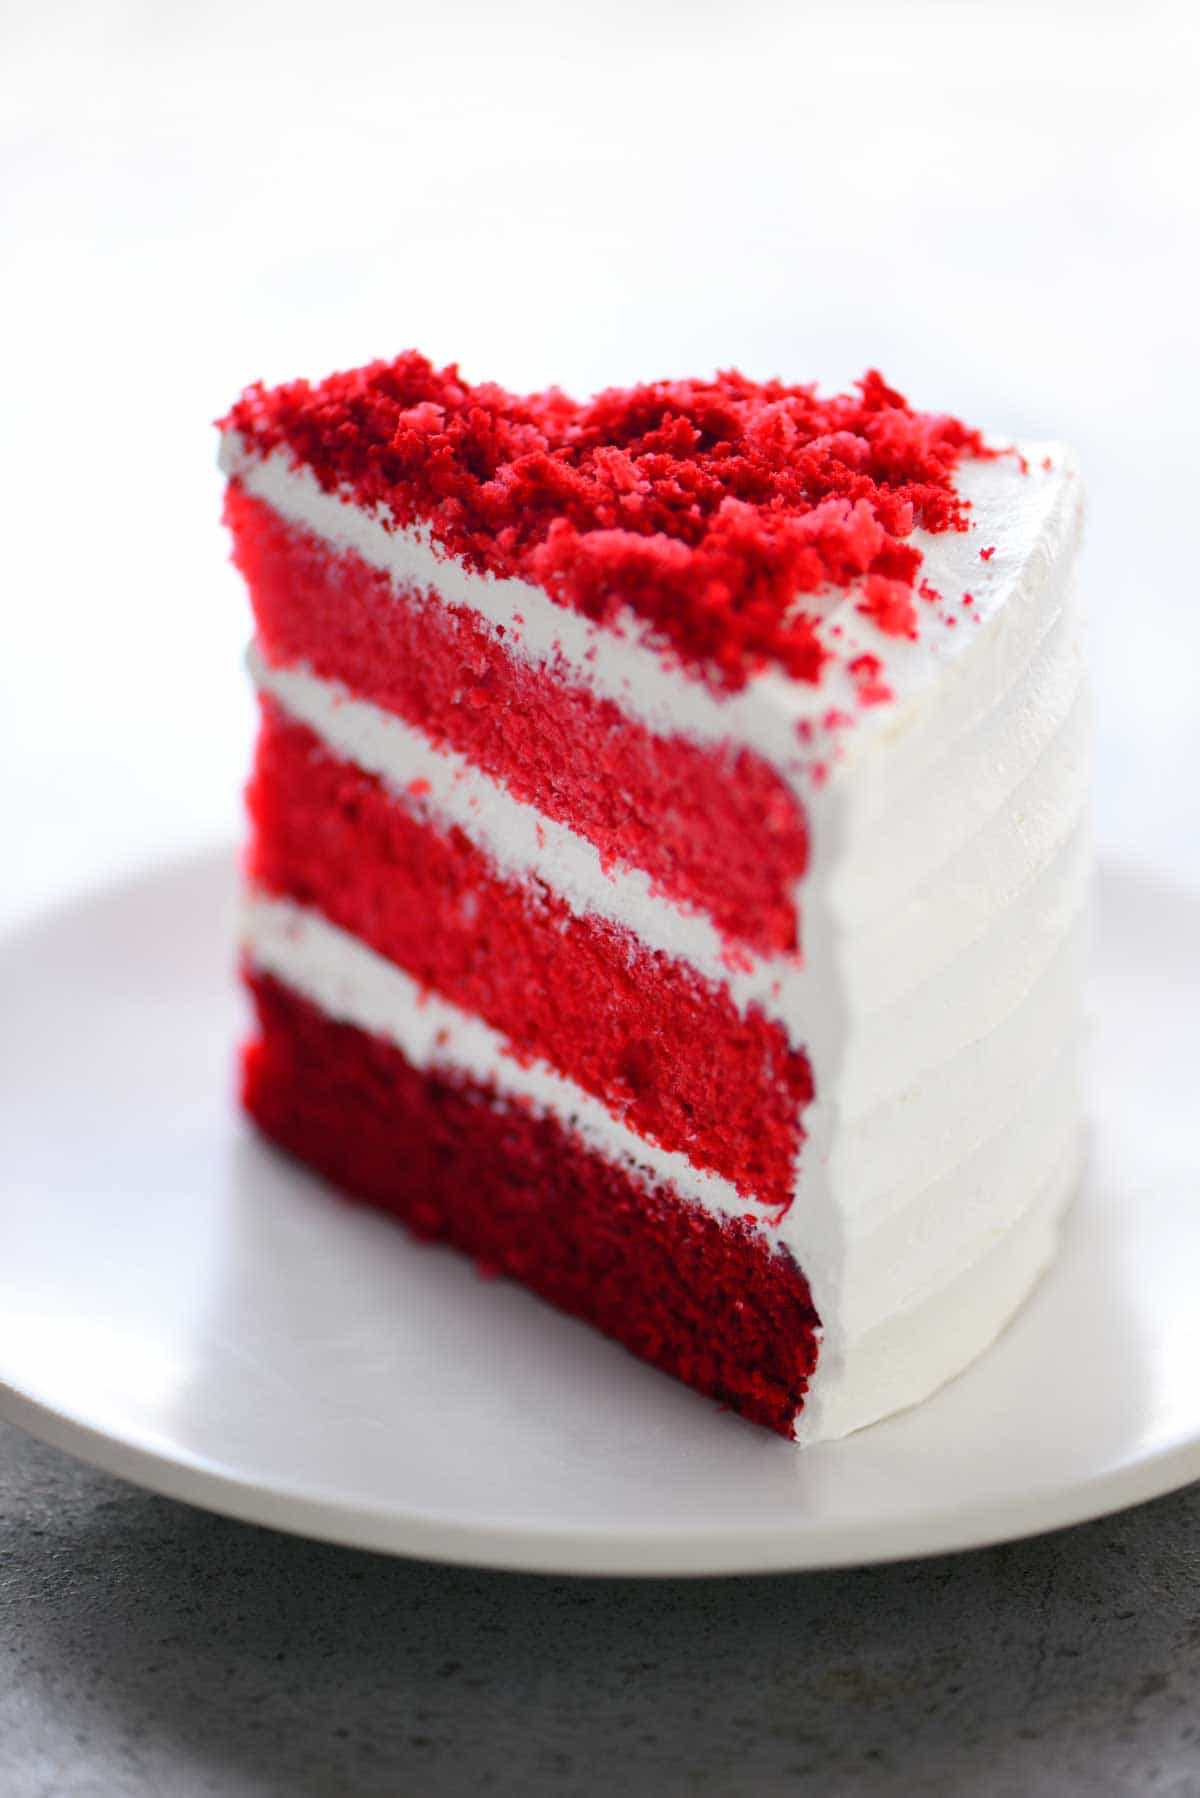
One of the joys of frosted cakes is that you don’t know what you are going to get when you cut into them. The three colored layers in this Sweetheart Cake look so pretty with the white frosting and cake crumbs on top!
Sweetheart Cake
Video
Ingredients
Cake
- 14.25 oz white cake mix
- 13.25 oz red velvet cake mix
- 1 ½ cups vanilla yogurt divided
- 1 cup water divided
- 8 egg whites divided
- ½ cup vegetable oil divided
Fluffy Vanilla Cream Cheese Frosting
- 8 oz cream cheese, softened
- 2 cups powdered sugar
- ¾ cup marshmallow cream
- 3 teaspoon vanilla extract
- 12 oz Cool Whip about 4 3/4 cups
Instructions
Cakes
- Preheat the oven to 325˚F.
- Generously grease and flour three 9-inch cake pans. Line them with parchment circles.
- Using a stand mixer, mix together the white cake mix, 3/4 cup vanilla yogurt, 1/2 cup water, 4 egg whites, and 1/4 cup oil for about 30 seconds until moistened and then beat for two minutes. Move cake batter to a different bowl and set aside. (You don’t have to wash the mixing bowl and beater before moving on to the red velvet cake mix.)
- Mix together the red velvet cake mix, 3/4 cup vanilla yogurt, 1/2 cup water, 4 egg whites, and 1/4 cup oil for about 30 seconds, until moistened and then beat for two minutes.
- Divide the batter between three bowls. In the first bowl mix together 2 1/2 cups of white cake batter and 1/2 cup of red velvet cake batter. In the second bowl mix together 2 cups of white cake batter and 1 cup of red velvet cake batter. In the third bowl, put 3 cups of red velvet cake batter.
- Spread the batter into the prepared pans.
- Bake at 325˚F for 35-45 minutes, until a toothpick inserted in the center comes out clean.
- Allow the cakes to cool in the pans for 30 minutes on a wire rack.
- Carefully remove the cakes from the pans, peel off the parchment circles and cool completely on wire racks.
Assembly
- Once the cakes the cooled, level the cakes by using a serrated knife to cut off the rounded tops. Gently run the serrated knife over the rounded cake tops that you just cut off to make cake crumbs that will be used for decorating the cake. Set the cake crumbs aside.
- Place the darkest red cake layer on a cake stand on a turntable. Spread about one cup of Fluffy Vanilla Cream Cheese Frosting (recipe below) on the first layer. Repeat with the two remaining layers going from darkest to lightest.
- Use the remaining frosting to cover sides of the cake. Start with a thin layer of frosting and then top it with another layer. Level the sides with a large offset spatula or icing smoother.
- Use the tip of an offset spatula to make stripes around the sides of the cake and a spiral on top of the cake.
- Sprinkle some all three colors of cake crumbs on the top of the cake. Use a fork to move them around and spread them out.
- Store in the fridge until ready to serve.
Fluffy Vanilla Cream Cheese Frosting
- Use a stand mixer to beat a package of softened cream cheese for two minutes.
- Mix in the powdered sugar until smooth.
- Beat in the marshmallow cream and vanilla until smooth.
- Gently stir in the whipped topping by hand.


Lynda Ramage says
Yea, a cake my friends will think I spent hours on! It looks great and I will certainly try it for Valentine’s. Thanks!!!
Beth says
This cake is beautiful! And surely so delicious, too! It IS so important to have a good cake recipe up your sleeve! I think I’ll bake today!