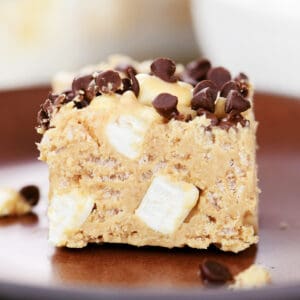
These no bake Peanut Butter Bars are so easy to make with just a few ingredients you probably have in your pantry right now.

Peanut butter desserts are a weakness of mine and if I were pressed to choose a favorite candy bar, I would have to admit that Reese’s Peanut Cups are the candy bars I buy the most.
I typically use this recipe to make truffles, but I get lazy about dipping all of those truffles so I decided to make these no bake peanut butter bars instead.
How To Make
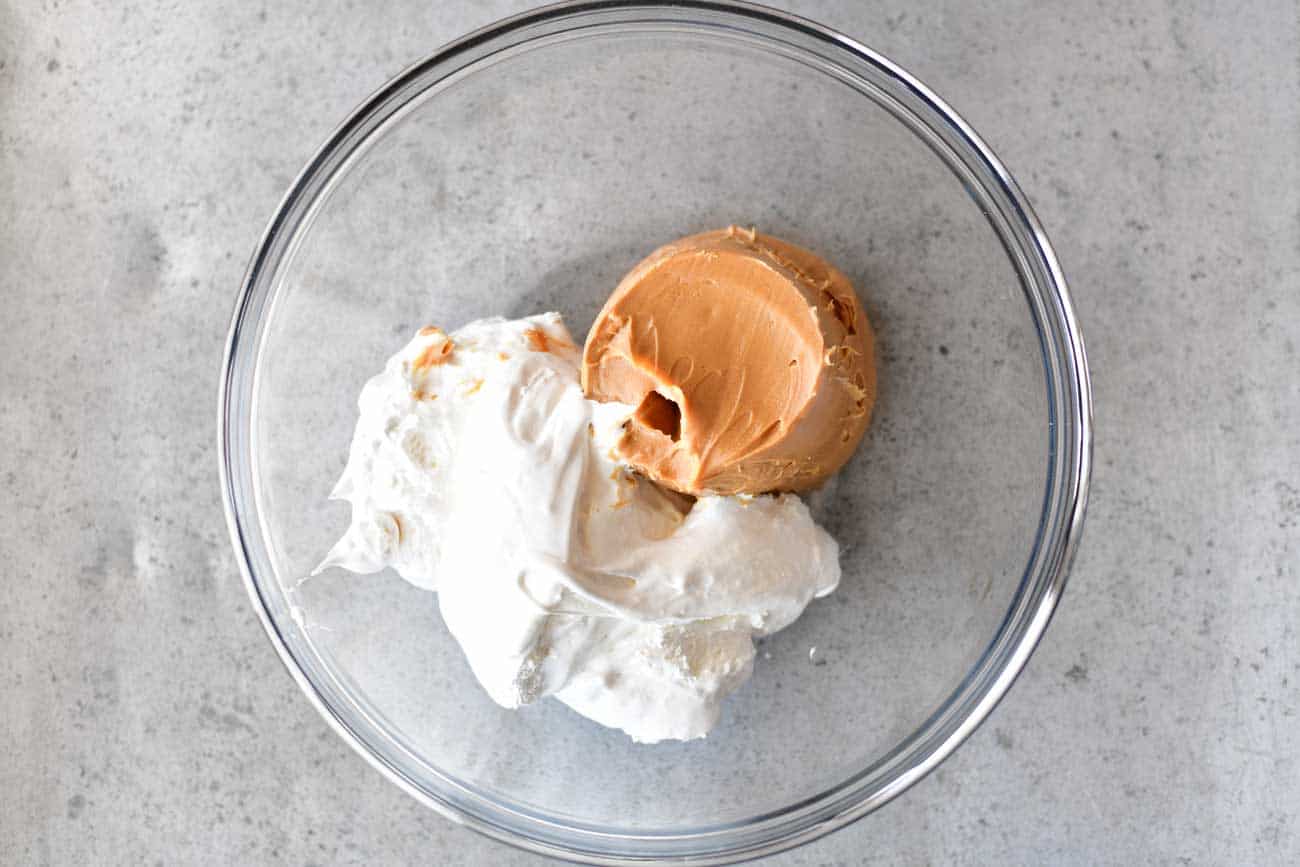
Step One: Peanut Butter
Put creamy peanut butter and marshmallow cream in a bowl.
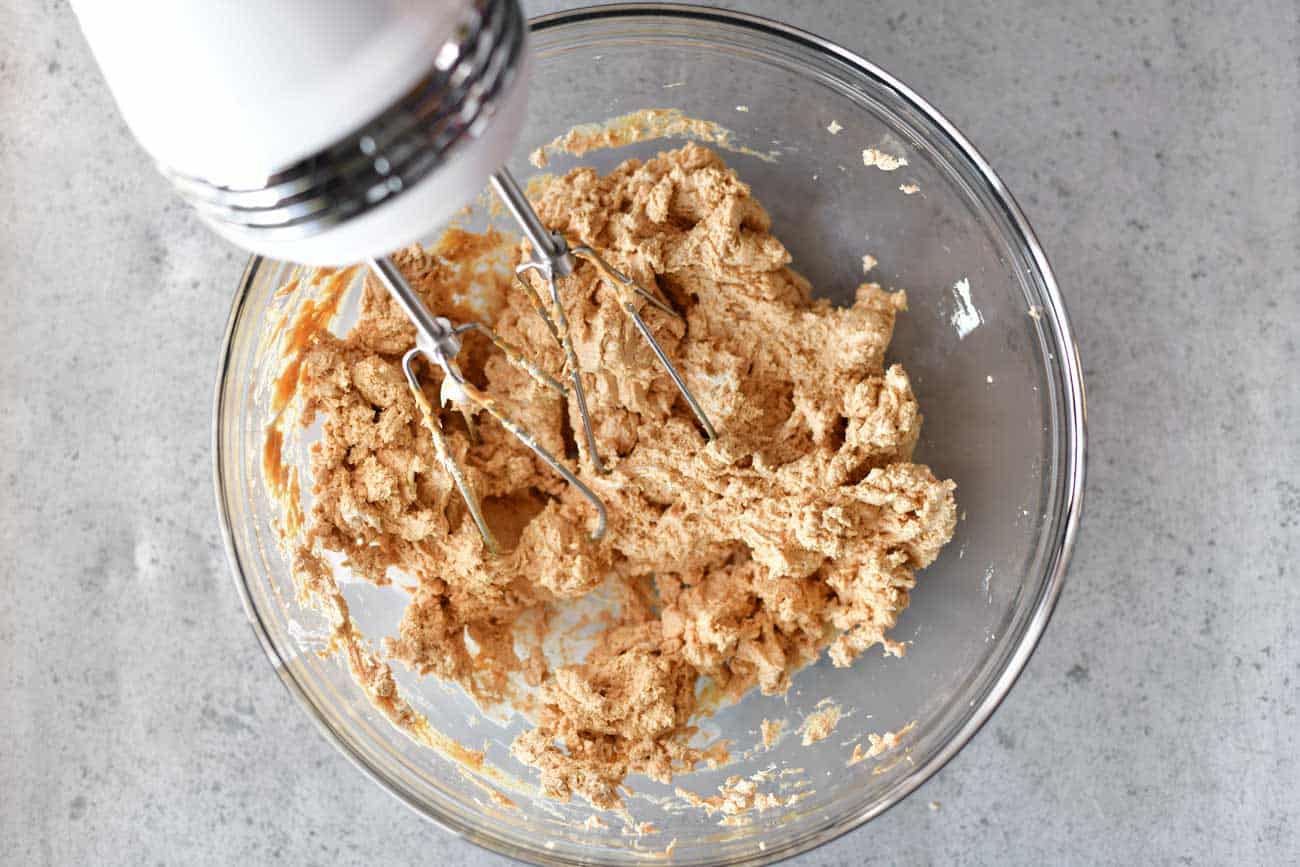
Mix together until combined.
This can be done with a mixer or by hand.
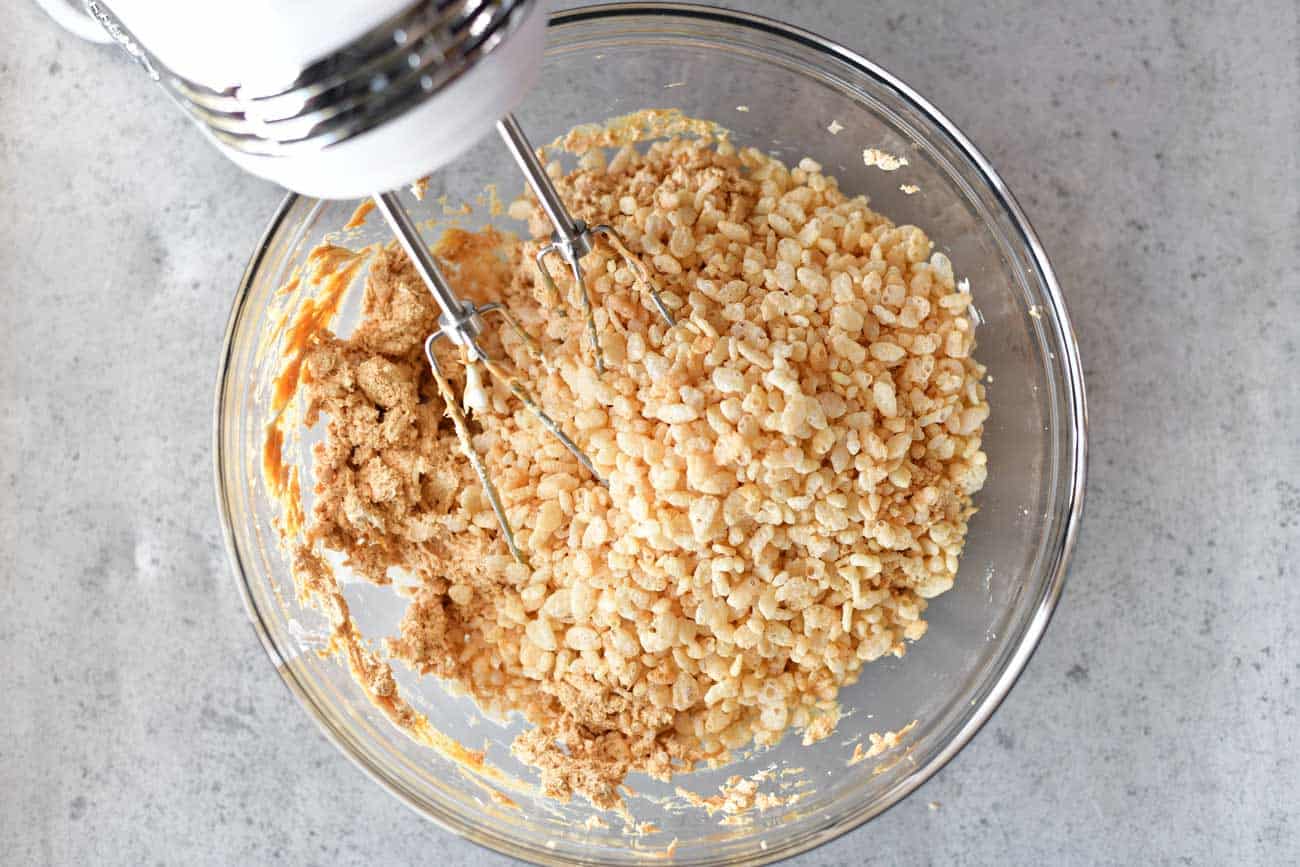
Step Two: Rice Krispies
Add the rice krispies and stir until combined.
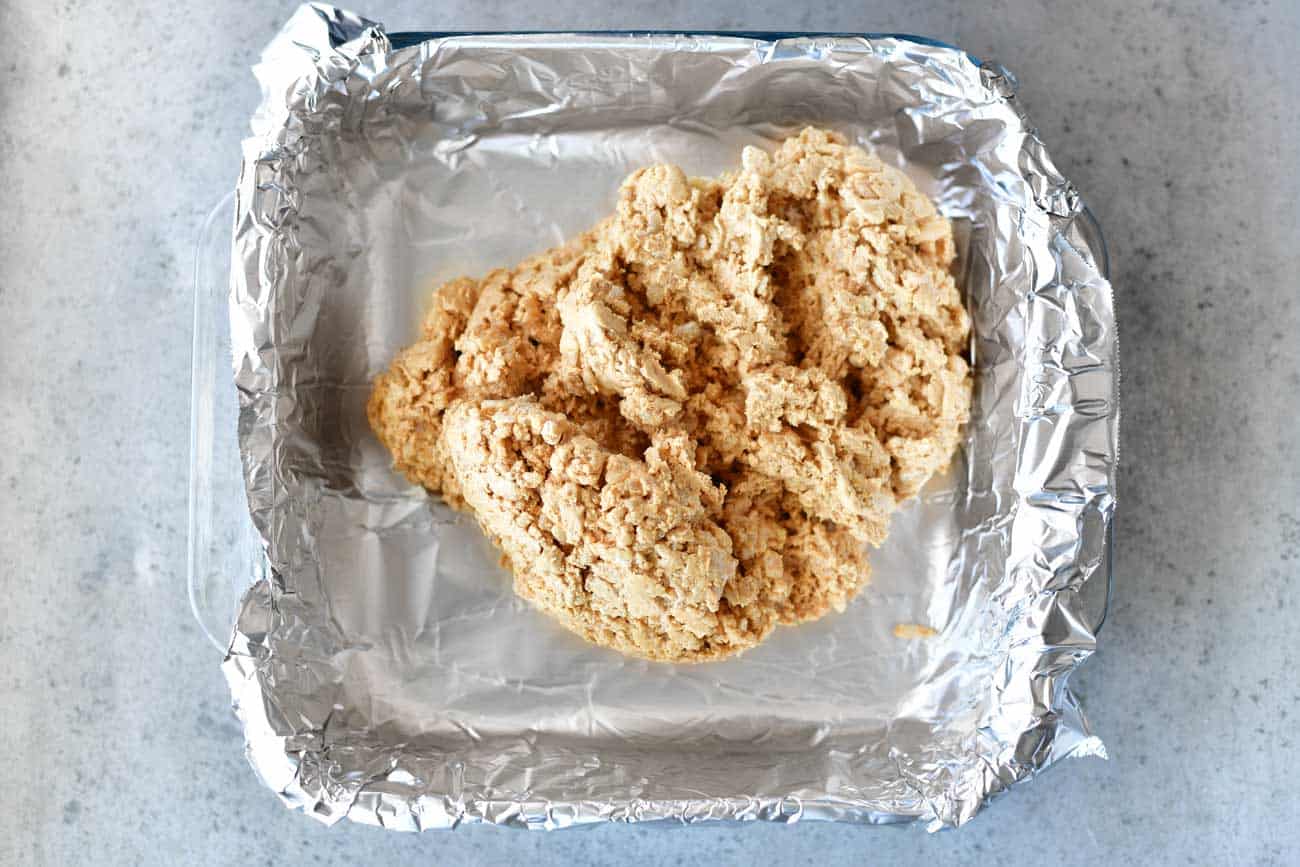
Step Three: Pan
Line a 9×9 inch pan with enough foil so that it hangs over the sides a bit. Add the dough.

Use a rubber spatula to flatten the peanut butter bars.
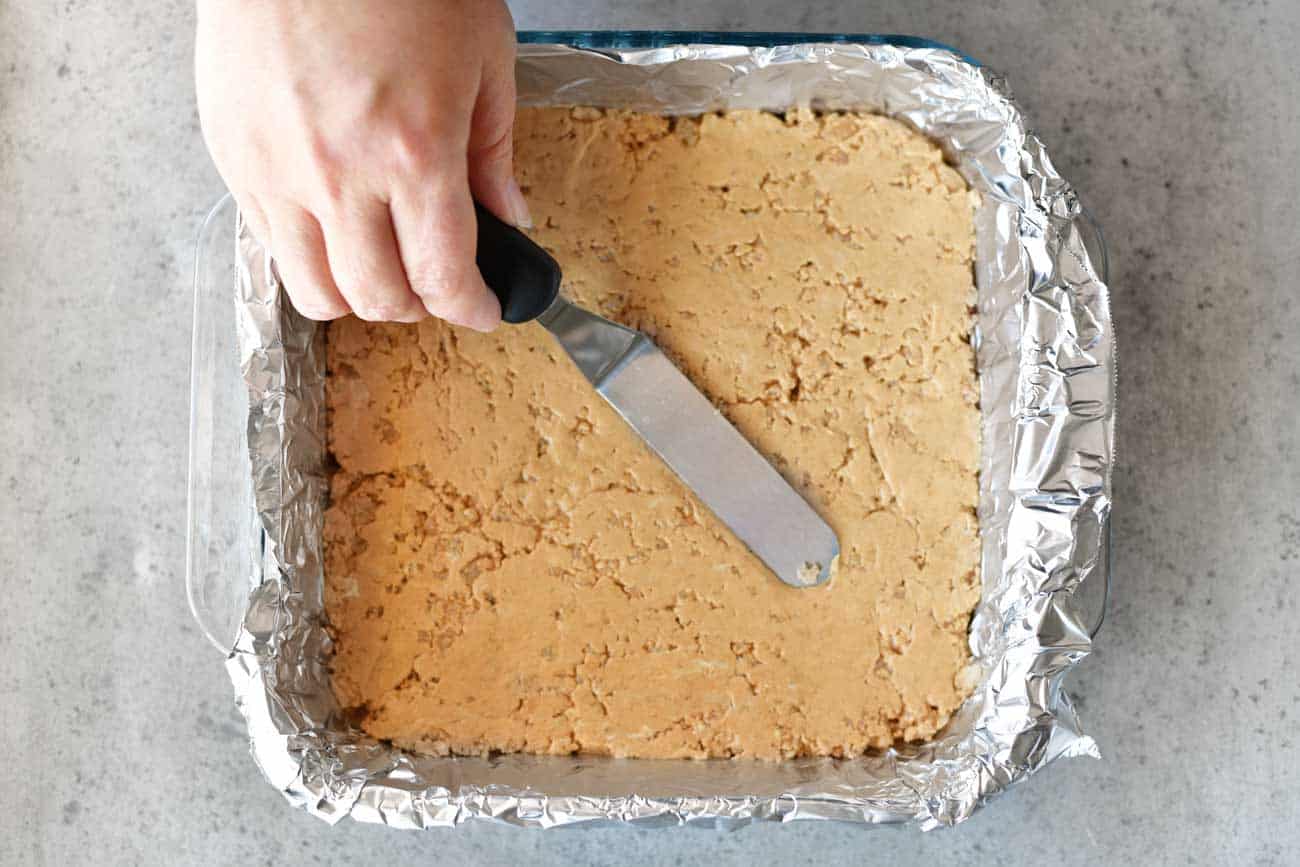
To make the bars smooth on the top, use an offset spatula.
Step Four: Frosting
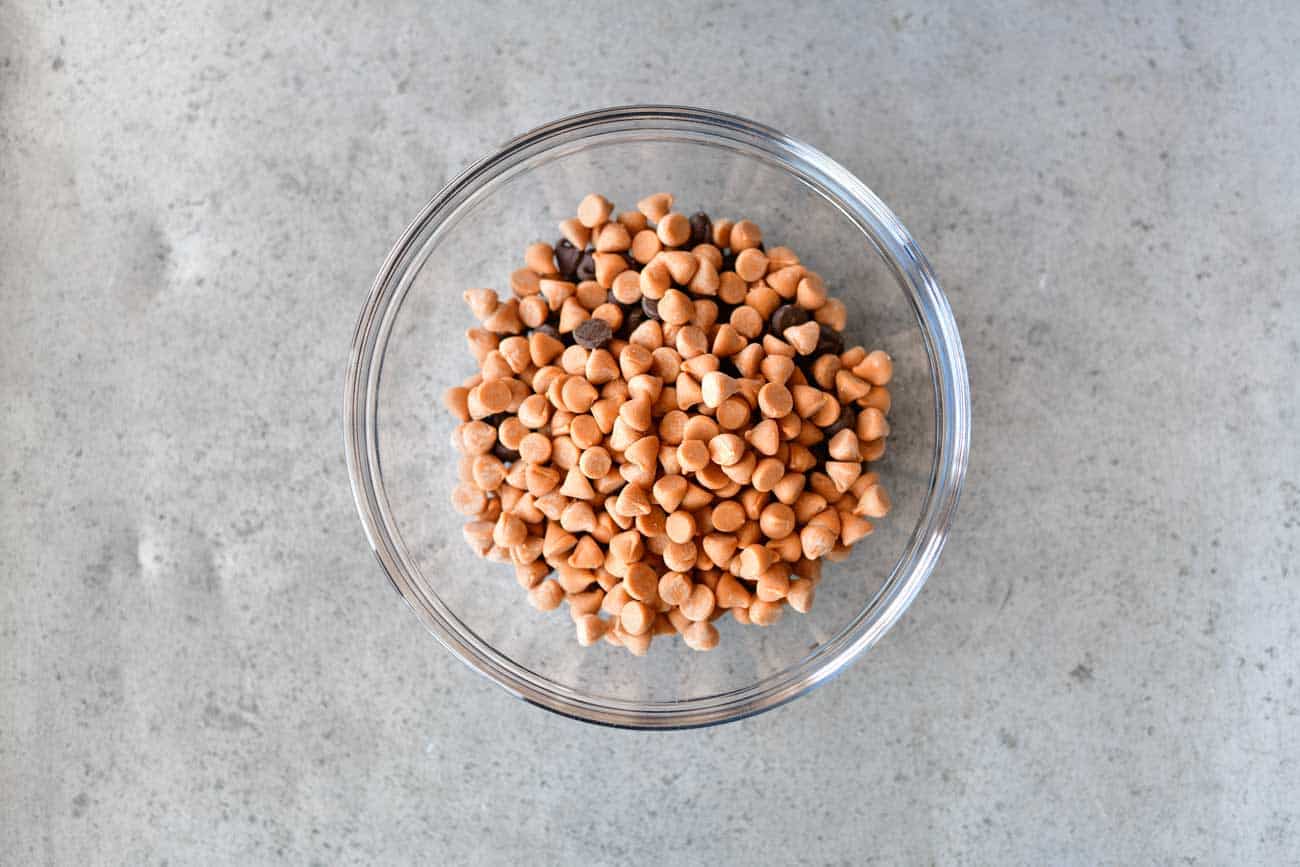
Make the frosting for the peanut butter bars. Put chocolate chips and butterscotch chips in a microwave-safe bowl.
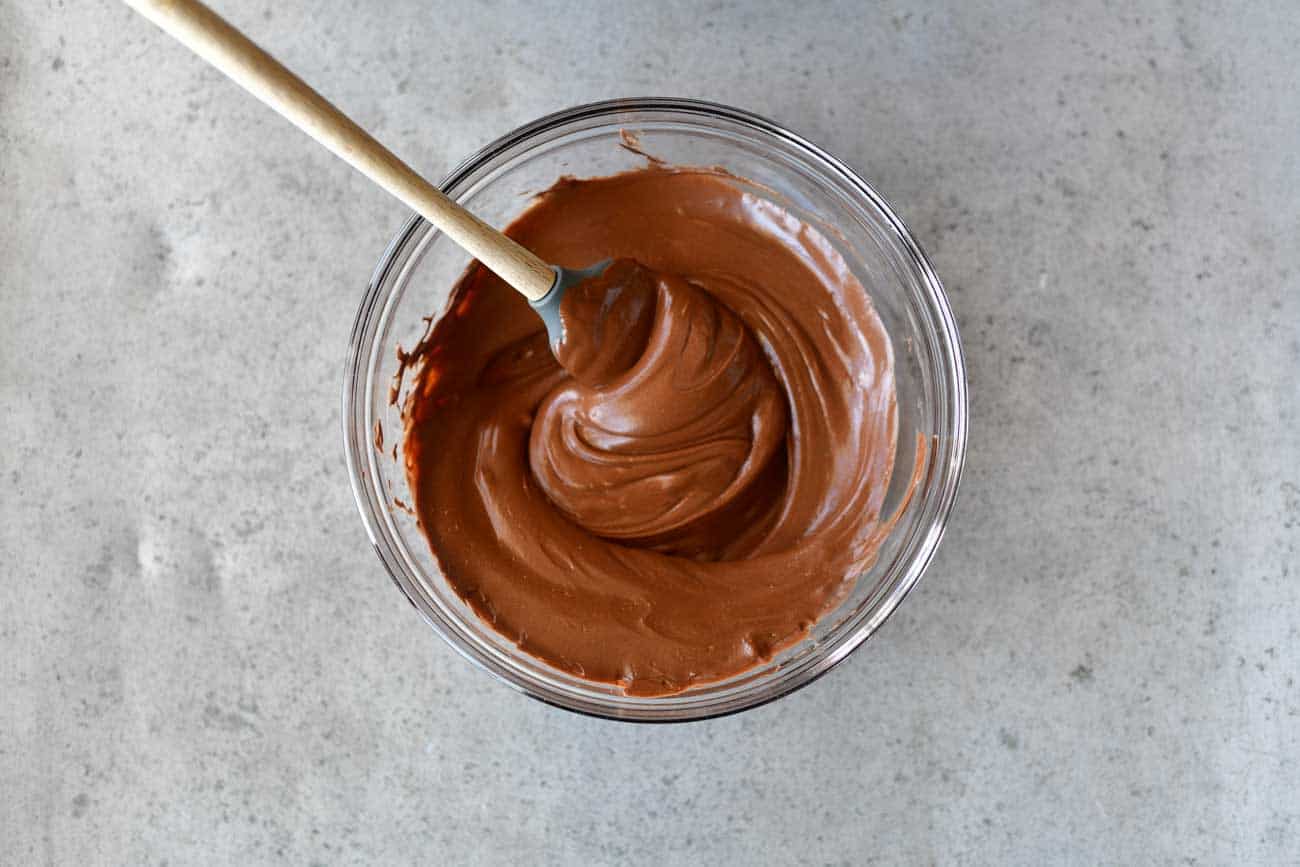
Melt in the microwave on high for 45-seconds. Stir until smooth. If needed, microwave for 15-second intervals and stirring after each interval.
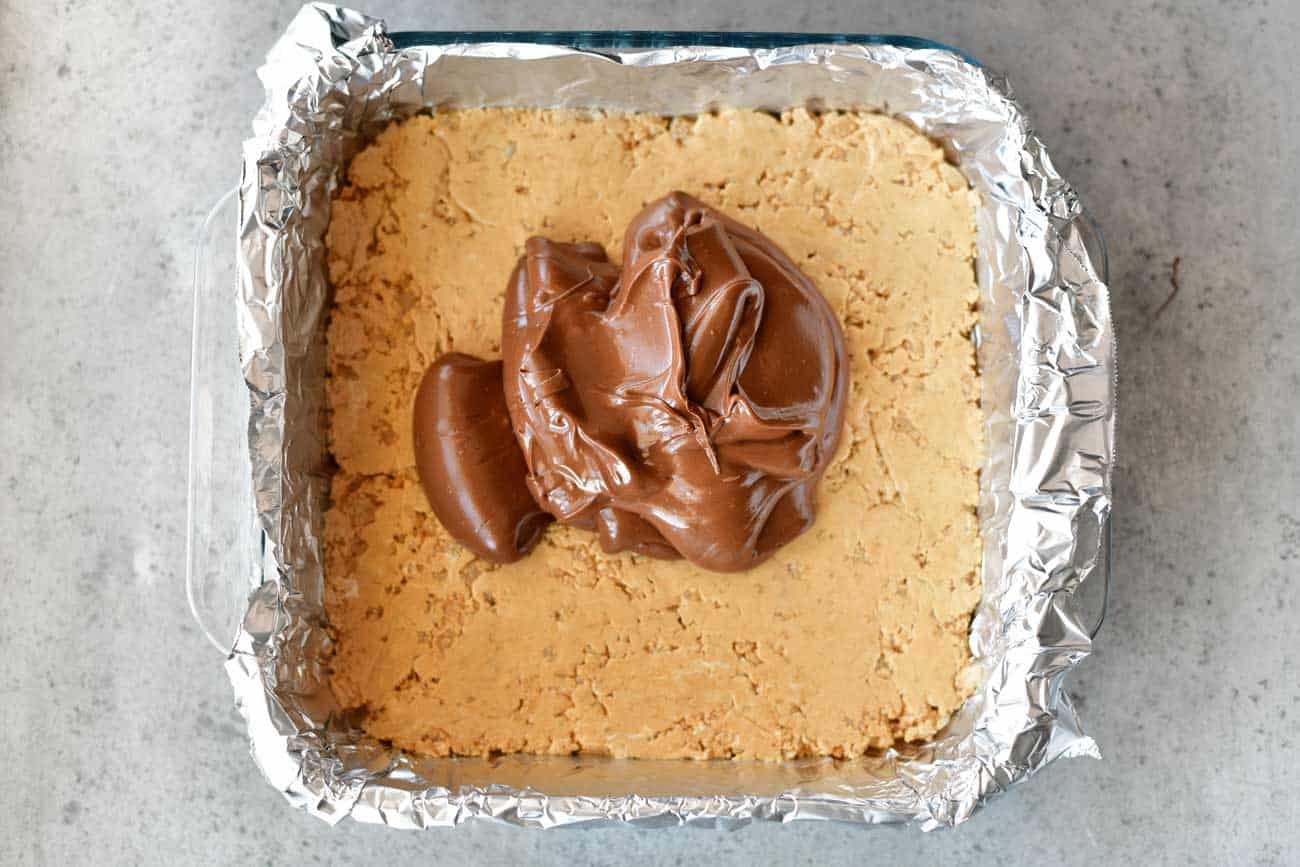
Scrape the melted chocolate onto the bars.
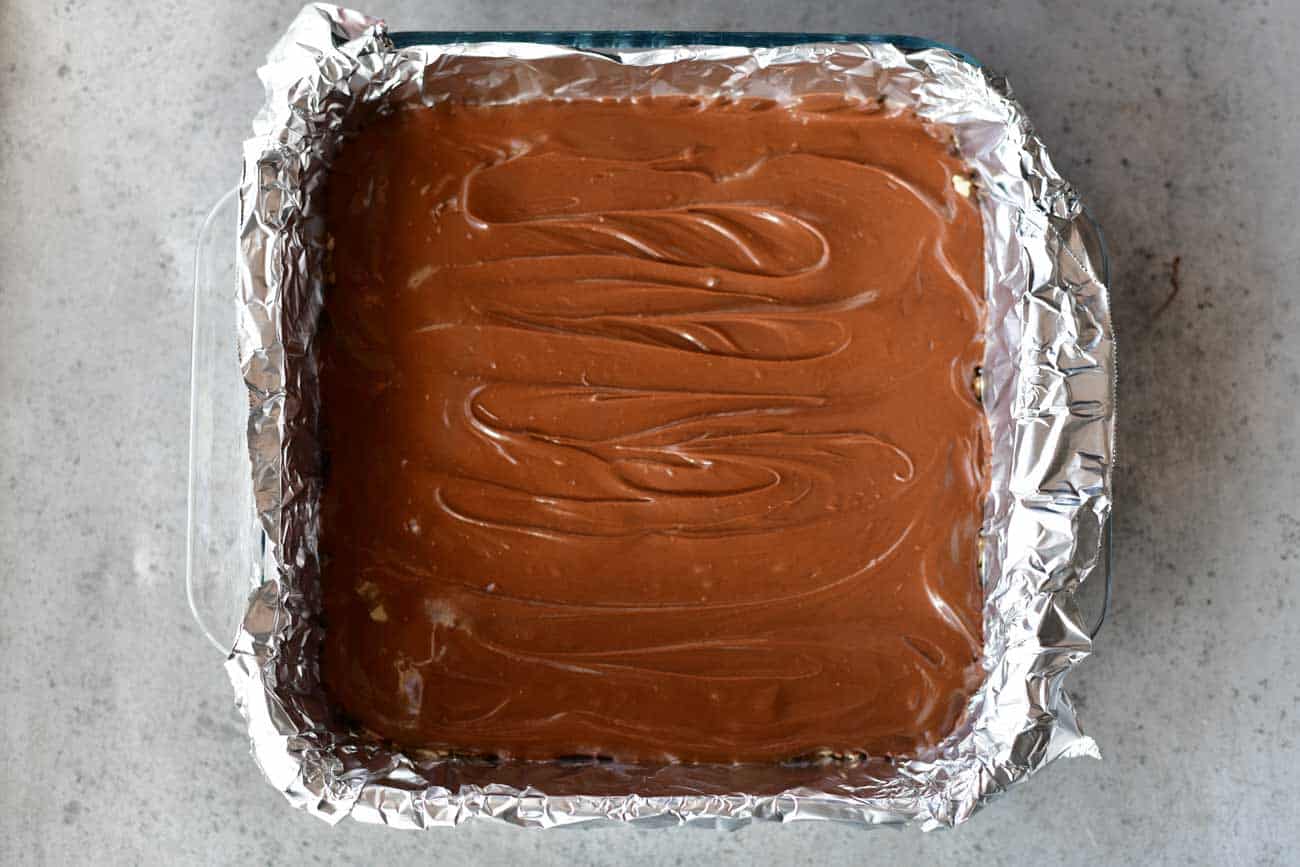
Spread the chocolate frosting over the bars.

Step Five: Chill and Slice
Put the bars in the fridge to allow the chocolate frosting to harden and set.
Use the foil to lift out the bars and cut them into pieces.

Recipe Tips
1. If you prefer smooth bars, leave the rice krispies out and just make the bars with the peanut butter and marshmallow cream.
2. Don’t have butterscotch chips or don’t like them? Leave them out and substitute an equal amount of semi-sweet chocolate chips or peanut butter chips.
3. Want to make peanut butter truffles? Instead of spreading the peanut butter bars dough into a pan, form them into balls. Place them in the fridge or freezer to harden.
Add one tablespoon of shortening to the chocolate chips and butterscotch chips before melting them in the microwave. Dip the chilled truffles into the melted chocolate. Place on a piece of parchment paper to harden and set.
4. Want to make peanut butter cups? This dough makes the perfect peanut butter cup filling. Coat the sides and the bottom of a mini cupcake liner with the melted chocolate. Chill until hardened.
Fill the inside of the cup with the peanut butter dough. Then, top it with the melted chocolate. See the step-by-step photos of how to do this, look at the photos in my chocolate biscoff cups recipe post.
More No Bake Recipes

Peanut Butter Bars
Video
Ingredients
- 1 cup peanut butter
- 7 oz marshmallow cream
- 1 1/2 cups rice krispies
- 3/4 cup semi-sweet chocolate chips
- 3/4 cups butterscotch chips
Instructions
- Put creamy peanut butter and marshmallow cream in a bowl. Mix together until combined.
- Stir in the rice krispies.
- Line a 9×9 inch pan with enough foil so that it hangs over the sides a bit. Add the dough. Use a rubber spatula to flatten the peanut butter bars. To make them smooth on the top, use an offset spatula.
- To make the frosting for the peanut butter bars, put chocolate chips and butterscotch chips in a microwave-safe bowl. Melt in the microwave on high for 45-seconds. Stir until smooth. If needed, microwave for 15-second intervals and stirring after each interval.
- Scrape the melted chocolate onto the bars. Spread the chocolate frosting over the bars.
- Put the peanut butter bars in the fridge to allow the chocolate frosting to harden and set. Use the foil to lift out the bars and cut them into pieces.

Judi Best says
Thank you for the recipe. We’ve been looking for.