Fruity Pebble Crunch Ice Cream Cake recipe is easy to make with only four ingredients. The bright, cheerful crunchies make this cool treat, the perfect summer dessert!
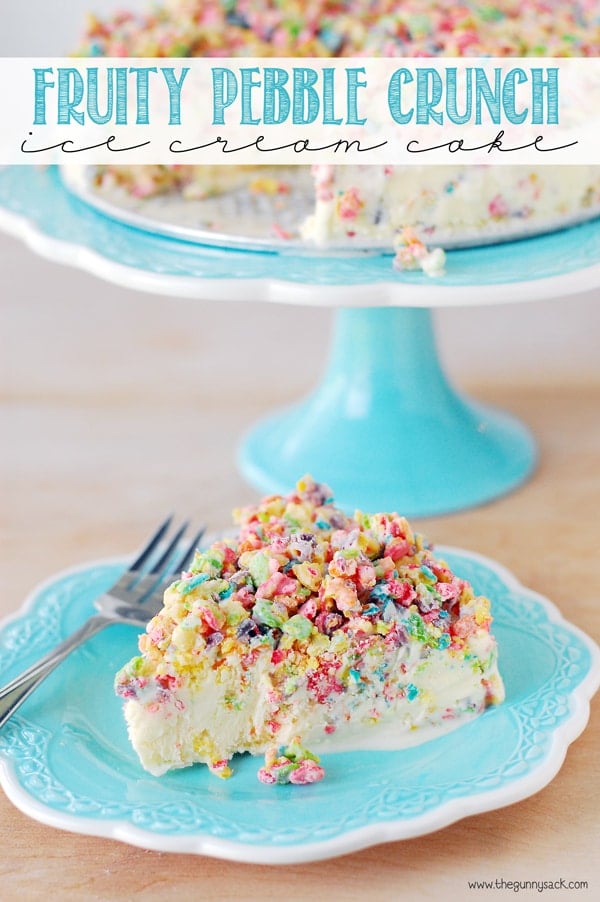
Yesterday after church, my sister hosted the first cookout of the season! After all of the rain we’ve had recently, everyone is so excited to be able to go outside. While I didn’t make it for lunch, I did arrive in time for dessert and I brought a Fruity Pebble Crunch Ice Cream Cake.
I decided to try making this ice cream cake after seeing this Biscoff Crunch Ice Cream Cake from A Family Feast. I love that it only required three-ingredients and it is perfect for summer!
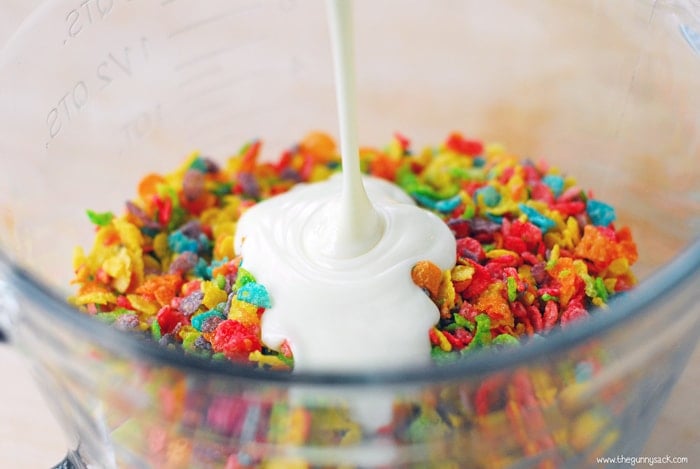
To make the Fruity Pebble Crunch Ice Cream Cake, start by placing half a gallon of vanilla ice cream in the fridge to soften. Then, put four cups of fruit flavored crispy rice cereal into a large bowl.
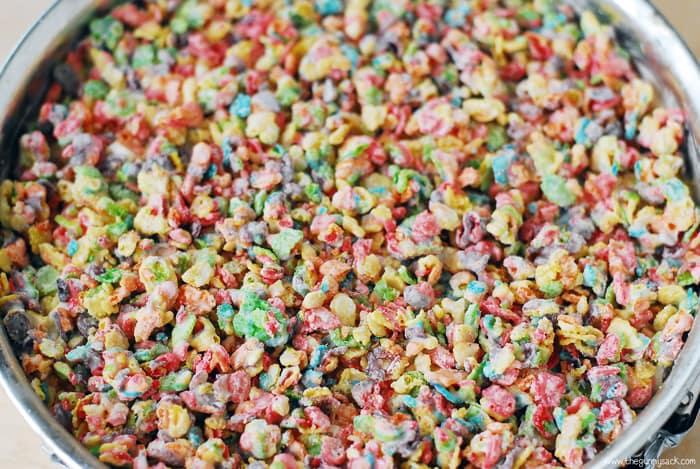
Melt white chocolate chips and shortening in the microwave. Pour the melted chocolate over the cereal and stir until evenly coated.
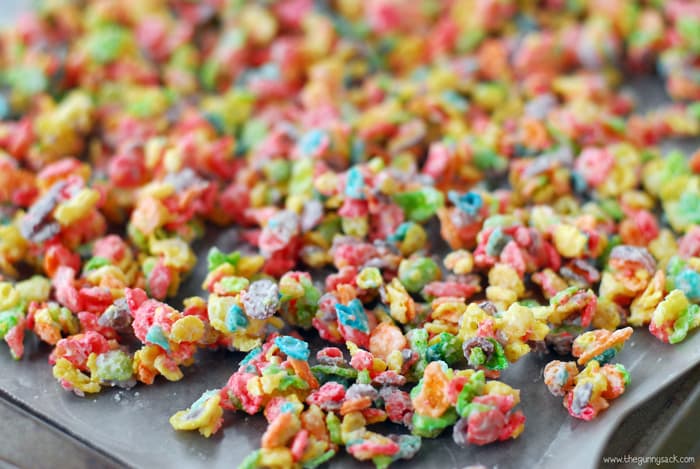
Pour the coated cereal onto a piece of parchment paper. Allow the white chocolate coating to harden and then break the cereal into bite-sized pieces.
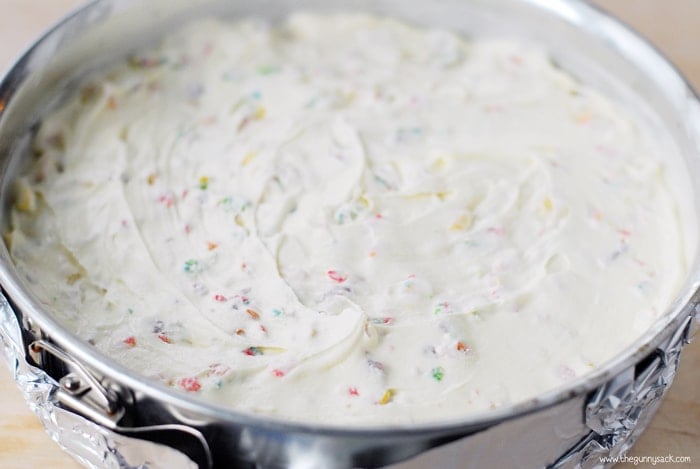
In a large bowl, quickly mix half a gallon of softened vanilla ice cream with 2 cups of the crunchy cereal pieces. Spread into a 9-inch springform pan before the ice cream melts.
Top with the remaining crunchy cereal and press it into the ice cream.
Cover the springform pan and place the ice cream cake in the freezer for 4-6 hours or overnight to harden. When ready to serve, remove from the freezer and slide a knife around the edges of the springform pan and then remove the sides.
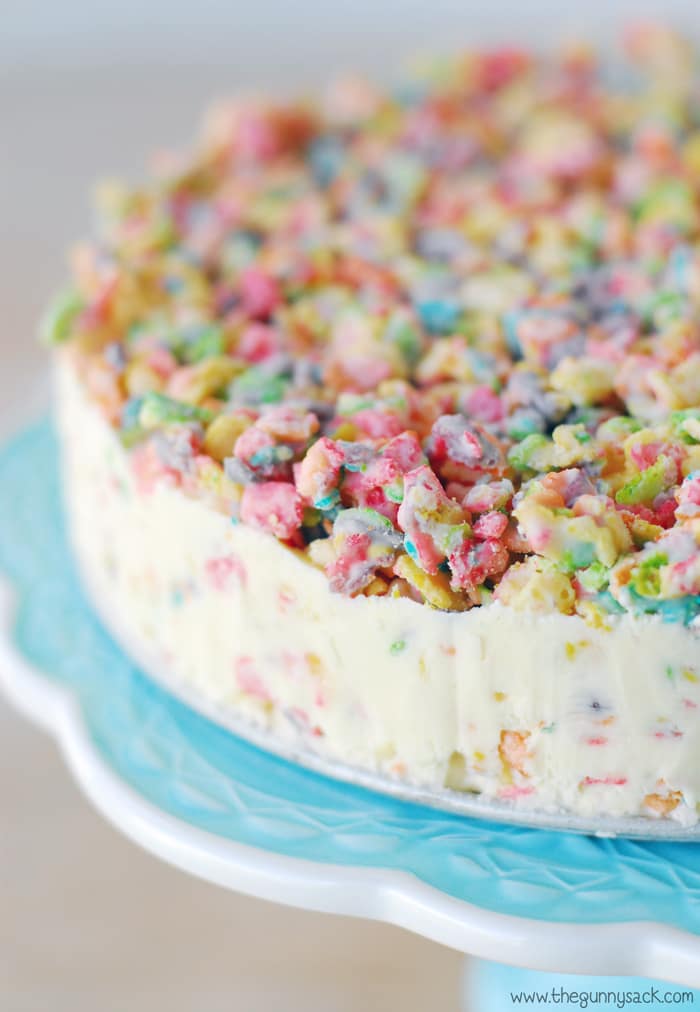
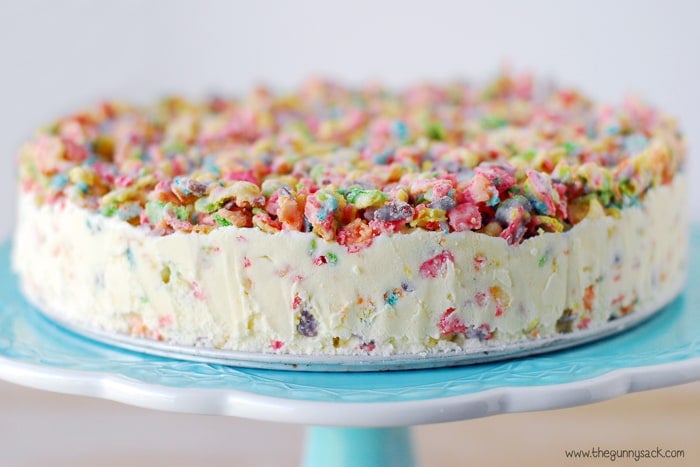
Leave the bottom of the springform pan in place and put the entire ice cream cake on a cake platter for serving.
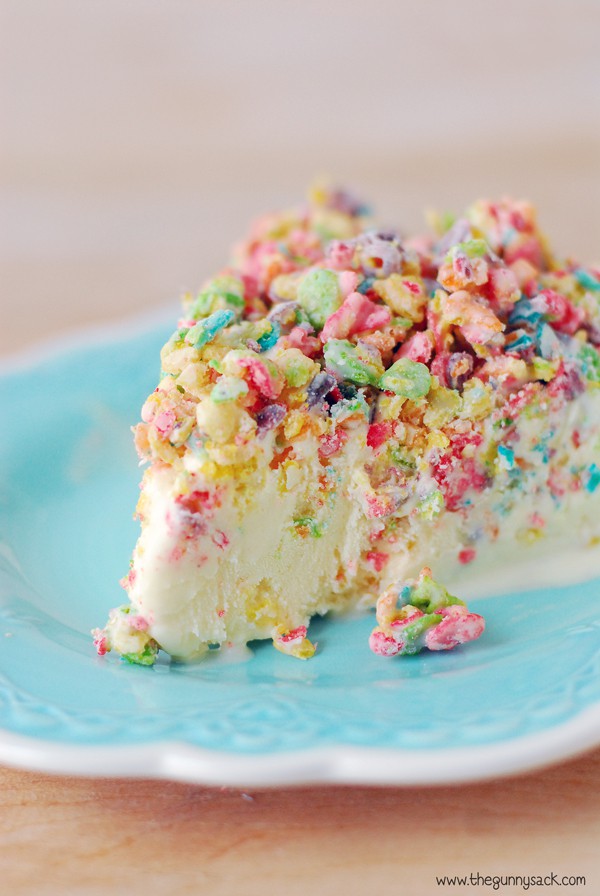
Dip a knife in very hot water, quickly dry it off and use the hot knife to cut the ice cream cake. Re-dip and dry the knife for each cut you make. Fruity Pebble Crunch Ice Cream Cake is an easy to make summer dessert and the kids will love it!

Fruity Pebble Crunch Ice Cream Cake
Ingredients
- 4 cups Fruity Pebbles
- 1 ½ cups white chocolate chips
- 1 ½ tablespoons shortening
- ½ gallon vanilla ice cream
Instructions
- To make the Fruity Pebble Crunch Ice Cream Cake, start by placing half a gallon of vanilla ice cream in the fridge to soften.
- Put Fruity Pebbles into a large bowl. Melt white chocolate chips and shortening in the microwave. Pour the melted chocolate over the cereal and stir until evenly coated.
- Pour the coated cereal onto a piece of parchment paper. Allow the white chocolate coating to harden and then break the cereal into bite sized pieces.
- In a large bowl, quickly mix half a gallon of softened vanilla ice cream with 2 cups of the crunchy cereal pieces. Spread into a 9-inch springform pan before the ice cream melts.
- Top with the remaining crunchy cereal and press it into the ice cream.
- Cover the springform pan and place the ice cream cake in the freezer for 4-6 hours or overnight to harden. When ready to serve, remove from the freezer and slide a knife around the edges of the springform pan and then remove the sides.
- Dip a knife in very hot water, quickly dry it off and use the hot knife to cut the ice cream cake cake. Re-dip and dry the knife for each cut you make.

Nutrition
Recipe adapted from Biscoff Crunch Ice Cream Cake
Here are a few more ice cream desserts for summer:
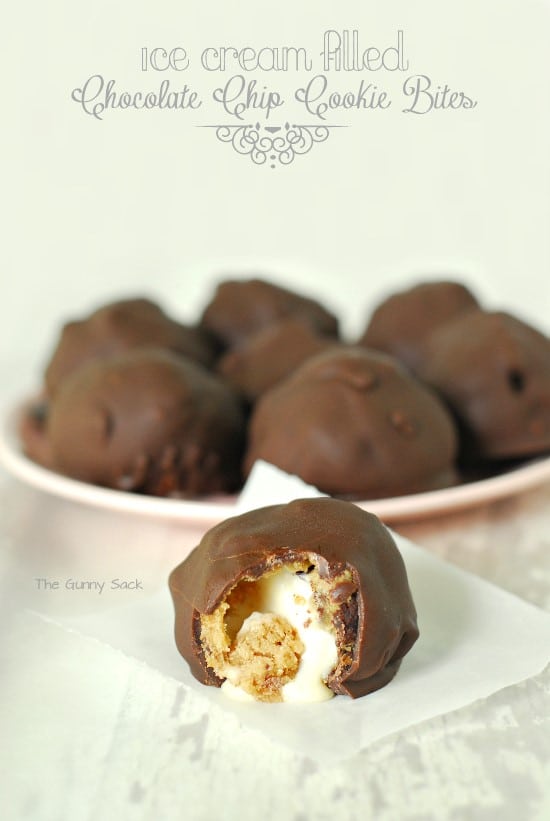
Ice Cream Filled Chocolate Chip Cookie Bites
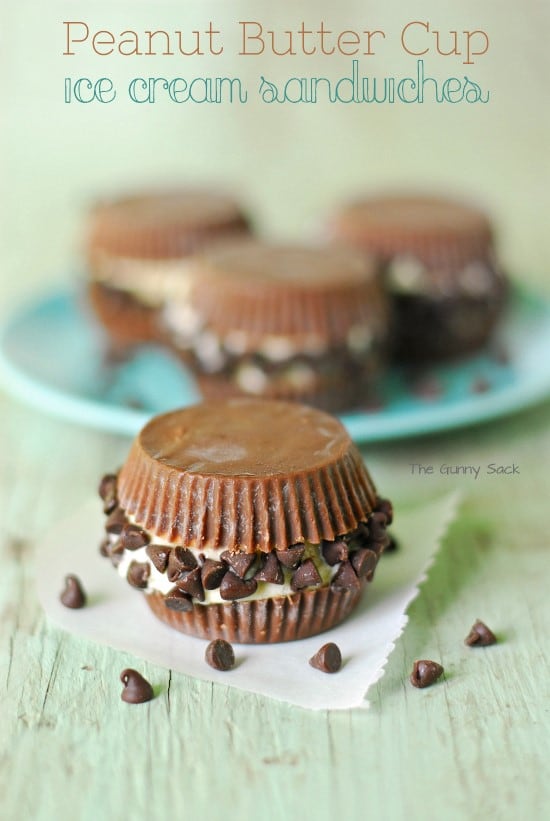
Peanut Butter Cup Ice Cream Sandwiches


Cindy says
This cake was so easy to make and it’s so delicious! I’ll definitely be making this again and again!
Cindy says
I know it says 4 cups of cereal- so 2 with the chocolate and 2 in the ice cream? Thanks!
Tonia says
Hi Cindy,
Coat all of it with chocolate so that it doesn’t get soggy. Then, use 2 cups for mixing in with the ice cream and the remaining two cups as a topping.
Enjoy!
~Tonia
Andria Laktzian says
This looks so YUMMMY!!! I’m planning to make this for my birthday tomorrow. Any suggestions for transporting to the beach for dinner time?
Tonia says
Hi Andria,
The earlier in the day (or even tonight) that you can make the cake the better off you will be because it will have more time in the freezer. Pack it in a cooler with lots of ice or ice packs surrounding it so that it stays frozen. Even so, the cake might end up a little soft by the time you eat it a the beach but soft serve ice cream is delicious too! Oh and be sure to put the cake in a container or wrap it well because once it starts to melt, it will leak out of the springform pan. Happy Birthday!!
~Tonia
Meredith says
Can you use coconut oil for shortening?
Tonia says
Yes, but you will need to use less coconut oil than you would shortening. I would try 3 teaspoons for 1 1/2 cups of chocolate chips. If the chocolate is too thick, you can always add more coconut oil. Best of luck! ~Tonia
sandy says
I’ve made this recipe of yours and going to try it out again but with Cinnamon Toast Crunch — coworker’s bday who LOVES Cinnamon over his vanilla ice cream so thought this would be a cool option 🙂 Cross my fingers it translates as well as Fruity Pebbles 🙂
lynda says
Just made this for my son’s 16th! He doesn’t like cake but loves his Fruity Pebbles!
Tonia says
Wonderful! Happy 16th to your son!
Brittany says
Is it necessary to do the white chocolate and shortening thing? Is there something else that could be done as an alternative. Chocolate isn’t my preference.
Tonia says
The chocolate coats the cereal to keep it from getting soggy. It’s up to you though if you want to leave it off! ~Tonia
Jenna says
Ummm…..swoon! This looks amazing and I can’t wait to try this out when the family gathers next weekend….if I can keep out of it. Yummy! Sharing on FB today!
Sarah says
So this is a total of six cups of cereal? I also noticed you put tinfoil around the bottom of your pan. Would you suggest doing that or were you just being cautious? Thanks!
Tonia says
Hi Sarah,
It is 4 cups of cereal. Yes, I put the tinfoil around the bottom because I was worried the ice cream would leak out but it didn’t. Good luck!
~Tonia
Rachelle says
What if you don’t have a springform pan? Can you use a regular pan?
Tonia says
Yes! You can use a regular pan. Enjoy!
Ashley says
Seriously where has this been my whole life?? I’m not an ice-cream person but I already have plans for this and it’s December!! Great recipe can’t wait to try it.
Libby says
Can we just use the white chocolate and not use the shortening? Or is there a substitution for it?
Tonia says
Yes, you can melt the white chocolate without the shortening. It helps to thin the white chocolate, but it should work without it too. Happy Baking! ~Tonia
Clovis says
Can I use butter as a cup for cup substitution for the shortening?
Thanks
Tonia says
Thanks Clovis! Butter contains more water than shortening and can cause the melted chocolate chips to seize. The shortening helps thin the melted chocolate chips.
Rose prentiss says
On the fruity pipes ice cream cake what is the shortening for??
Tonia says
It’s used in step 2:
Put Fruity Pebbles into a large bowl. Melt white chocolate chips and shortening in the microwave. Pour the melted chocolate over the cereal and stir until evenly coated.
The shortening thins the melted white chocolate chips so that they can more easily coat the Fruit Pebbles.
capturing joy with kristen duke says
What a fun and tasty idea, I grew up loving Fruity Pebbles! Pinning!
Brittany Fry says
This sounds delicious and looks so pretty! Where did you get your blue cake stand? I love it!!!!
Tonia says
Thanks Brittany! The cake stand is from Pier 1.
Crystal says
This is genius, Tonia! I can’t wait to make this for my kids, they’re going to love it!
Melissa says
What a great idea! Now my mind is racing with the different flavor combos you could do. Maybe peanut butter ice cream with Cocoa Puffs? YUMMY!