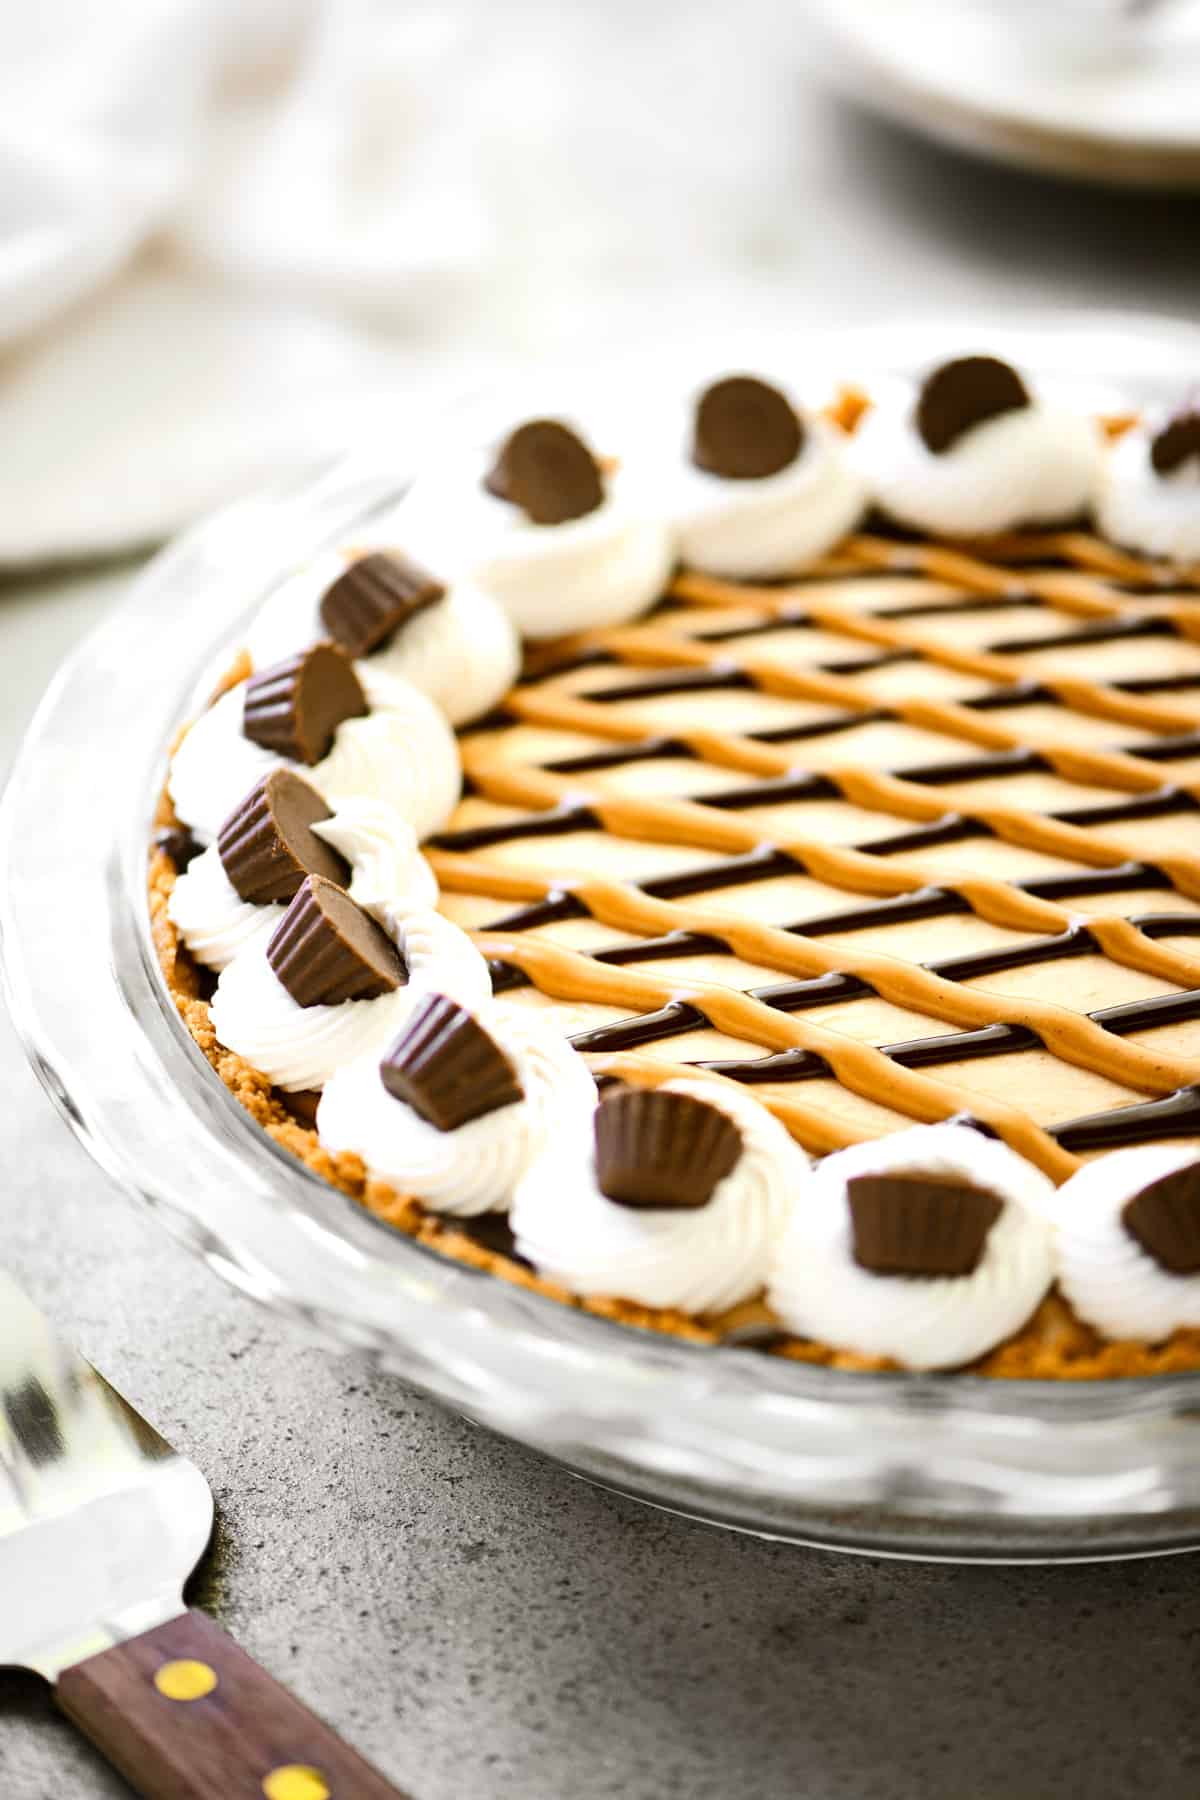
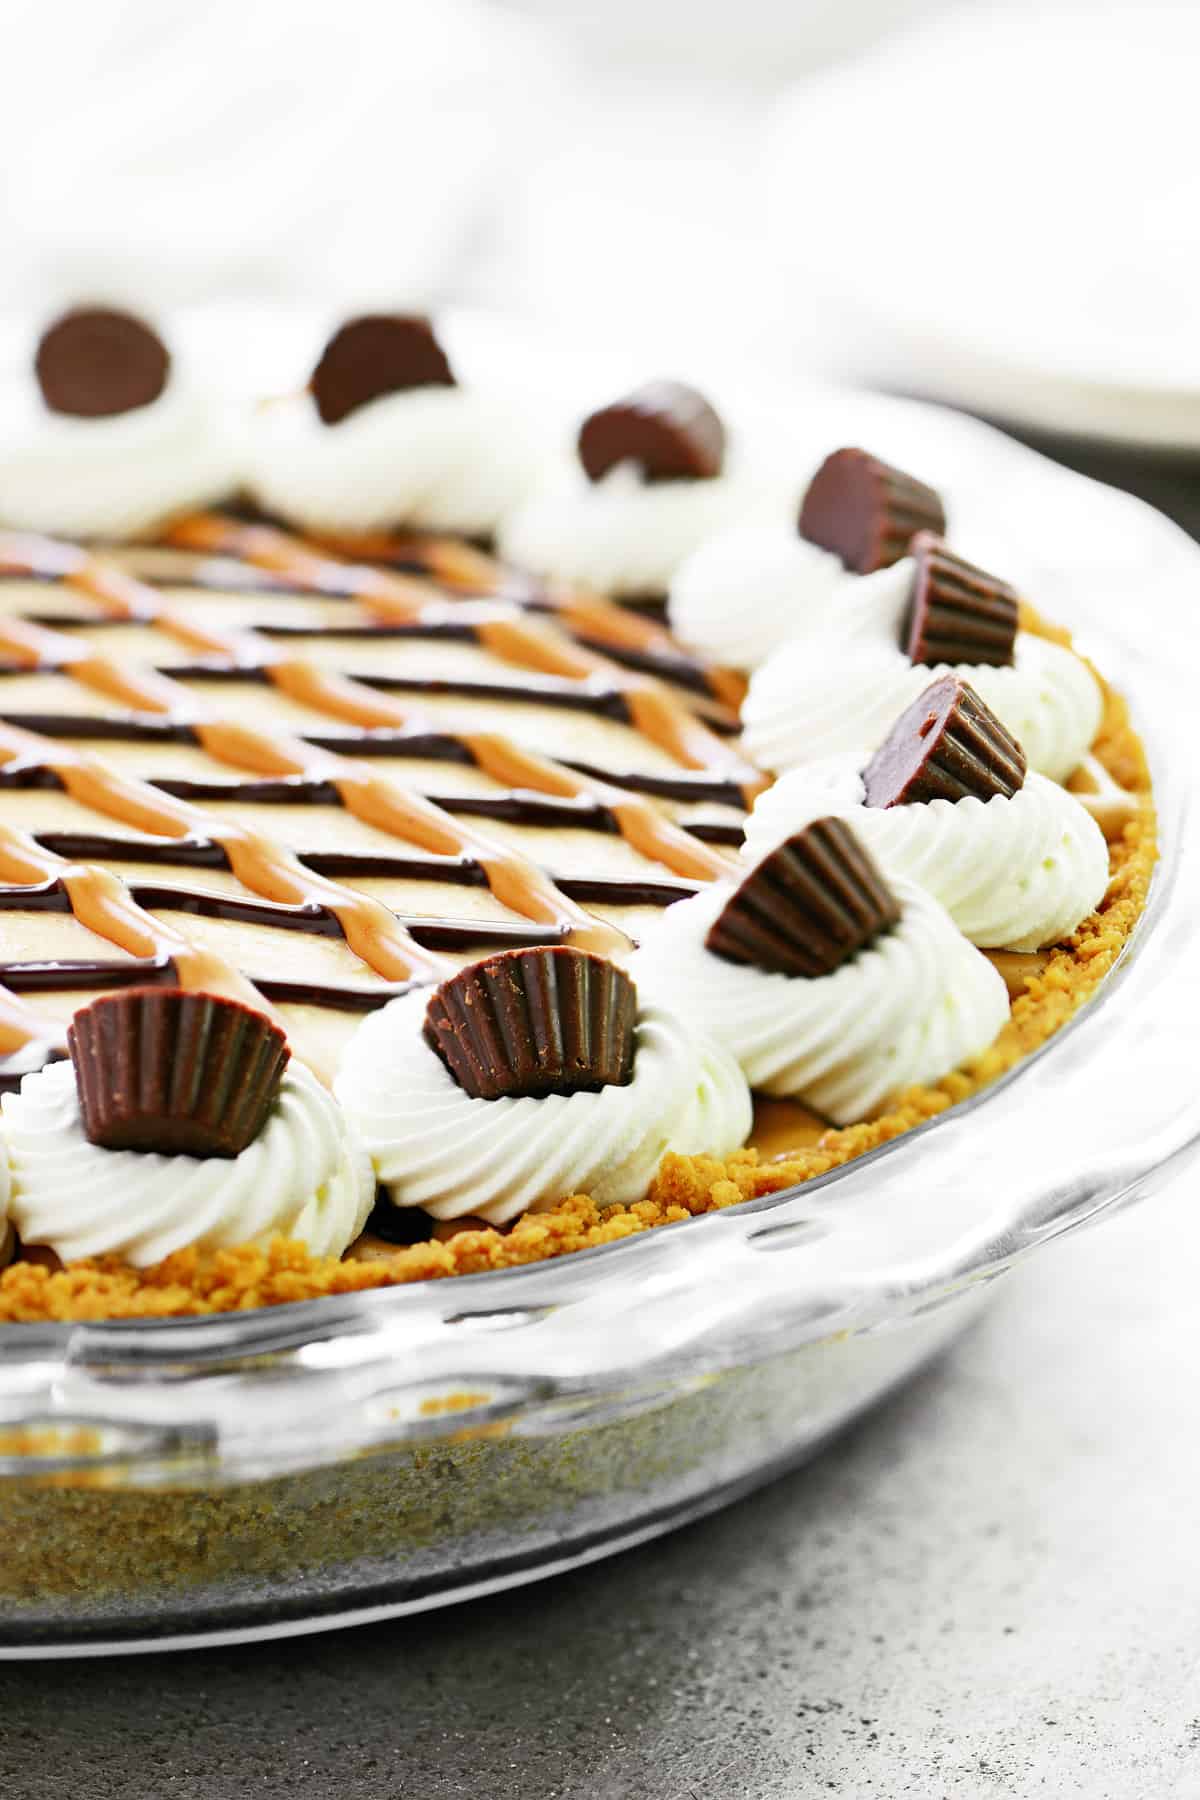
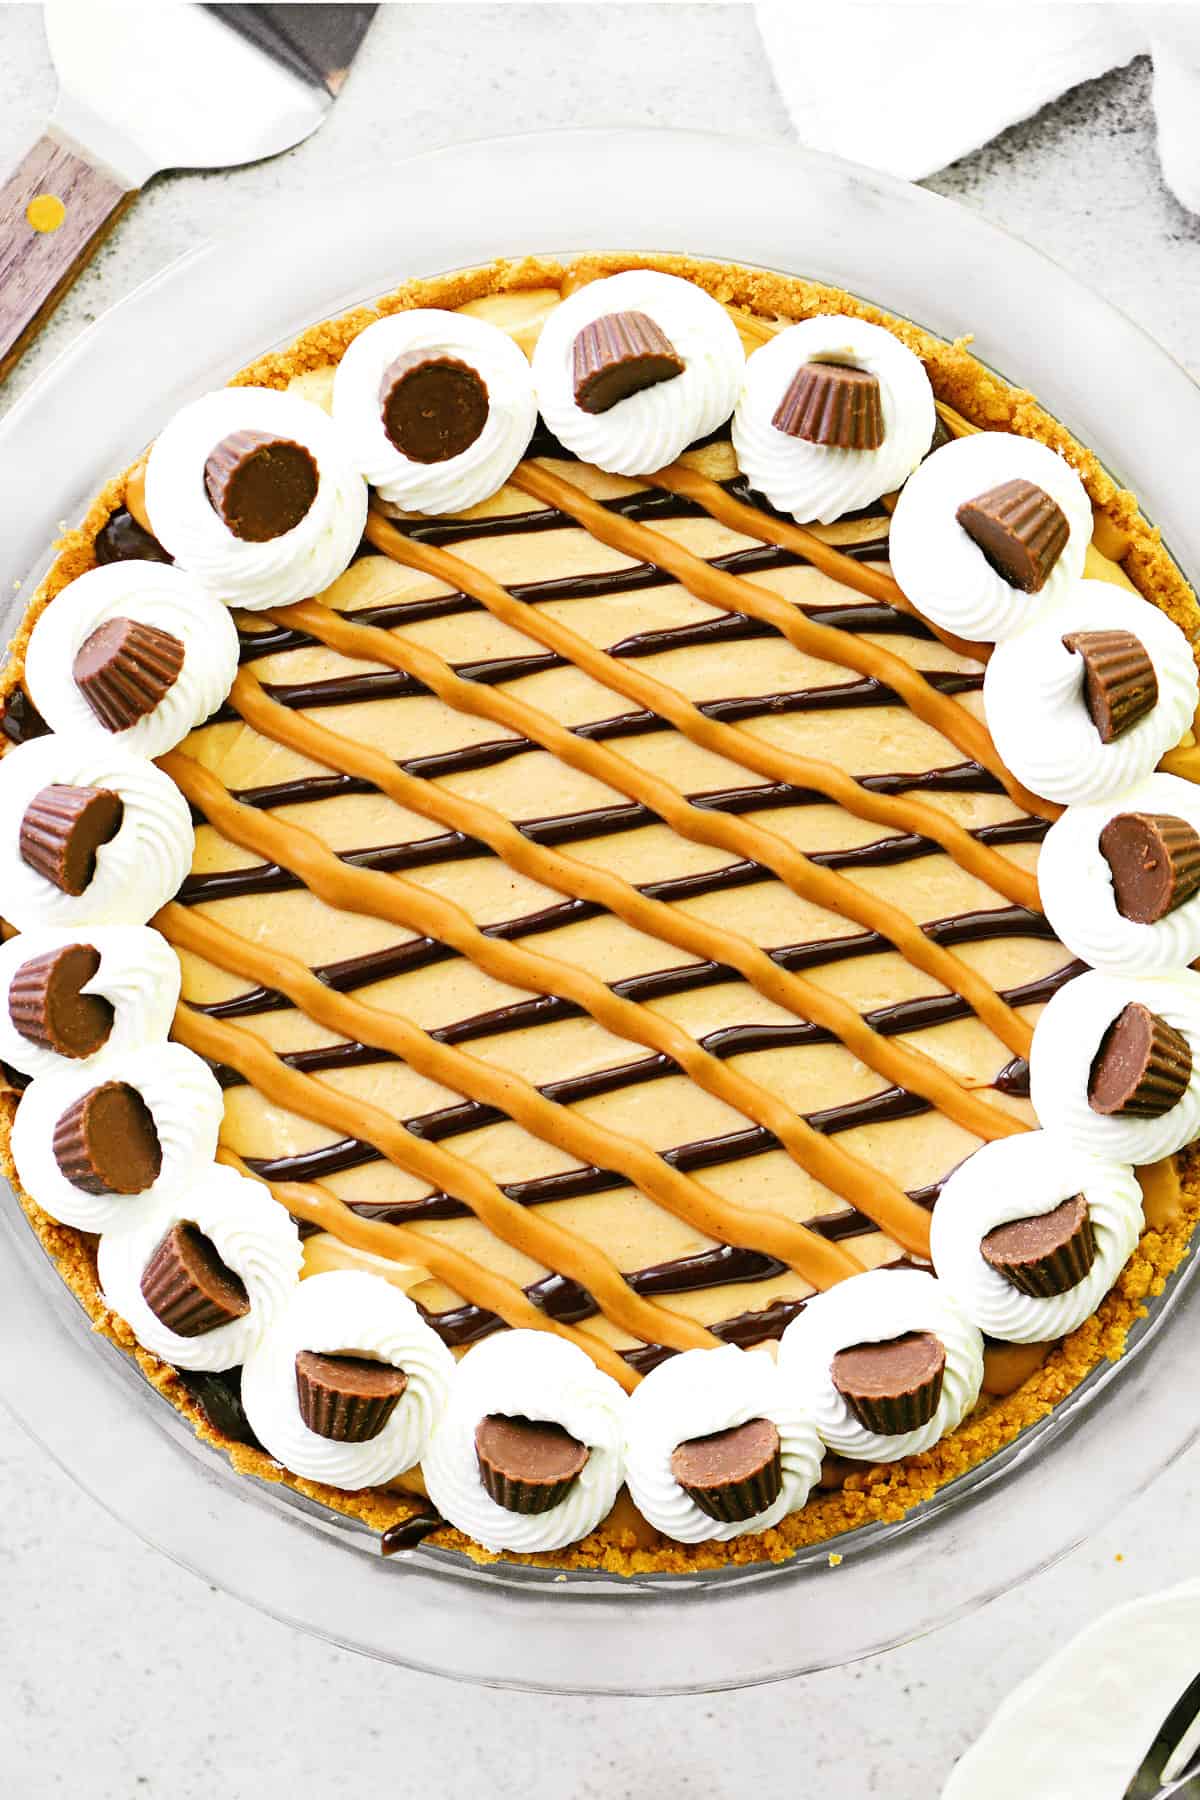
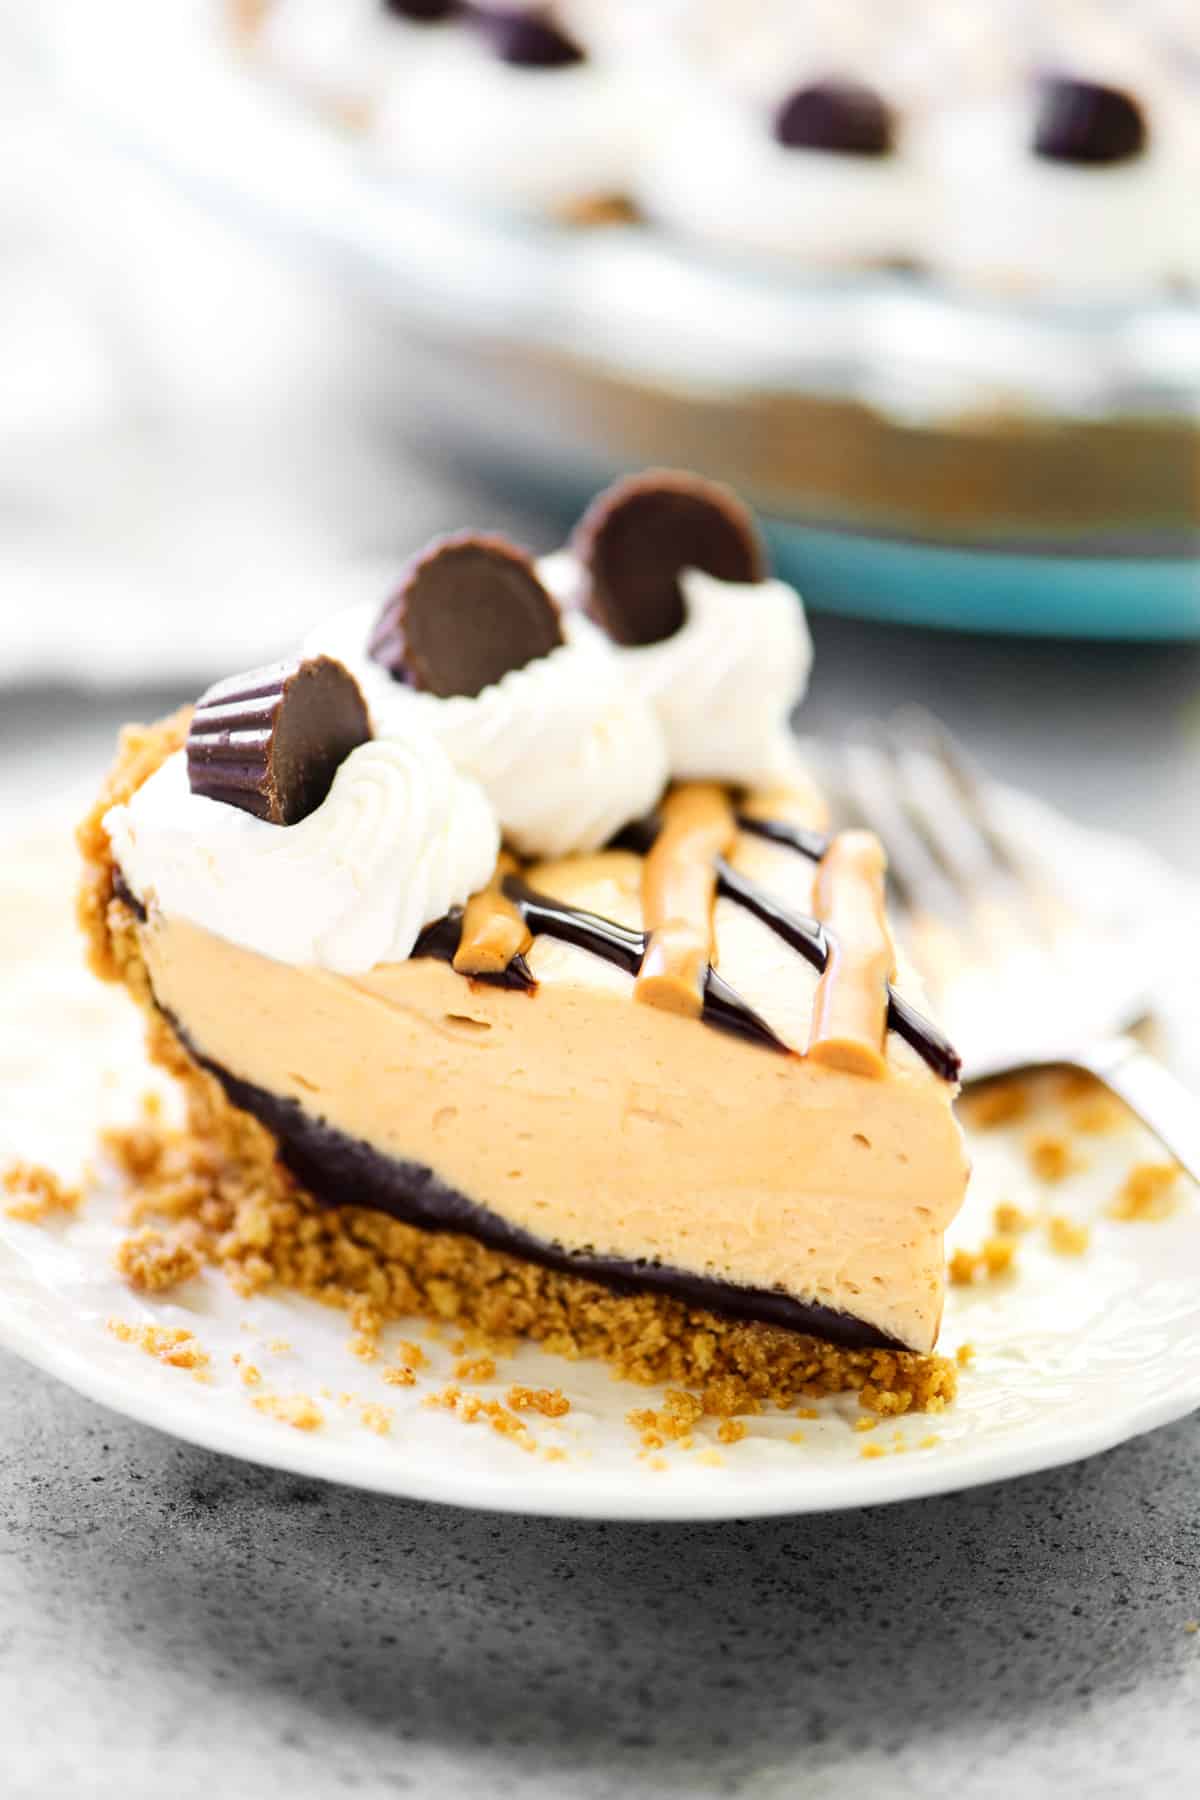
No bake Oreo Peanut Butter Pie has a cookie crust, a creamy filling, and a hidden chocolate layer, with mini peanut butter cups on top!
We are a family of peanut butter lovers, with Reese’s peanut butter cups topping the list of our favorite candy bars. So, this no-bake peanut butter pie is perfect for us! The combination of the silky filling and Oreo cookie pie crust is irresistible.
Table of Contents
How To Make Oreo Peanut Butter Pie
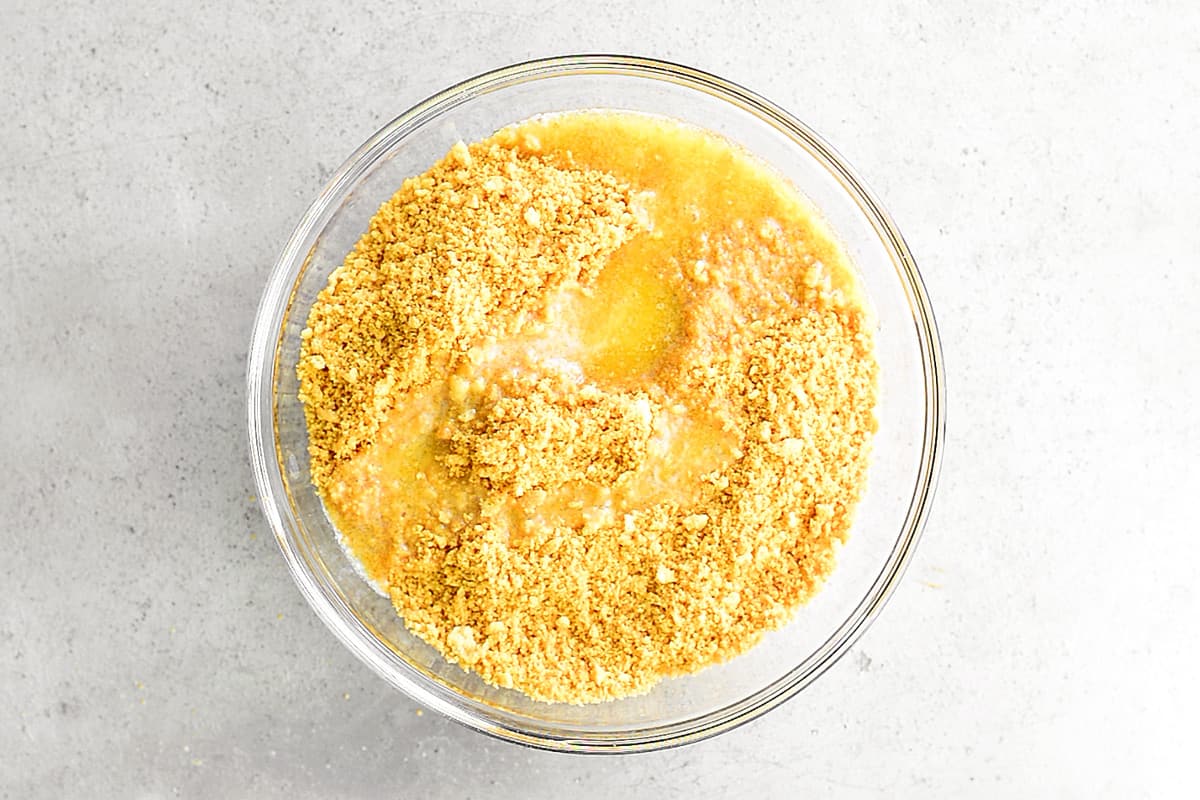
Put the crushed Oreos and melted butter in a bowl and stir until evenly moistened. Then, press the mixture into a 9-inch pie pan.
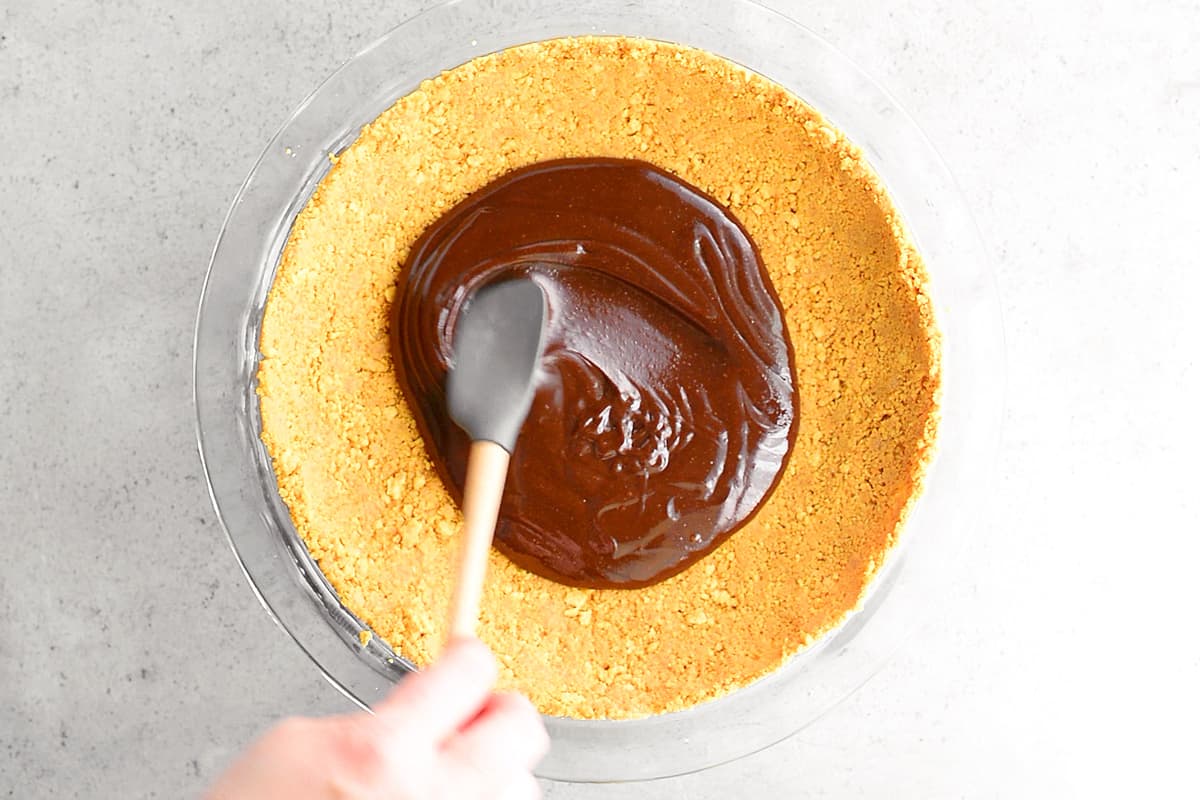
Warm the chocolate fudge sauce in the microwave and then spread it over the crust. Place the pan in the freezer to cool.
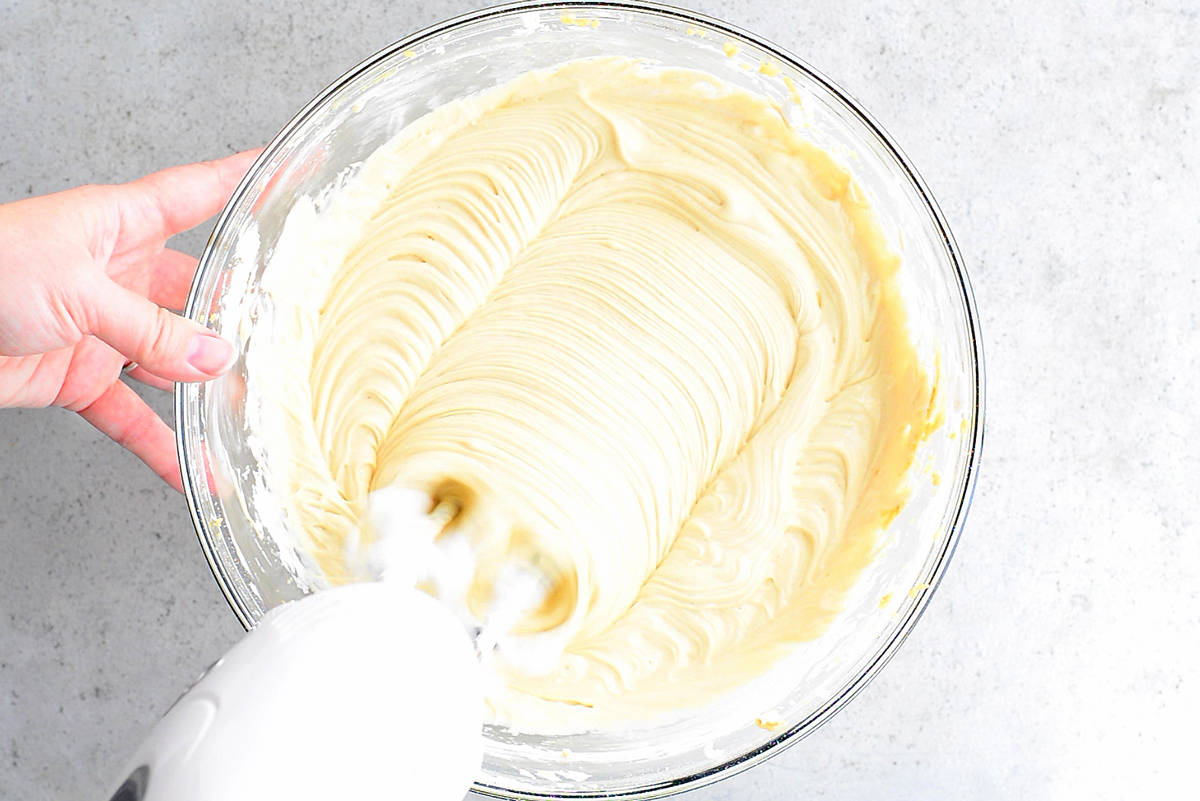
Beat the softened cream cheese for two minutes, until light and fluffy. Then, stir in the peanut butter, powdered sugar, and vanilla until smooth. Next, mix in the Cool Whip. Finally, spread the filling over the chilled chocolate layer in the crust.
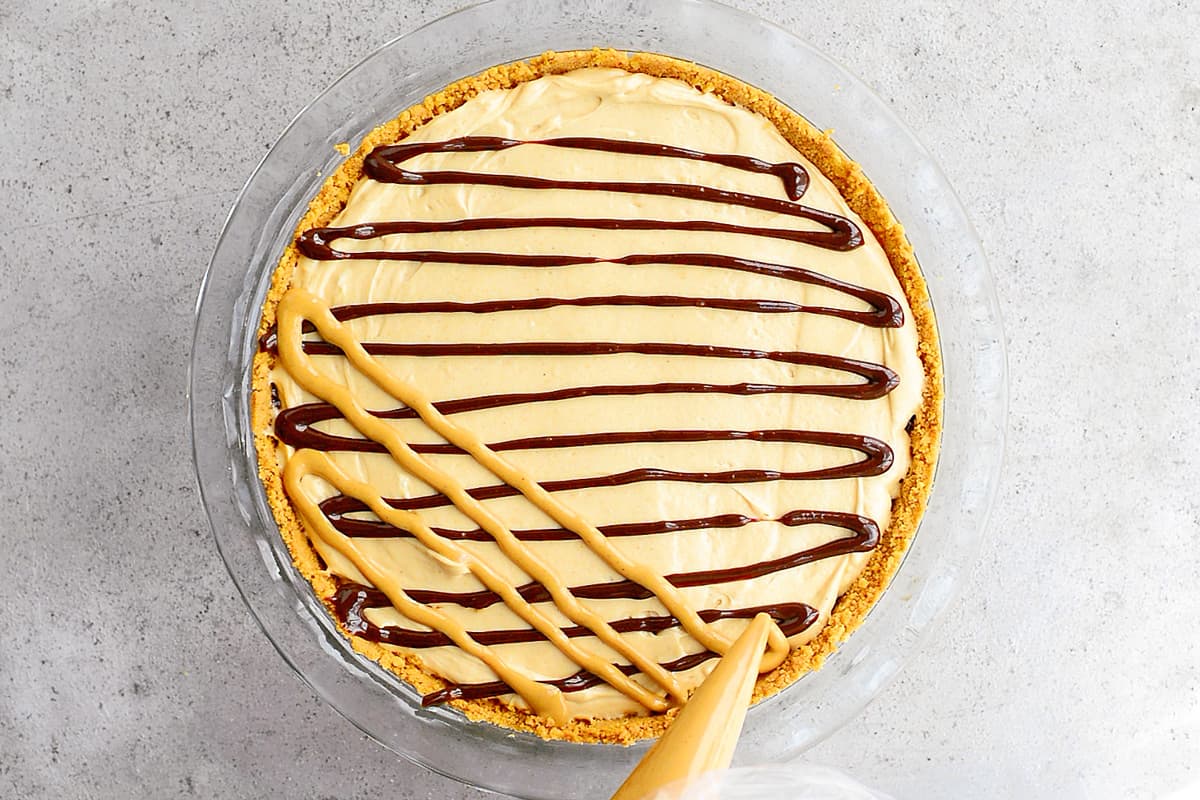
Melt more chocolate fudge sauce to drizzle over the top and then drizzle melted peanut butter in the opposite direction.
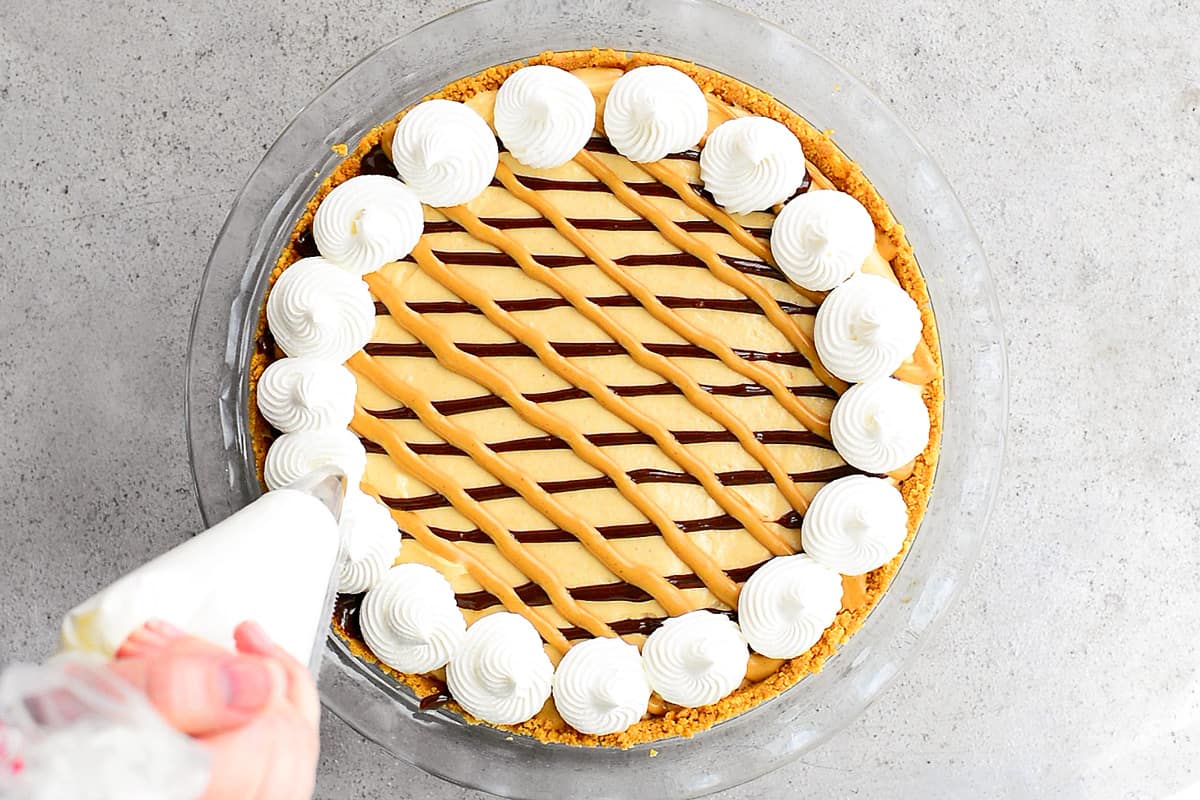
Pipe swirls of Cool Whip around the edge of the pie.
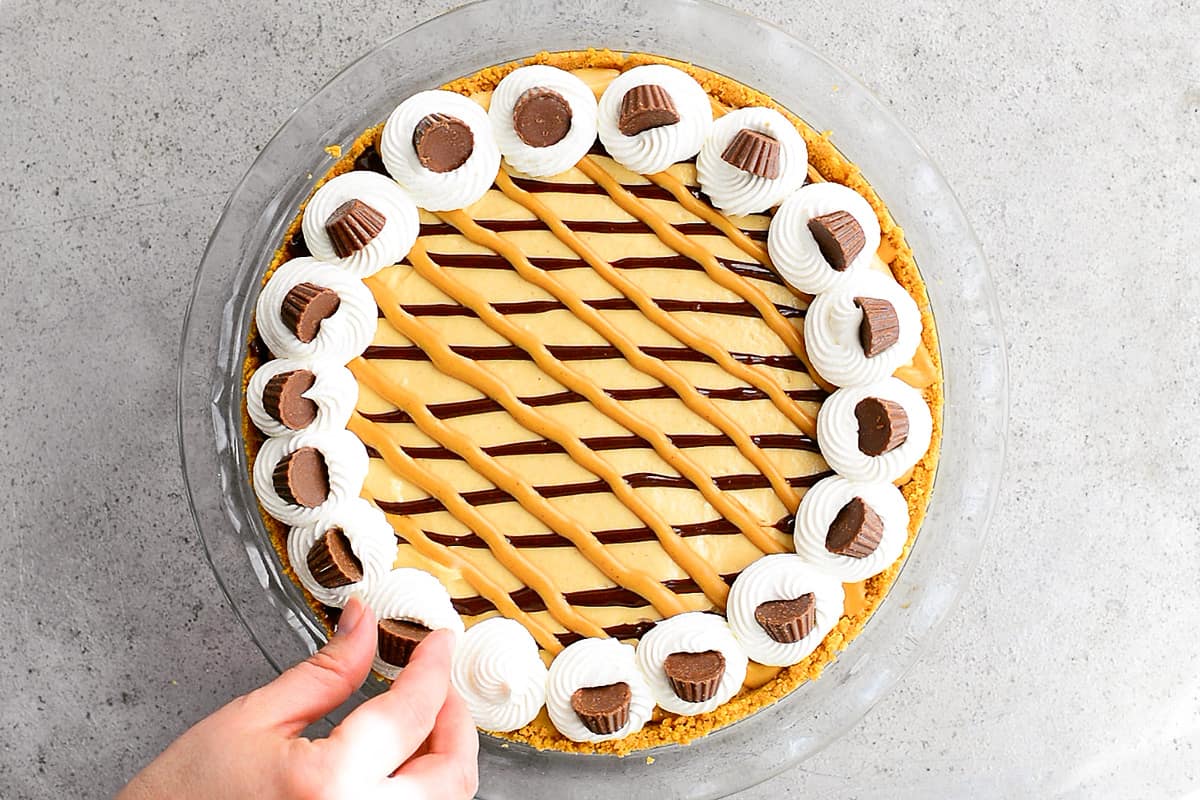
Press a mini peanut butter cup into the center of each swirl. If you can’t find the mini size, you can cut larger peanut butter cups into pieces. Then, place the pie in the freezer to harden or if you have more time, you can put it in the fridge overnight.
Frequently Asked Questions
You can use any of the regular Oreo cookie sandwiches (not the thins or the double-stuffed ones). Golden Oreos and classic Oreos are widely available. But you can also use peanut butter Oreos or the chocolate peanut butter pie flavor.
I used chocolate fudge ice cream topping, but chocolate ganache would be amazing as the bottom layer. To make it, heat 1/2 cup of heavy cream just until it starts to boil. Pour it over one cup of chocolate chips and allow it to sit for three minutes. Then, stir until smooth.
Yes, you can substitute the Cool Whip with an equal amount of whipped cream.
The melted peanut butter and chocolate drizzles will look more even when you pipe them on the pie. Use a pastry bag or even a sandwich bag with the corner clipped off.
Tonia’s Notes
My high school daughter ran home during a free period to pick up this Oreo peanut butter pie to share with her friends. She had already shown them pictures of the pie, and they REALLY wanted some.
She ran into the house and grabbed the pie as well as some paper plates, plastic forks, and napkins. After returning to school, she said the pie was gone in less than two minutes. Even her friend Genevieve liked it, and she had never found a pie she liked!
More Cream Pies
- Old fashioned Coconut Cream Pie is cool and creamy!
- This Banana Cream Pie is covered with sliced bananas!
- Key Lime Pie is sweet and tart with a graham cracker and macadamia nut crust.
- This rich, creamy, decadent, Chocolate Pie is a crowd-pleaser!
Oreo Peanut Butter Pie
Video
Ingredients
Oreo Crust
- 25 Oreo sandwich cookies any flavor
- 5 tablespoons butter melted
Peanut Butter Pie Filling
- ¾ cup chocolate fudge sauce
- 8 ounces cream cheese softened
- 1 cup creamy peanut butter
- 1 cup powdered sugar
- 1 teaspoon vanilla
- 4 cups Cool Whip
Toppings
- ¼ cup creamy peanut butter melted
- ¼ cup chocolate fudge sauce melted
- 1 ½ cups Cool Whip
- 18 mini Reese’s peanut butter cups
Instructions
- Crush the Golden Oreo sandwich cookies in a food processor or with a rolling pin. Stir in the melted butter and press into a 9-inch deep-dish pie plate.
- Warm the chocolate fudge sauce in the microwave until it is pourable. Spread it over the crust. Place in the freezer to cool.
- Beat the softened cream cheese for about two minutes until light and fluffy. Mix in the peanut butter, powdered sugar, and vanilla until combined. Stir in the Cool Whip until smooth. Scoop into the Oreo crust and spread out evenly.
- Drizzle with melted peanut butter and chocolate fudge sauce.
- Put the Cool Whip into a pastry bag fitted with a French star tip and pipe swirls around the edge of the pie.
- Press a mini Reese's peanut butter cup in the center of each swirl.
- Place the pie in the freezer for about two hours, or until firm. Or you can refrigerate the pie overnight.


Julie D. says
This recipe looks wonderful! I would love to try and make it. But I can’t have gluten, and I think those candy bars have gluten in them. Is there any gluten free option I can use for the crust instead of the girl scout candy bars? Thank in advance for any advice you can provide.
Tonia says
Thanks Julie! I would suggest that you use your favorite brand of ready-made gluten free peanut butter cookies. You will need to add some peanut butter or butter to make the cookie crumbles stick together and form a crust since the Nestle Crunch Girl Scout candy bars are dipped in chocolate and have layers of peanut butter cream.
Kayla says
This looks soo good, candy bar desserts are always the best. I literally groaned when I saw this, it just looks that good ^.^
Macy says
This looks absolutely delicious! You’re pictures are always amazing! I could just look through your photos all day long! (and maybe eat the food while I’m at it! hehe!)
Tonia says
Thanks so much, Macy! I wish I could send you a piece of the pie!
Tonia says
Hi Ange,
See the comment above. Happy Baking!
~Tonia
Tonia says
Ahhhh…well there is always next week, right? 🙂 Thanks Jenna!
kristi@ishouldbemoppingthefloor says
This is so beautiful, Tonia…like show-stopping!! And I love that the crust is made of candy bars…wowzers!
Tonia says
Thanks so much, Jen!
Summer Davis says
Dear Tonia, please stop trying to make me fat.
Sincerely, Summer
*drooling*
Tonia says
Oh the dangers of being a food blogger! Thanks for stopping by, Summer!
Liz Fourez says
Tonia, this pie looks incredible! I’m totally drooling!!
Tonia says
Thanks, Liz!
cathy says
wow that is absolutely gorgeous!! One question, is there a pan that i can use besides the spring form?
Tia,
Cathy
Tonia says
You could make it in a 9×13 pan or two 9 inch pie or cake pans. You wouldn’t be able to take it out of the pan to put on a cake stand but that wouldn’t matter one bit! Thanks for stopping by and best of luck, Cathy!
Sony says
Hello, this looks divine! Do you need to grease the springform pan at all?
Tonia says
No, I did not grease the pan. Happy Baking! ~Tonia
Jennifer says
All I can say is WOWZA! My mouth is watering.
Tonia says
Thanks, Jennifer! I hope I didn’t bring on some major cravings. Too bad I can’t have you over for a slice! Wait a second, I just checked your blog and even at this very moment you are meeting your new little man! Congratulations!!!
Dorothy @ Crazy for Crust says
There are no words Tonia. None. OMG!
Tonia says
Dorothy, you never fail to make me smile! Thanks for stopping by!
Jenna says
Now this is a serious dessert! I just heard about the gs cookie bars yesterday! I can’t wait to try them and to make this lovely plate of sin! Thanks!
Tonia says
Yes, it is one seriously delicious dessert and I love that it is deceivingly easy to make! Thanks, Jenna!
Tanya Schroeder says
THis is the most incredible looking and sound pie! Oh I wish this was in my house right now! I have to get me some of those crunch bars! Yum!
Tonia says
Thank you, Tanya! I wish I could send you a pie!
Tracy says
can you substitute the sour cream. My kid is allergic to any kind of cheese
Tonia says
Hi Tracy,
I don’t think sour cream would set up like cream cheese but I’ve never tried it so I am not sure. Thanks for stopping by!
~Tonia
Roxana | Roxana's Home Baking says
Oh my! This is absolutely stunning looking! You can’t go wrong with peanut butter and chocolate!
Thanks for sharing Tonia.
Tonia says
Thanks, Roxana! What is it about the combination of those two flavors? Yummy!!
Lyuba@willcookforsmiles says
WOW! That looks amazing, girl! Can I just nose-dive? 🙂
Tonia says
For sure! Thanks, Lyuba!
Anna says
Tonia,it looks & sounds fabulous. i can’t wait to try it. Thank you for sharing it with us.
Tonia says
Thanks, Anna! Be sure to come back to tell me how it turns out!