Soft, homemade Dinner Rolls are simple enough for a weeknight meal but special enough for a holiday dinner! This easy dinner roll recipe was passed down from my mom.
I have been totally spoiled my whole life by getting to enjoy the fabulous homemade food my mom makes. If you’ve ever wondered where I learned to love baking and cooking, it is from my mom. She makes the most delicious dinner rolls and I finally learned how to make them myself!
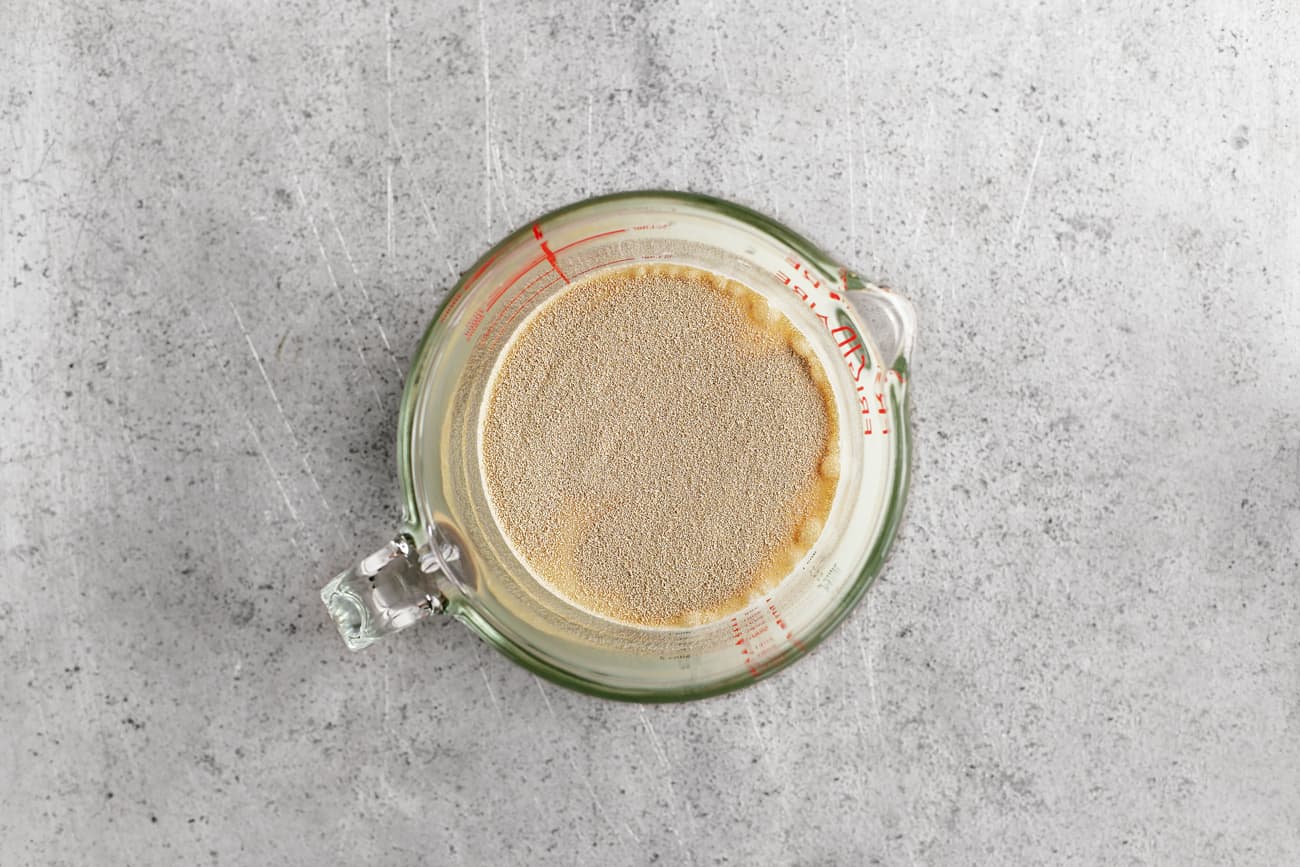
Homemade dinner rolls start with the yeast. Put warm water, warm milk, sugar and instant yeast in a small bowl and whisk to combine.
What temperature should the liquids be?
The water and milk should be 110˚F – 115˚F. Use a thermometer to check the temperature. I use this instant-read digital thermometer. If the liquids are too cold, warm them up briefly in the microwave. If they are too hot, allow them to cool before adding the sugar and the yeast.
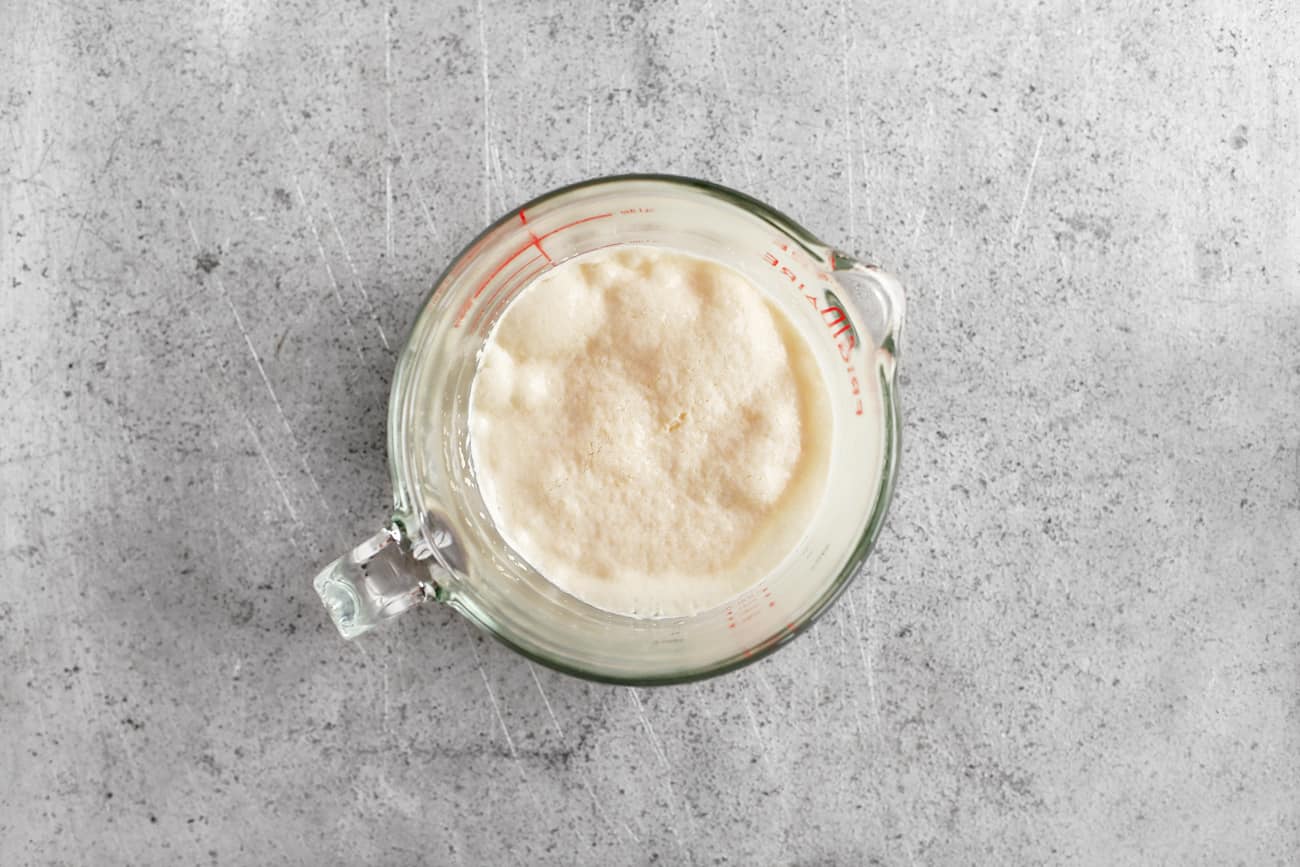
Cover the bowl with plastic wrap and let it sit for about 10 minutes, until foamy. If your yeast doesn’t foam, it is either expired or your water wasn’t the right temperature.
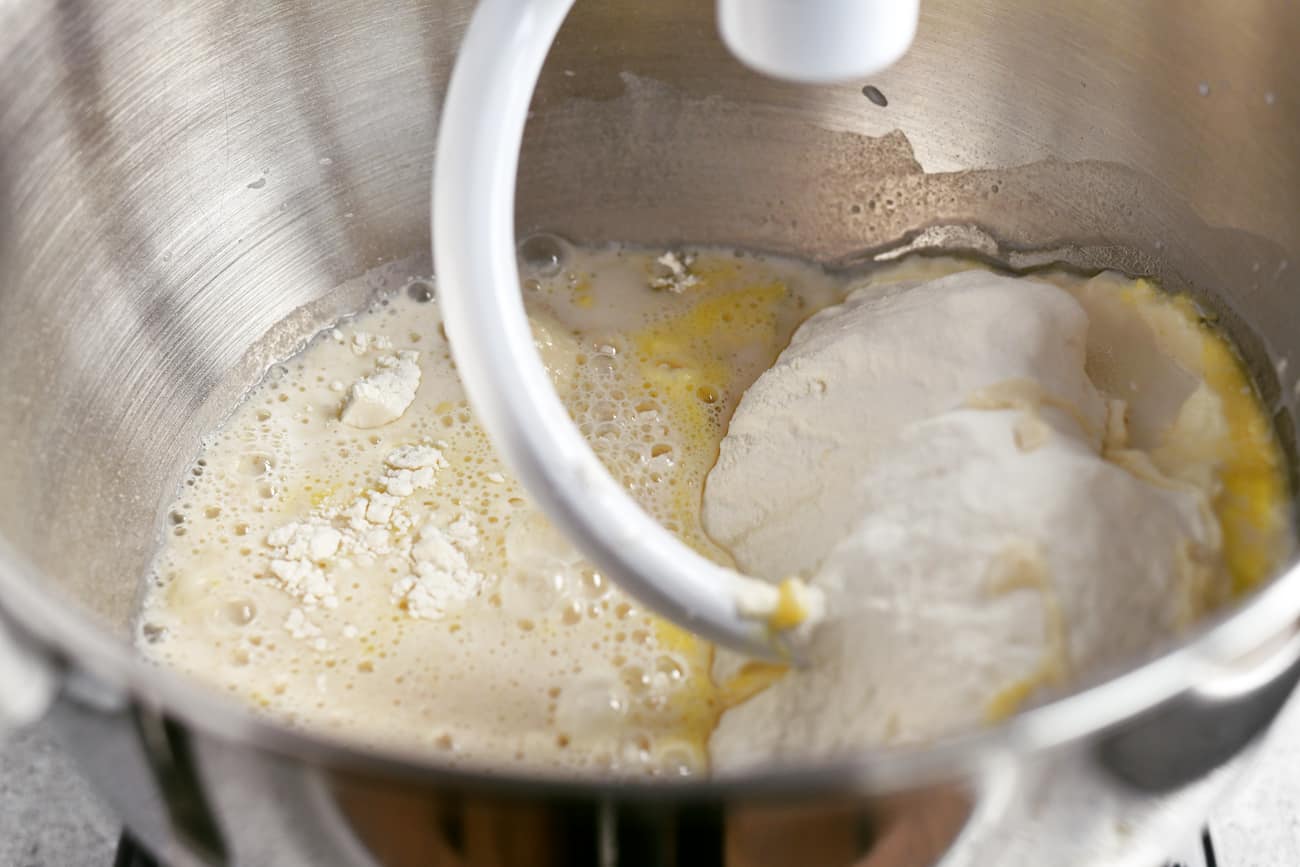
Put the flour, beaten egg, olive oil, and salt into the bowl of a stand mixer fitted with the dough hook attachment. Add the foaming yeast mixture.
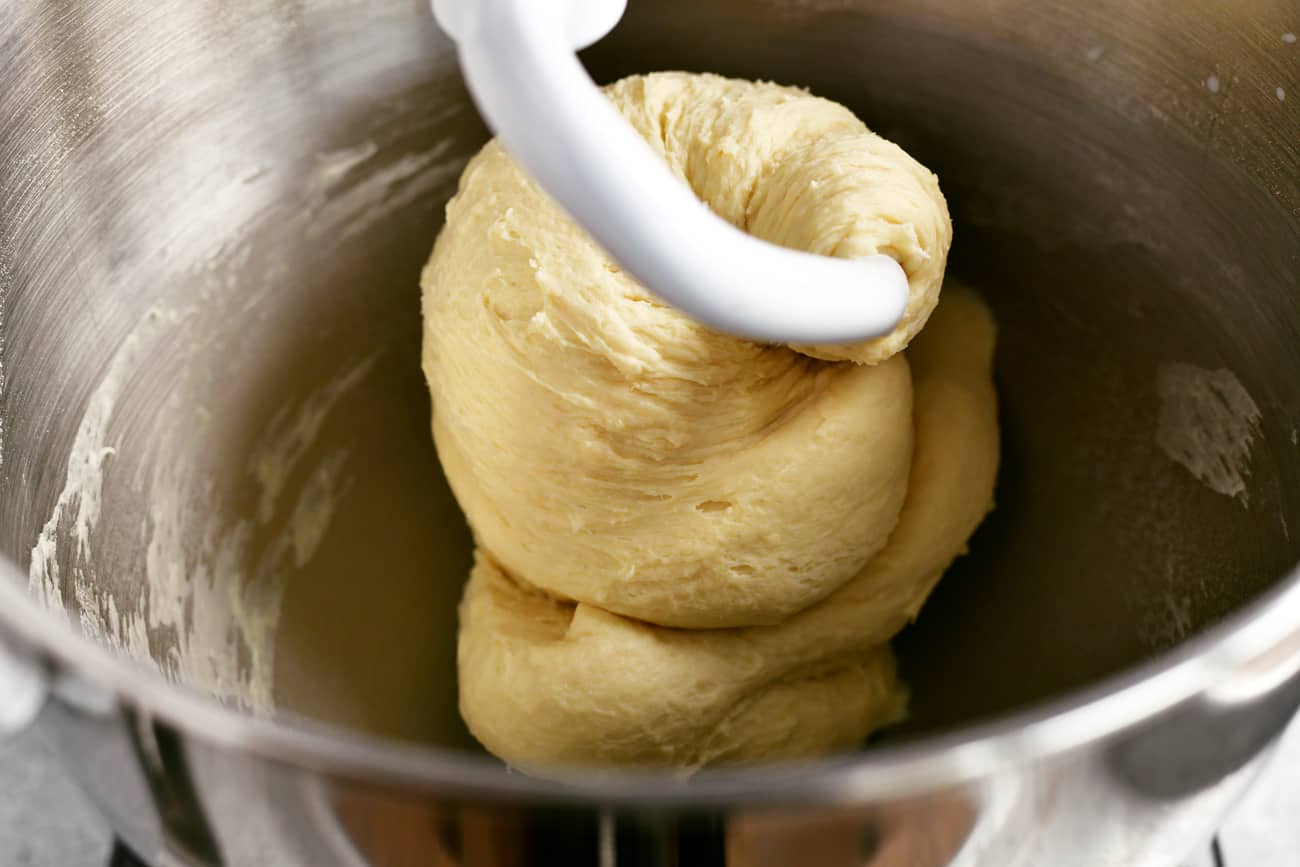
Knead the dough at low speed for 3-5 minutes, until smooth and elastic.
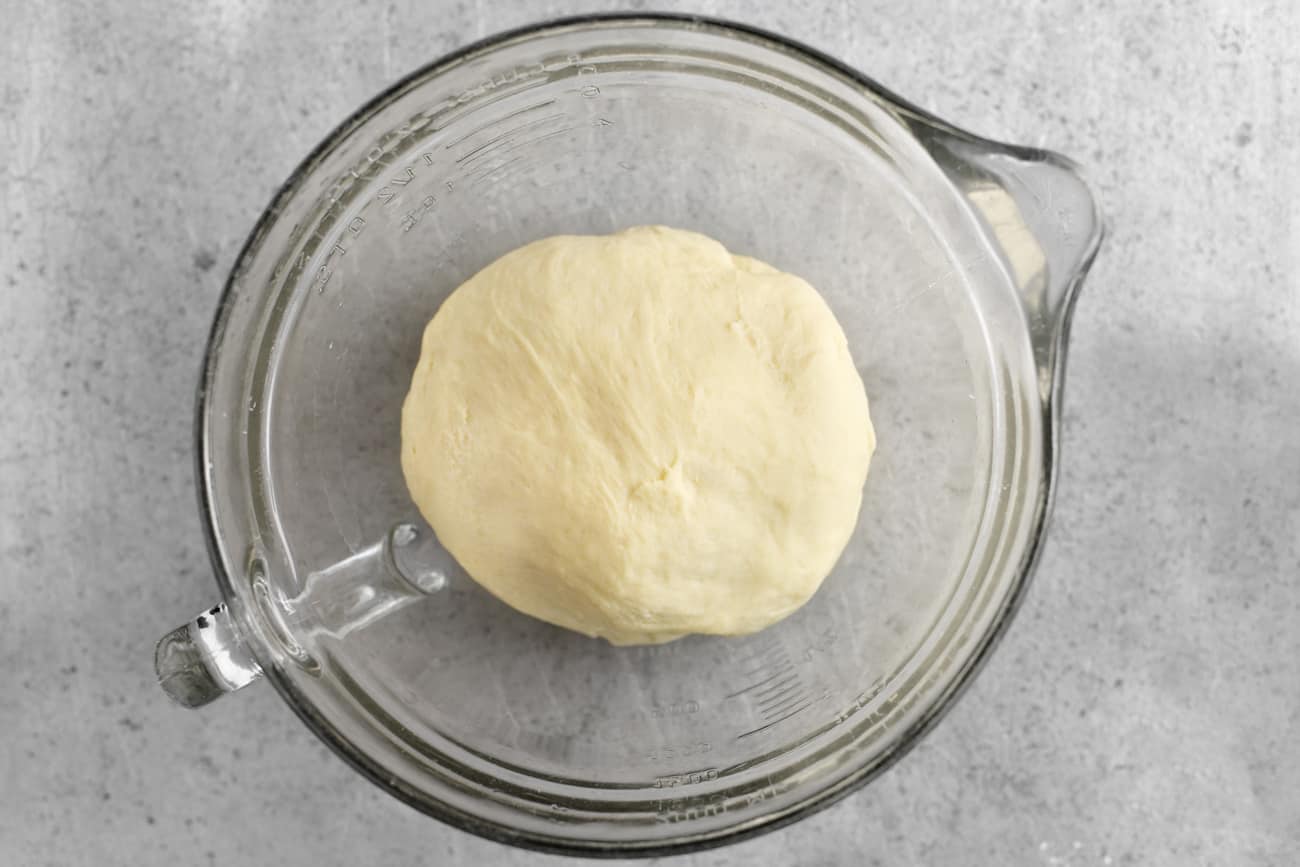
Transfer the dough to an oiled bowl. Cover the bowl with plastic wrap and place it in a warm, draft-free spot.
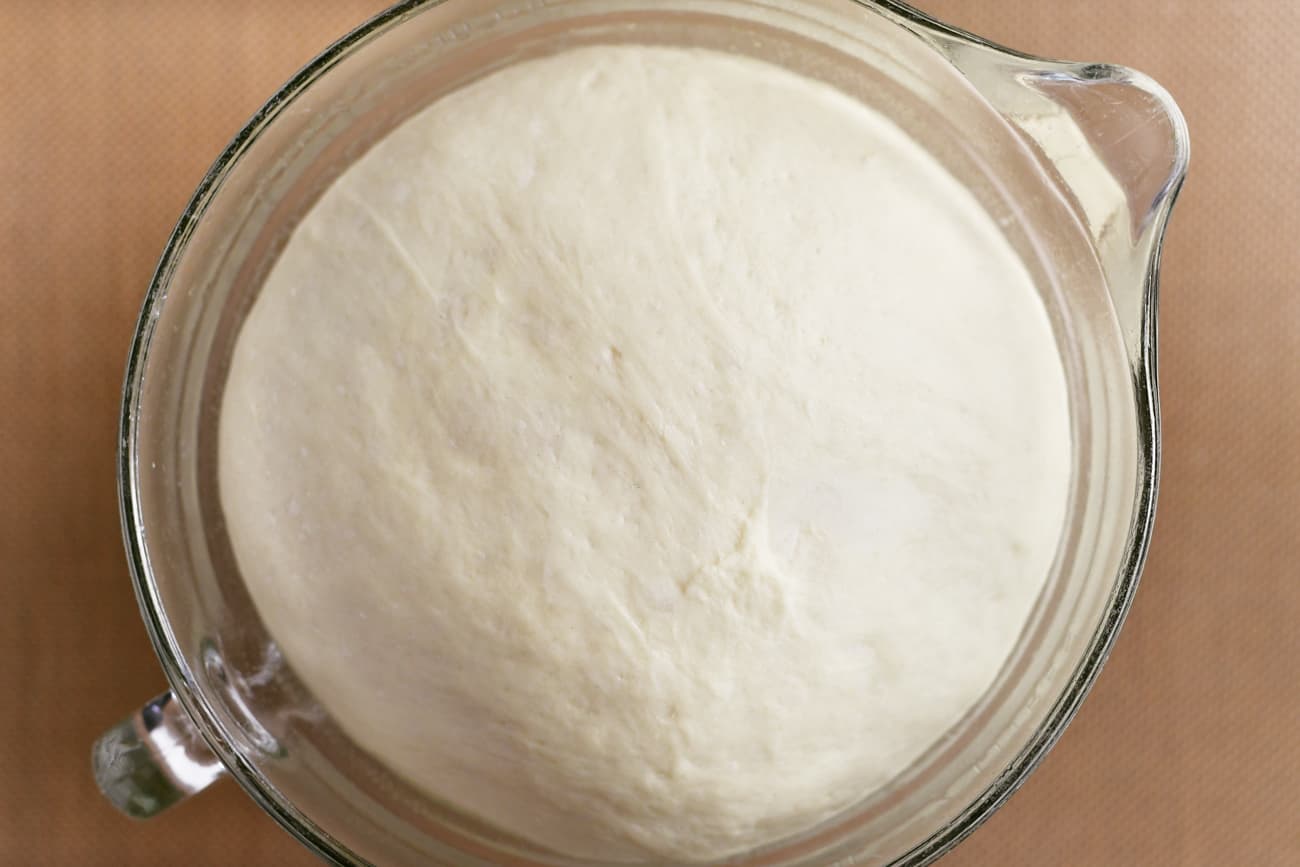
Allow the dough to rise for 60 minutes, or until doubled in size.
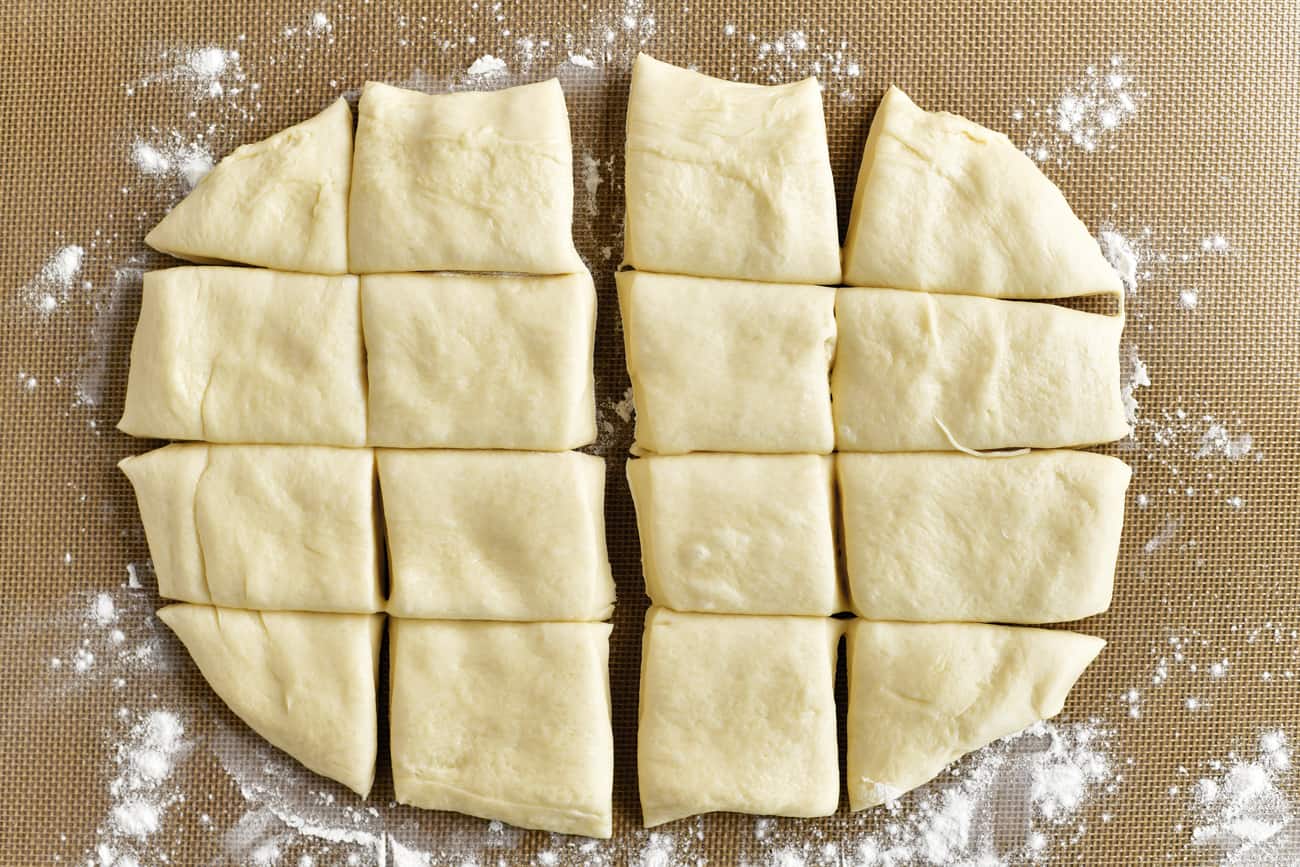
Punch the dough down and turn it out onto a floured surface. Flatten the dinner roll dough into a rectangle and cut in into 16 pieces.
If some of your pieces end up being a bit smaller than others (like mine did in the picture above) you can take a little dough from one of the large pieces to add to a smaller piece.
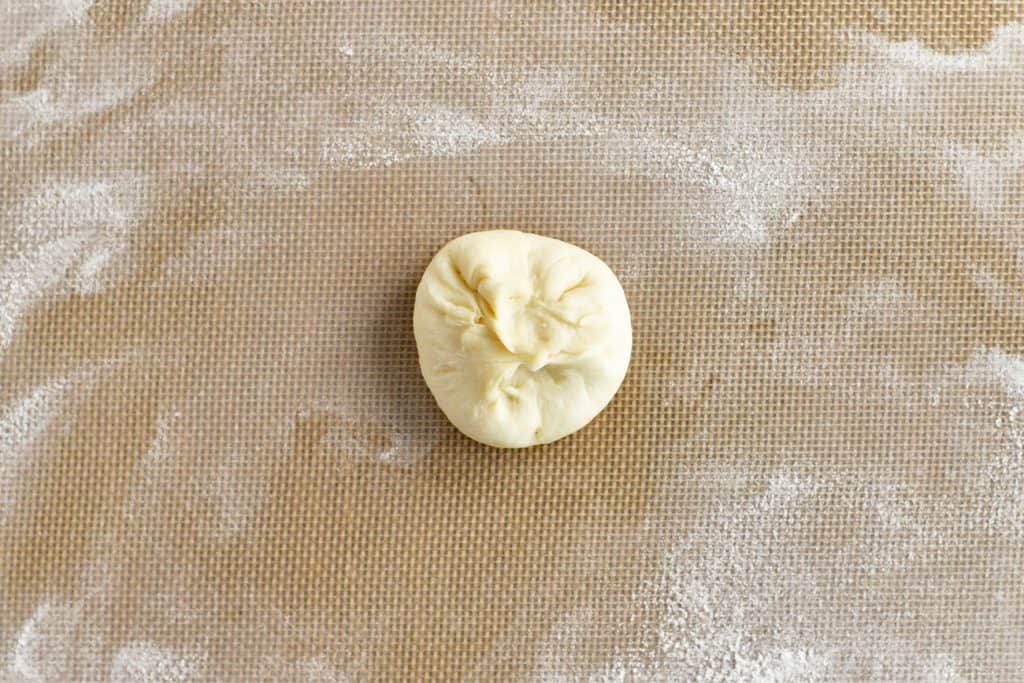
Take one piece of dough and gather the corners together to form a little bundle.
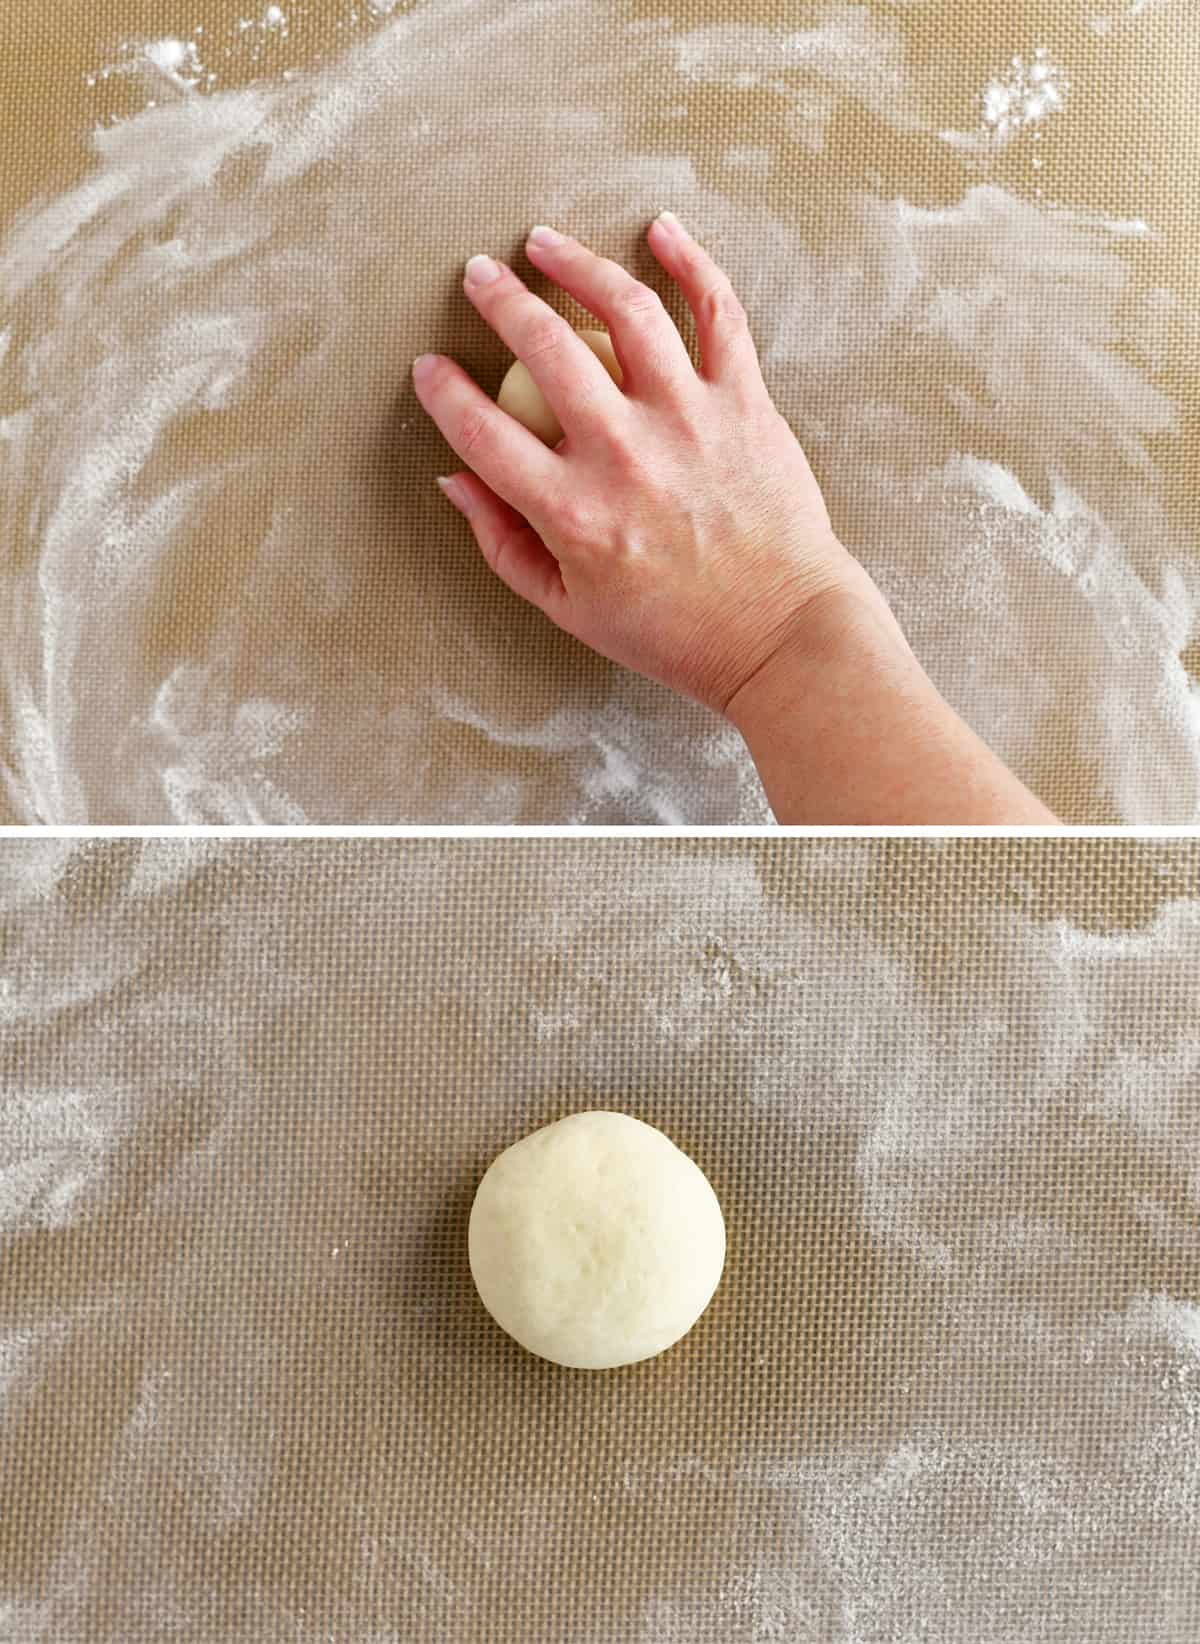
Flip the piece of dough over and and gently roll the dough into a smooth ball under your cupped hand.
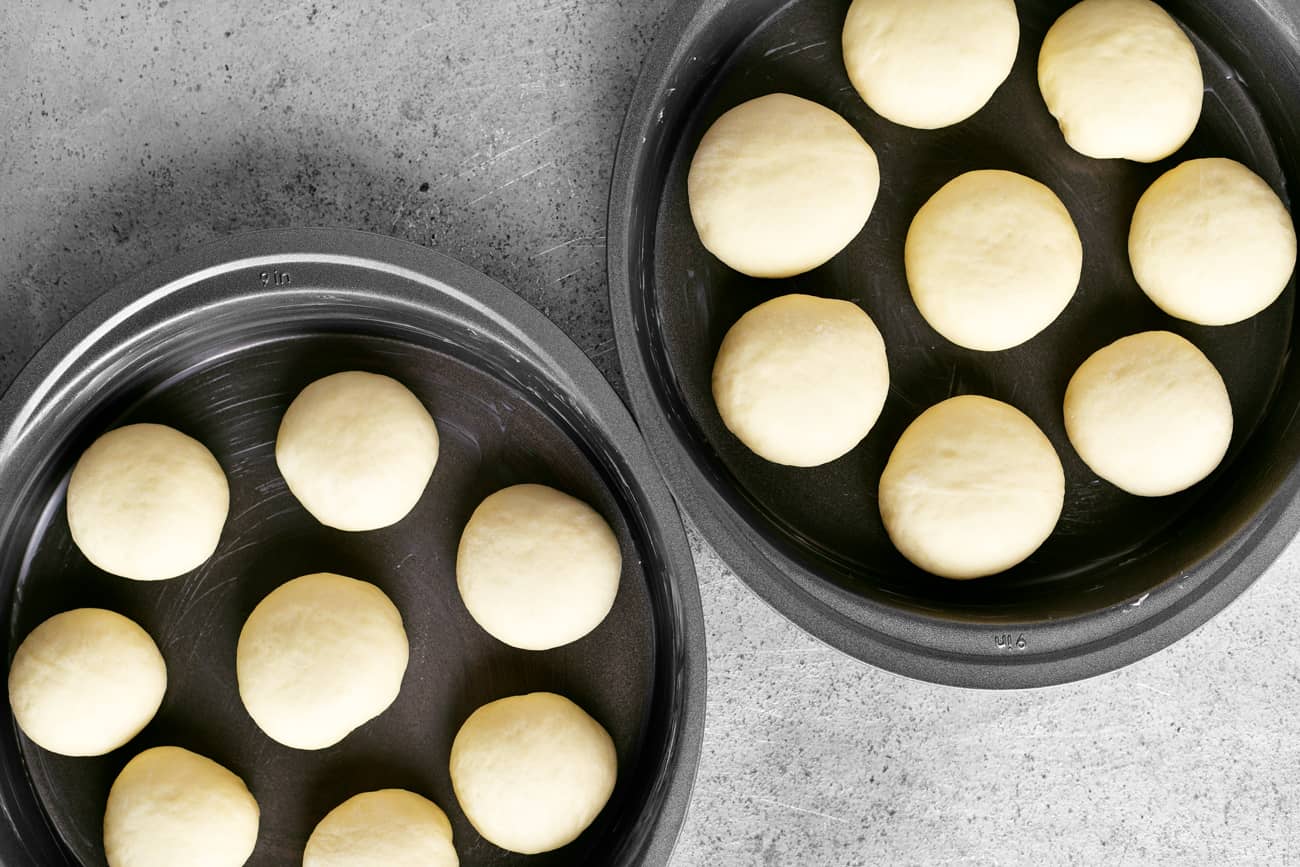
Place the balls of dough in two greased 9-inch pans.
Can I make these dinner rolls in a 9×13 pan instead?
Yes, you can make these dinner rolls in a 9×13 pan instead of two 9-inch pans. If you want to make smaller rolls, divide the dough into either 20 pieces (4 rows of 5 rolls) or 24 pieces (4 rows of 6 rolls).
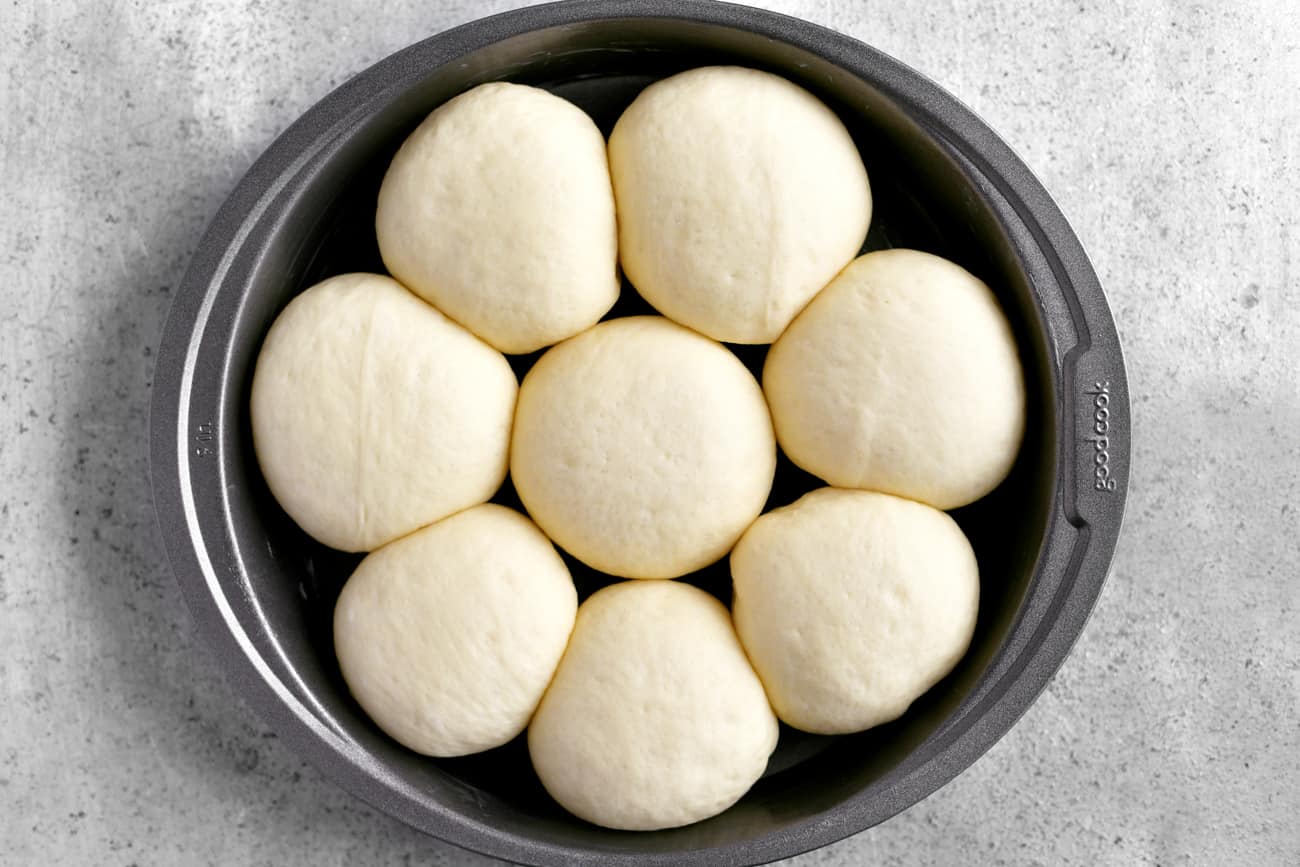
Cove the pans with plastic wrap and place them in a warm, draft-free place. Allow the dinner rolls to rise for 60 minutes, or until doubled in size. Preheat the oven when the rolls have about 15 minutes left to rise, preheat the oven to 350˚F.
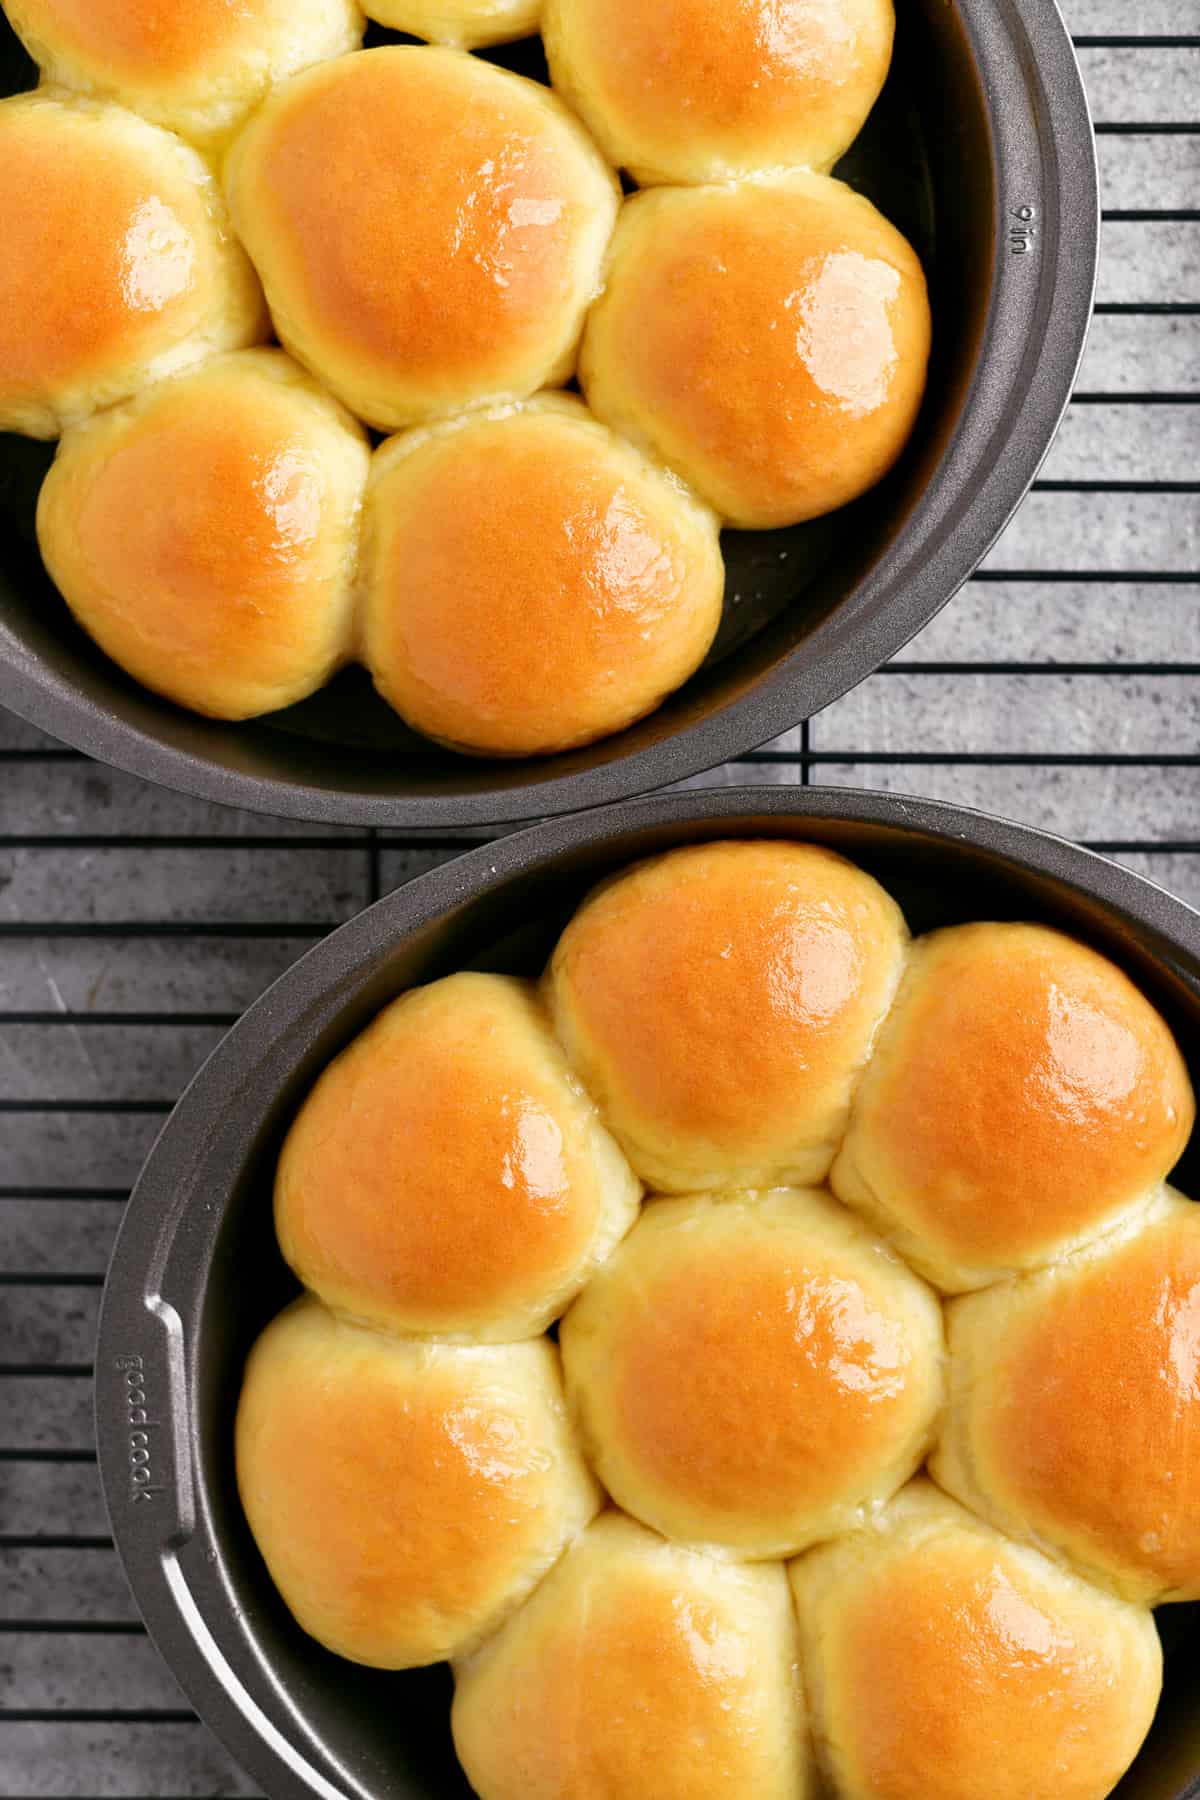
Remove the plastic wrap and bake the dinner rolls at 350˚F for 20-25 minutes.
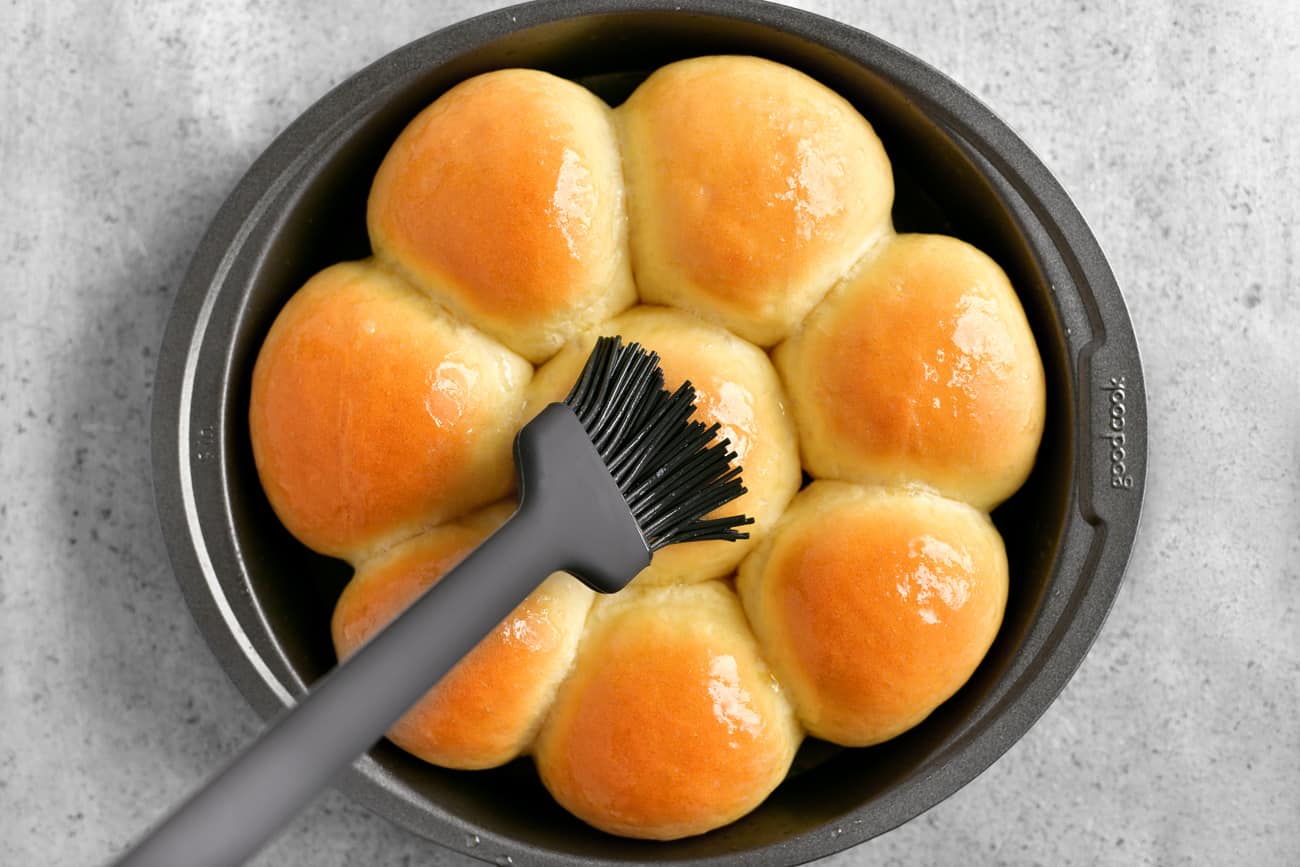
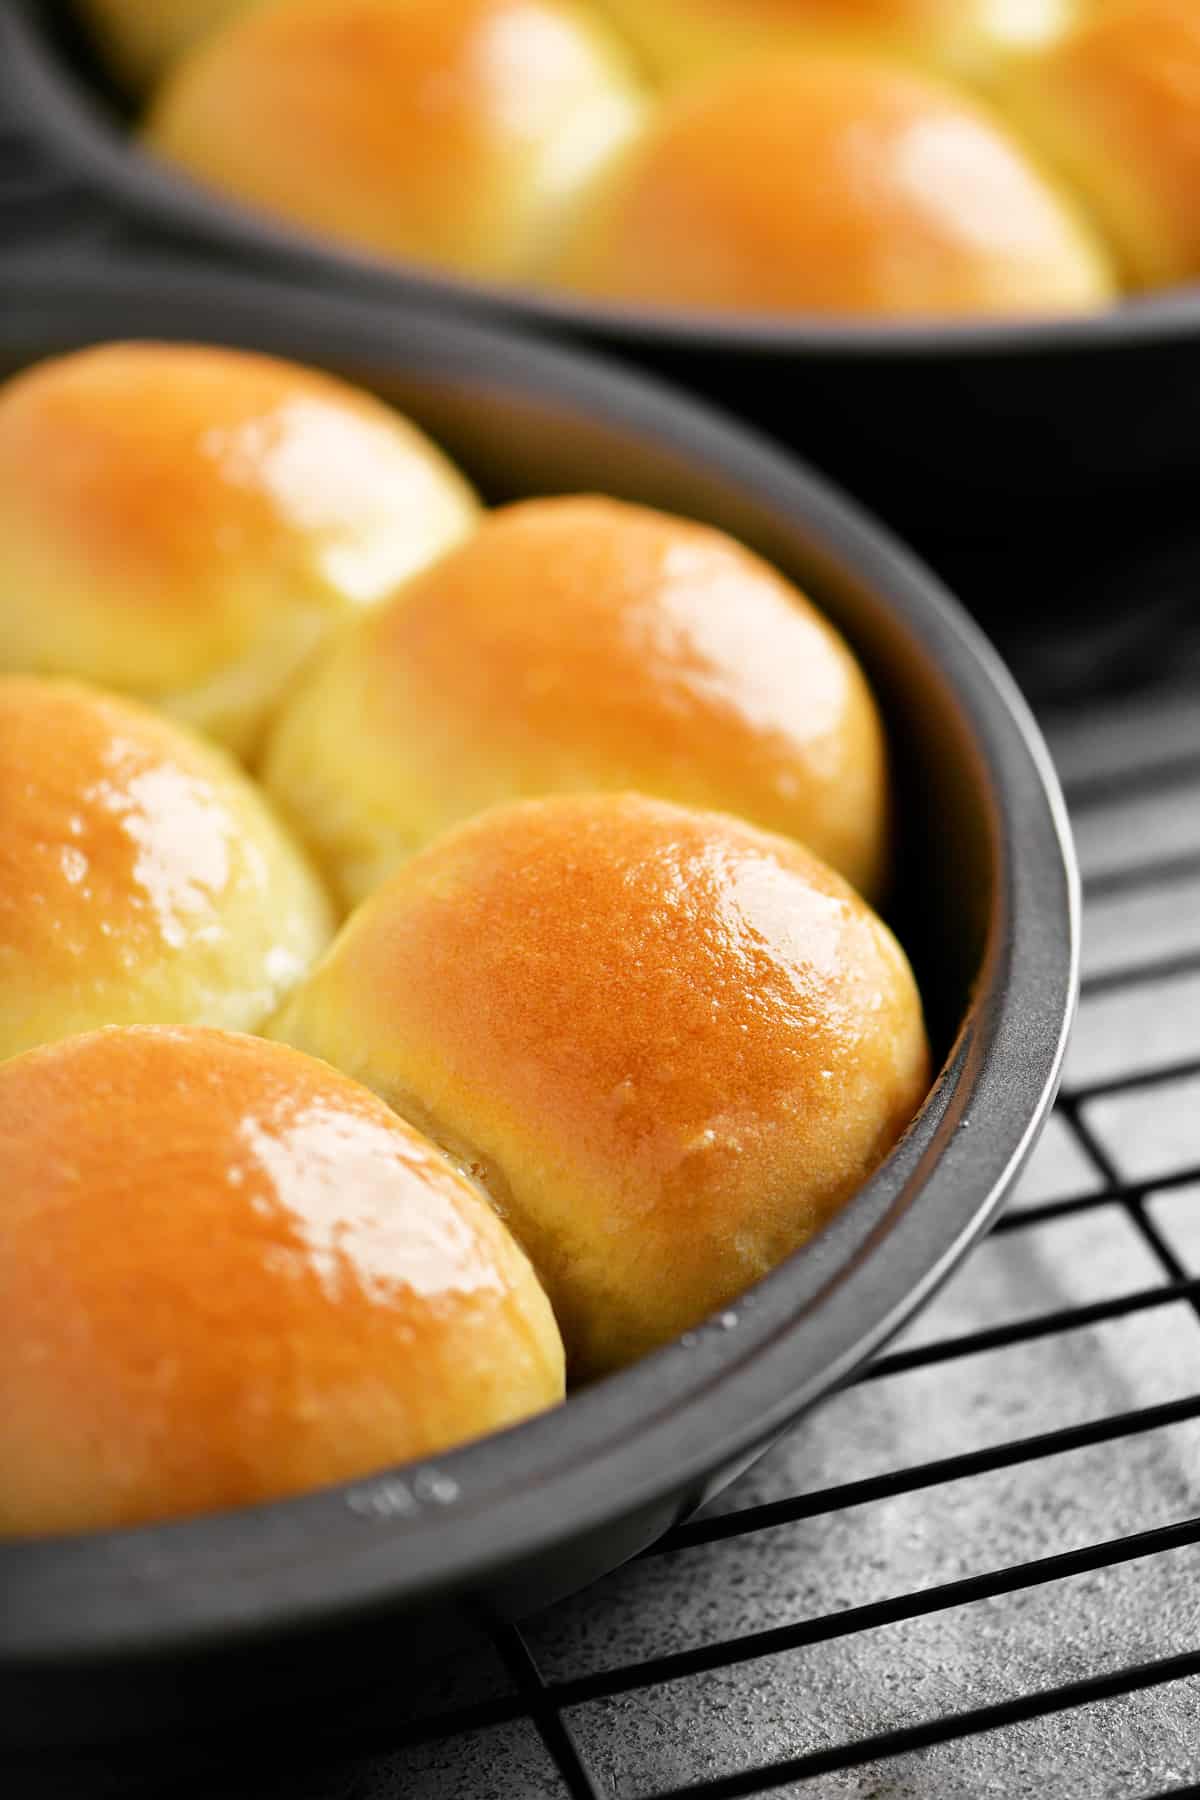
Brush the golden dinner rolls with melted butter.
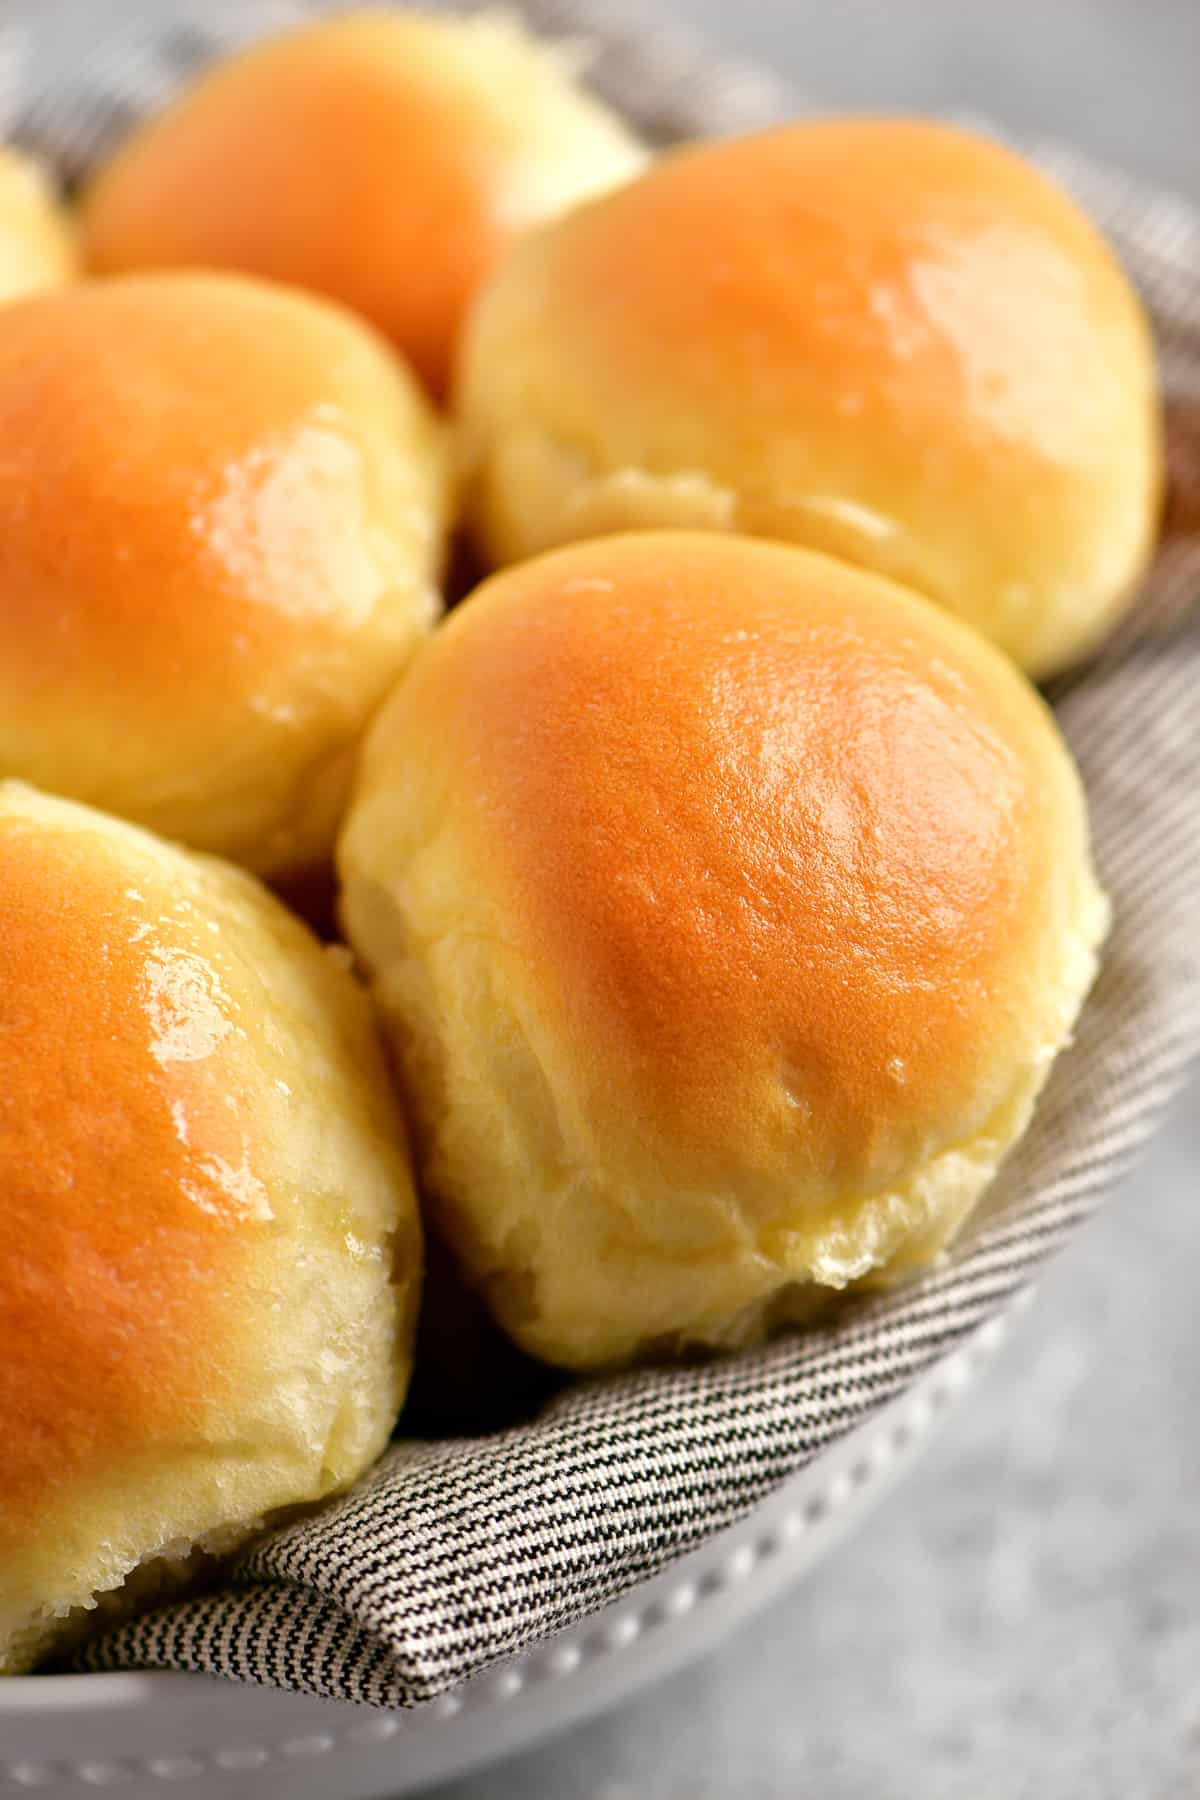
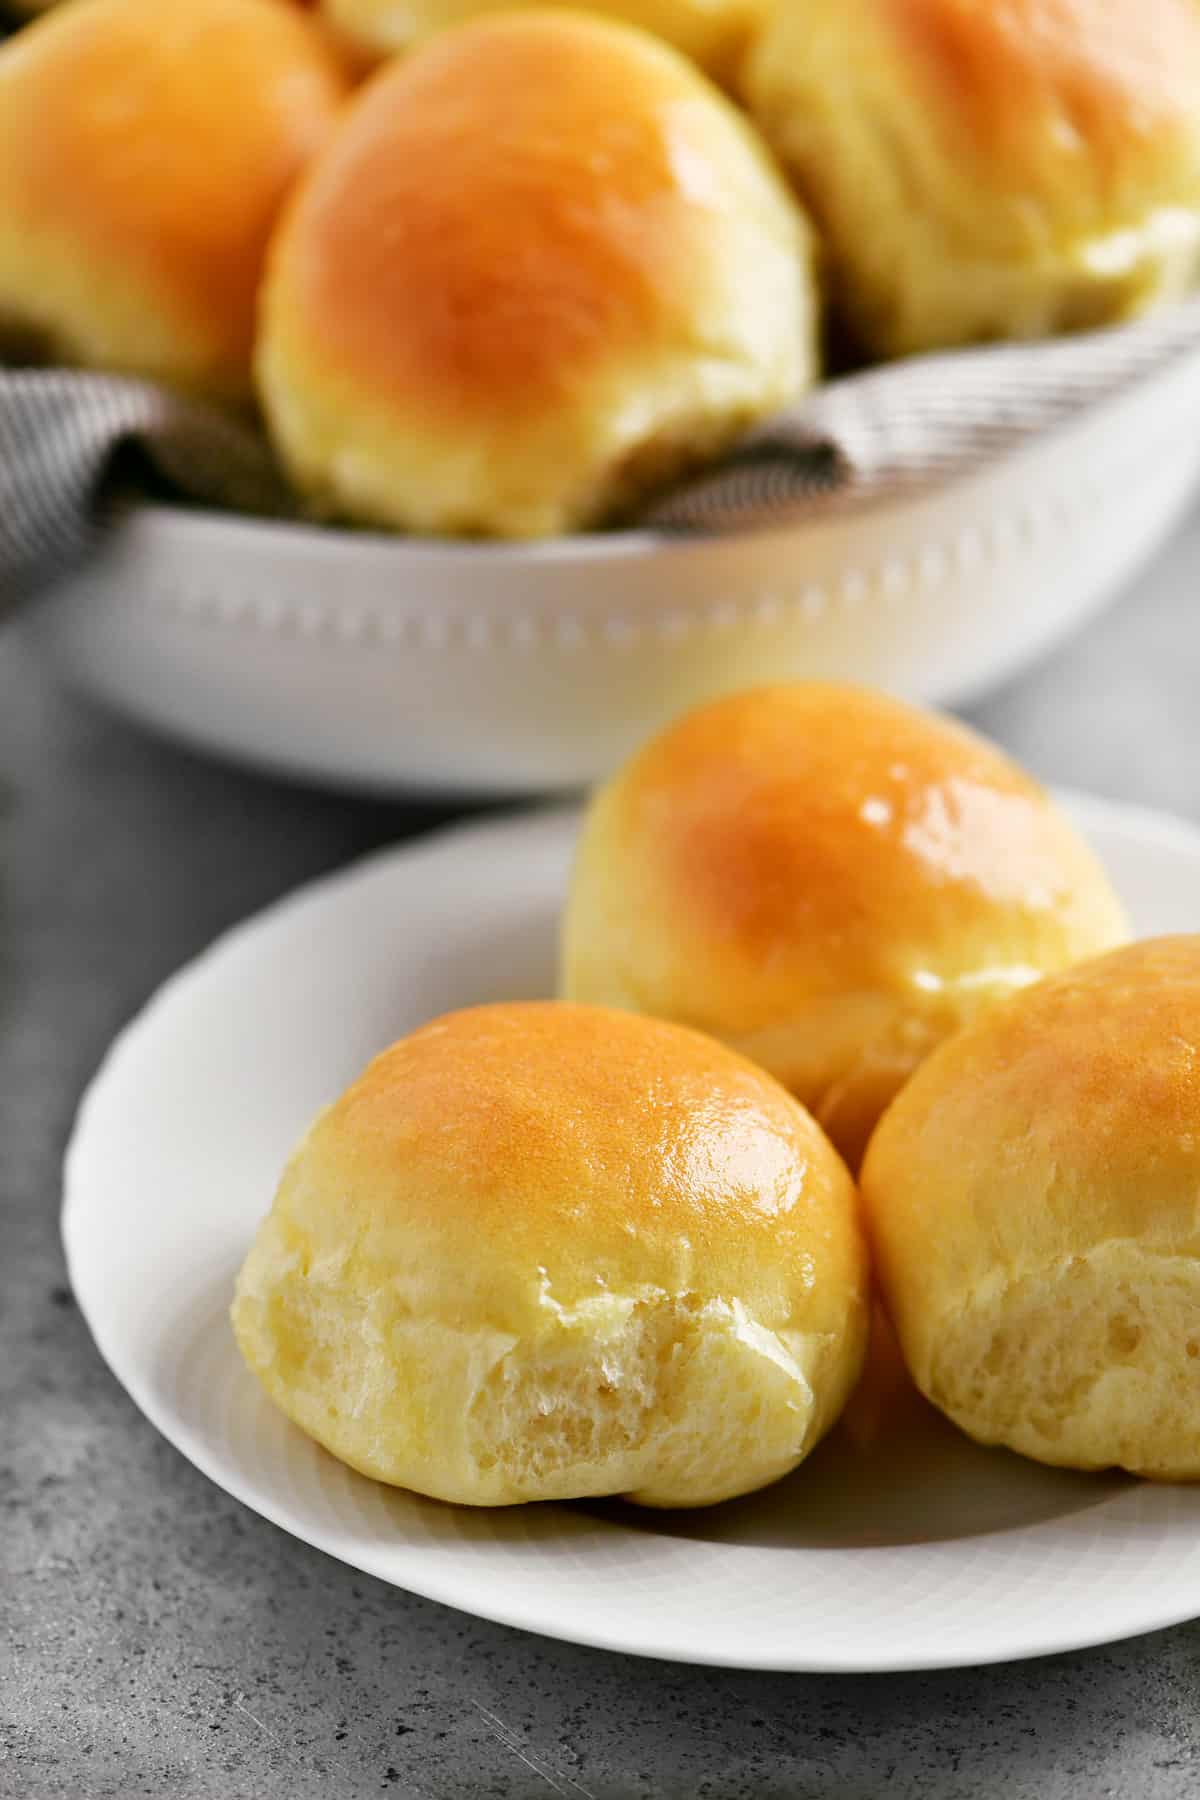
Allow them to cool in the pans for 3-5 minutes before transferring them to a cooling rack or bread basket.
How do you freeze dinner rolls?
To freeze fully baked dinner rolls, allow them to cool completely. Then, wrap them tightly in plastic wrap and place them in plastic freezer bag. You can leave all eight dinner rolls attached and wrap them that way. Or you can separate them and wrap them individually.
When you are ready to enjoy the dinner rolls, remove them from the freezer, unwrap them and reheat them in the oven at 350˚ for 5-10 minutes, if frozen or 3-4 minutes, if thawed.
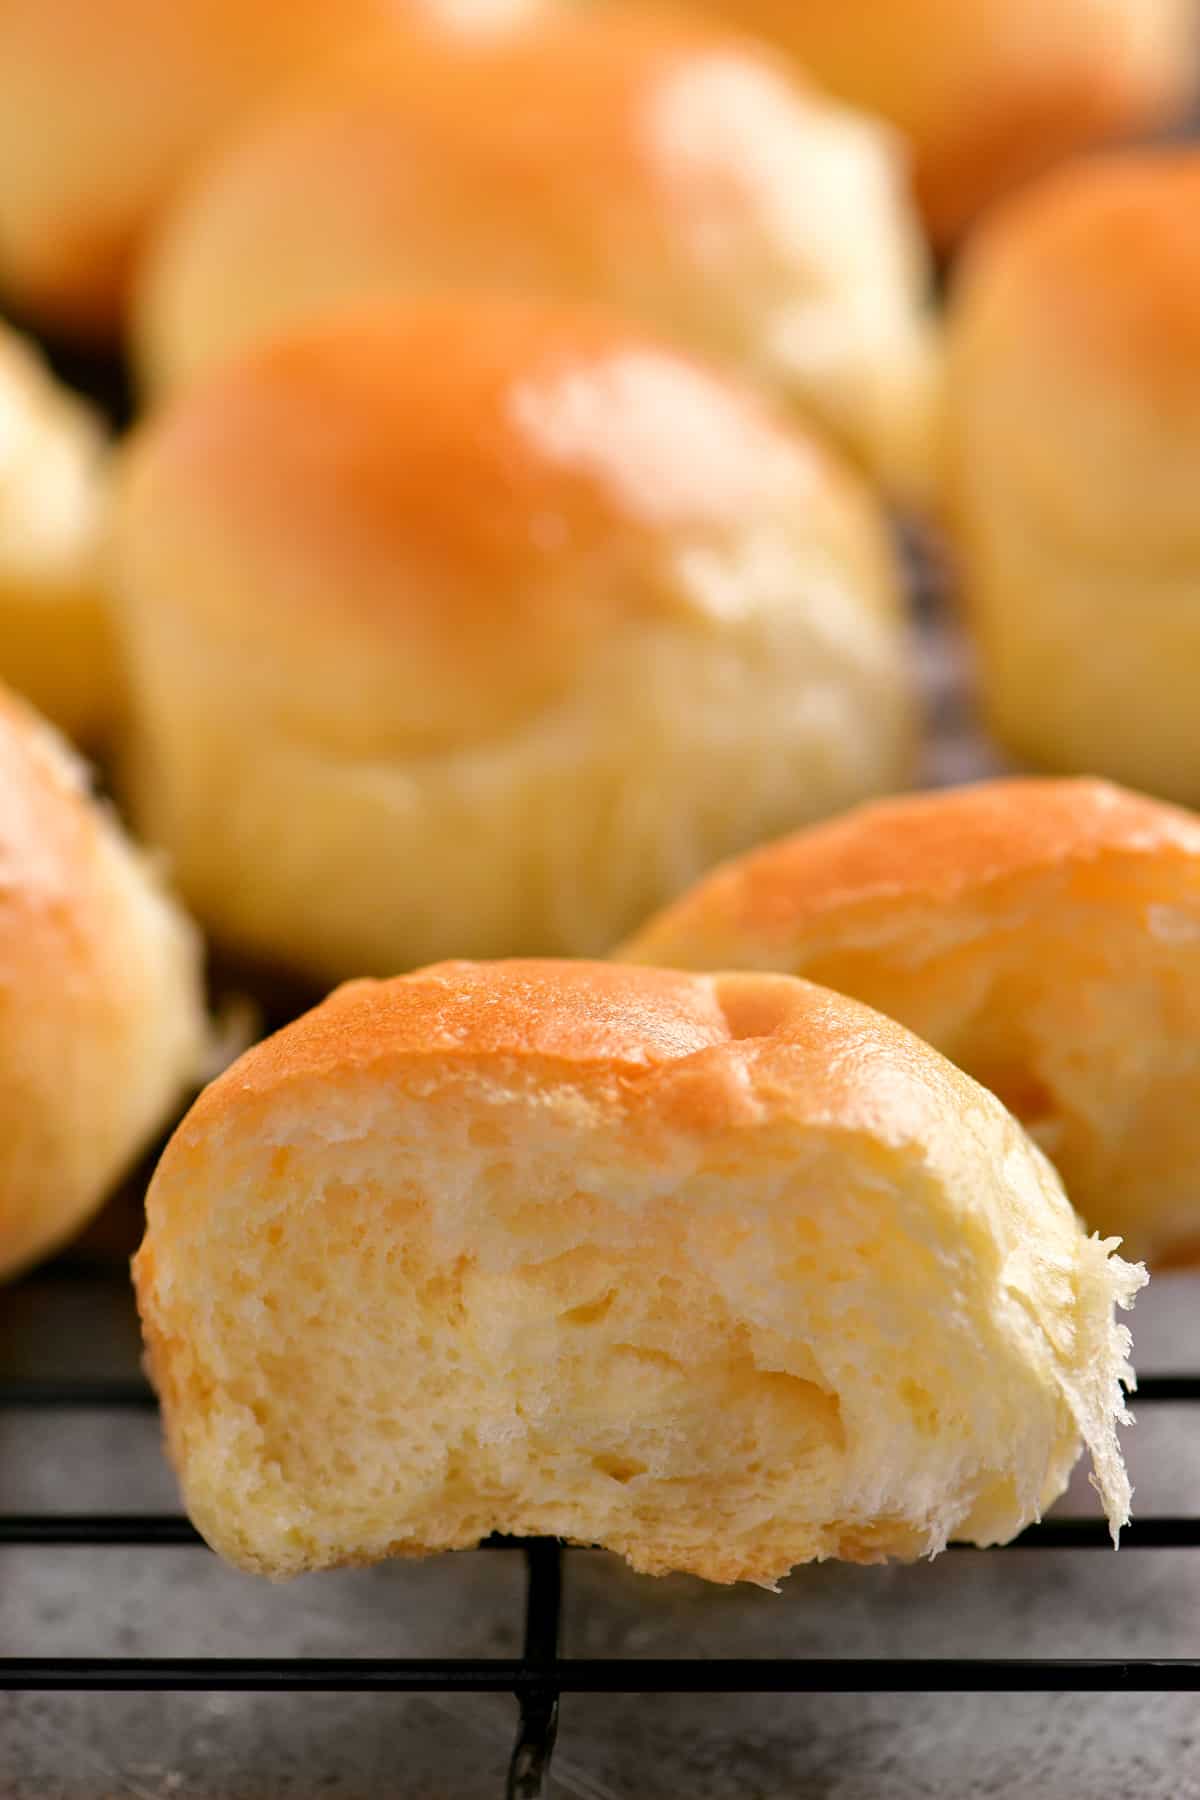
These homemade dinner rolls are golden on the outside and soft on the inside! They are perfect for serving at a holiday dinner or alongside a warm bowl of soup.
Want more bread recipes? Try these next:
This homemade Cornbread Recipe comes together in minutes and is the perfect side dish for everything from fried chicken to chili.
Two Ingredient Dough Focaccia Bread is a no yeast bread that is super easy to make! It can be served as a side, an appetizer, or used for sandwiches.
These Buttermilk Biscuits are fluffy and tender. They are perfect for a breakfast of biscuits and gravy or served as a dinner side.
Serve Naan Flatbread as a side or turn it into mini pizzas or sandwich wraps! It's EASY to make with no yeast and no waiting for dough to rise!

Dinner Rolls
Video
Ingredients
- ½ cup warm milk 110˚-115˚F
- ½ cup warm water 110˚-115˚F
- 1 tablespoon granulated sugar
- 2 ¼ teaspoon instant yeast or one .25 oz packet
- 3 cups all purpose flour
- 1 large egg well beaten
- 2 tablespoon olive oil
- ½ teaspoon salt
- 2 tablespoon butter melted
Instructions
- Whisk the sugar and yeast in the warm milk and water. Cover and allow the yeast to foam for 5-10 minutes.
- Put the flour, beaten egg, olive oil, and salt in the bowl of a stand mixer fitted with the dough attachment.
- Add the yeast mixture and knead on low for 3-5 minutes until smooth and elastic. Place the dough in a greased bowl, cover, and rise for 60 minutes, until doubled in size.
- Punch the dough down and turn out onto a silicone mat or floured surface. Pat the dough into a rectangle. Cut the rectangle into four strips. Cut each strip into 4 pieces. Form each piece of dough into a ball by gathering the corners into a square and then rolling into a ball. Place the balls of dough in two greased 9-inch pans, cover, and rise for 60 minutes.
- Preheat oven when nearing the end of the rise time.
- Bake at 350˚F for 20-25 minutes.
- Brush with melted butter.
- Allow the rolls to cool in the pans for 3-5 minutes and turn out of the pans and cool completely on a wire rack.