This homemade Apple Pie Filling recipe is SO EASY to make! Freeze the apple filling for pie, or use it for all your favorite apple desserts!

We grew up with an apple tree in our backyard. Every fall, my mom would spend a day peeling and cutting apples for freezing apple pie filling. Then, all winter long, she could pull a bag out of the freezer to make delicious apple desserts.
It’s convenient to buy canned apple pie filling, but if you have a little extra time, this homemade apple filling for pie recipe is totally worth it!
What You’ll Find In This Post

Apple Pie Filling Ingredients
- Apples: Choose crisp, firm, tart apples. We used Granny Smith apples for this recipe.
- Club Soda: Club soda helps prevent the sliced apples from turning brown.
- Sugars: Sweeten with a combination of granulated and brown sugars.
- Cornstarch: Use cornstarch to thicken the sauce.
- Cinnamon, Nutmeg, and Allspice: Bring the perfect blend of fall flavors to the dish.
- Water: Use water to make the sauce.
How To Make Apple Pie Filling
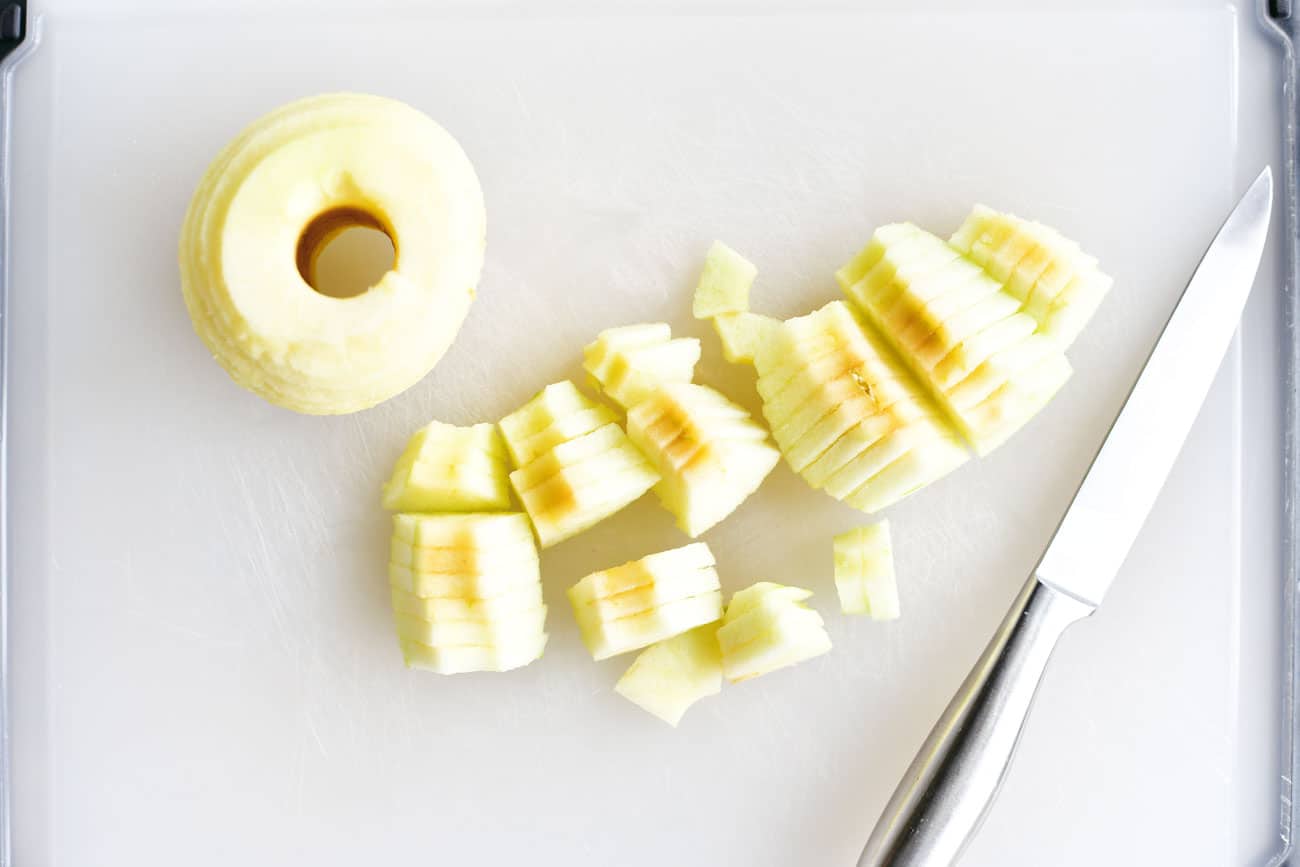
Once the apples have been peeled, sliced, and cored, move them to a cutting board and use a knife to cut them down to the size you want.
I’ve never liked it when deserts have large pieces of fruit that have to be cut while eating. So, I cut the apples into smaller pieces for this simple apple pie filling recipe.
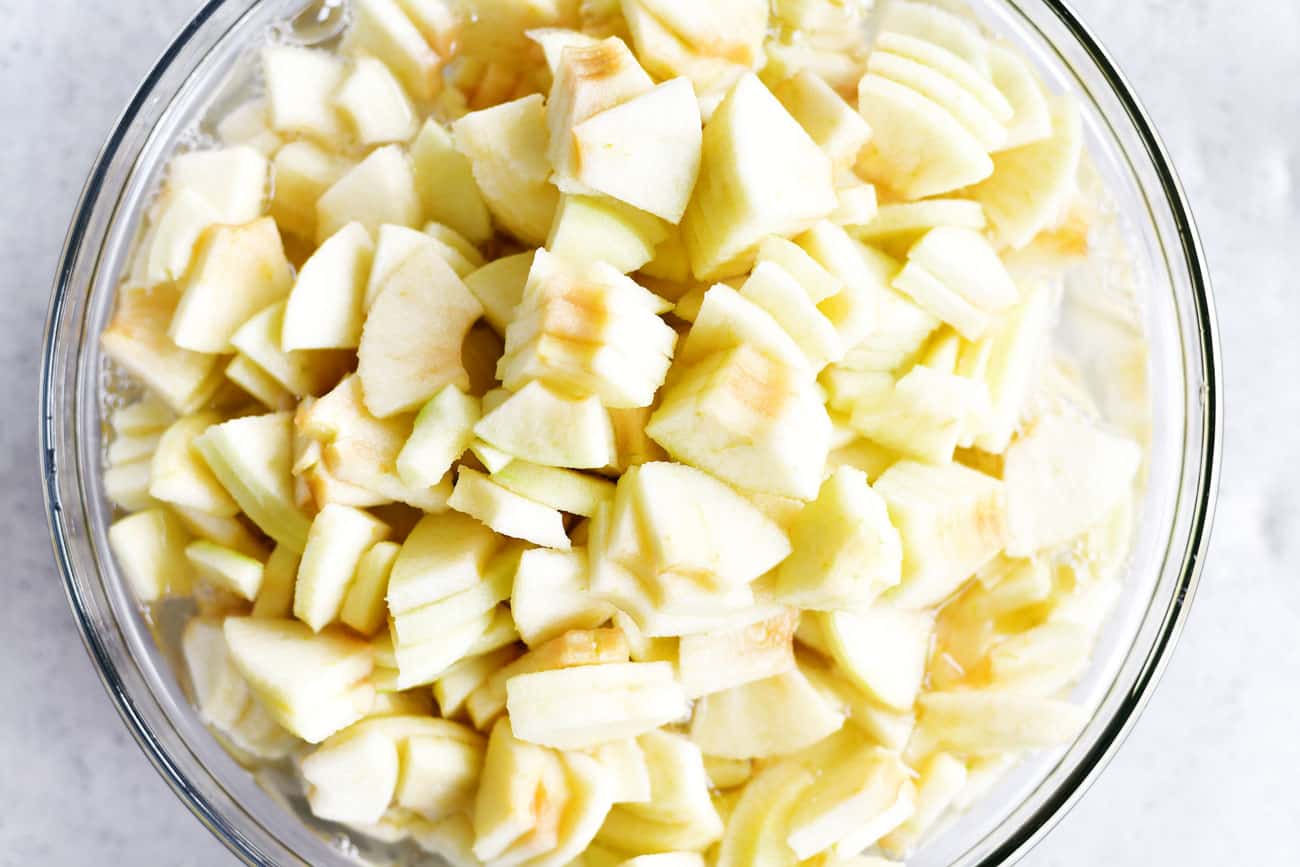
Put the cut apples into a bowl of club soda to prevent them from browning.
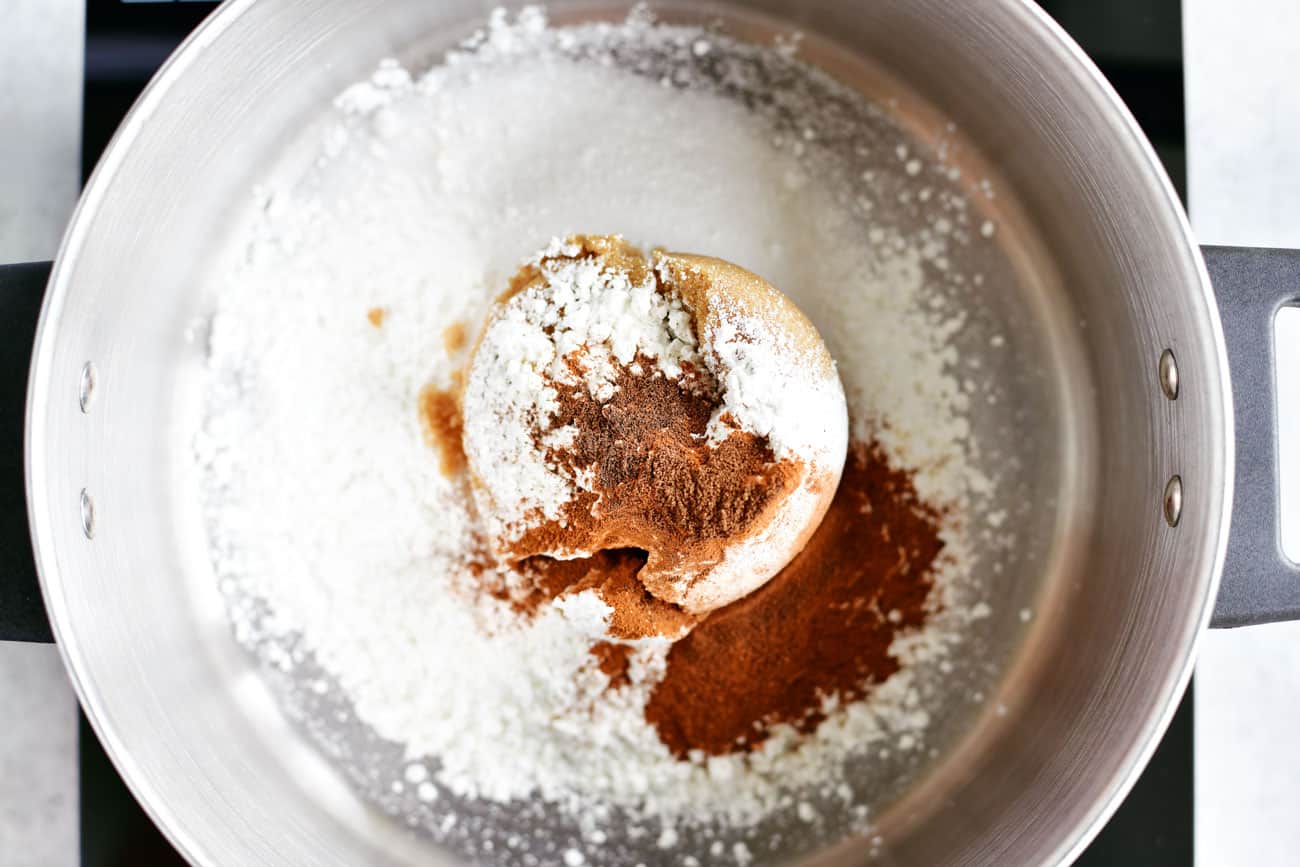
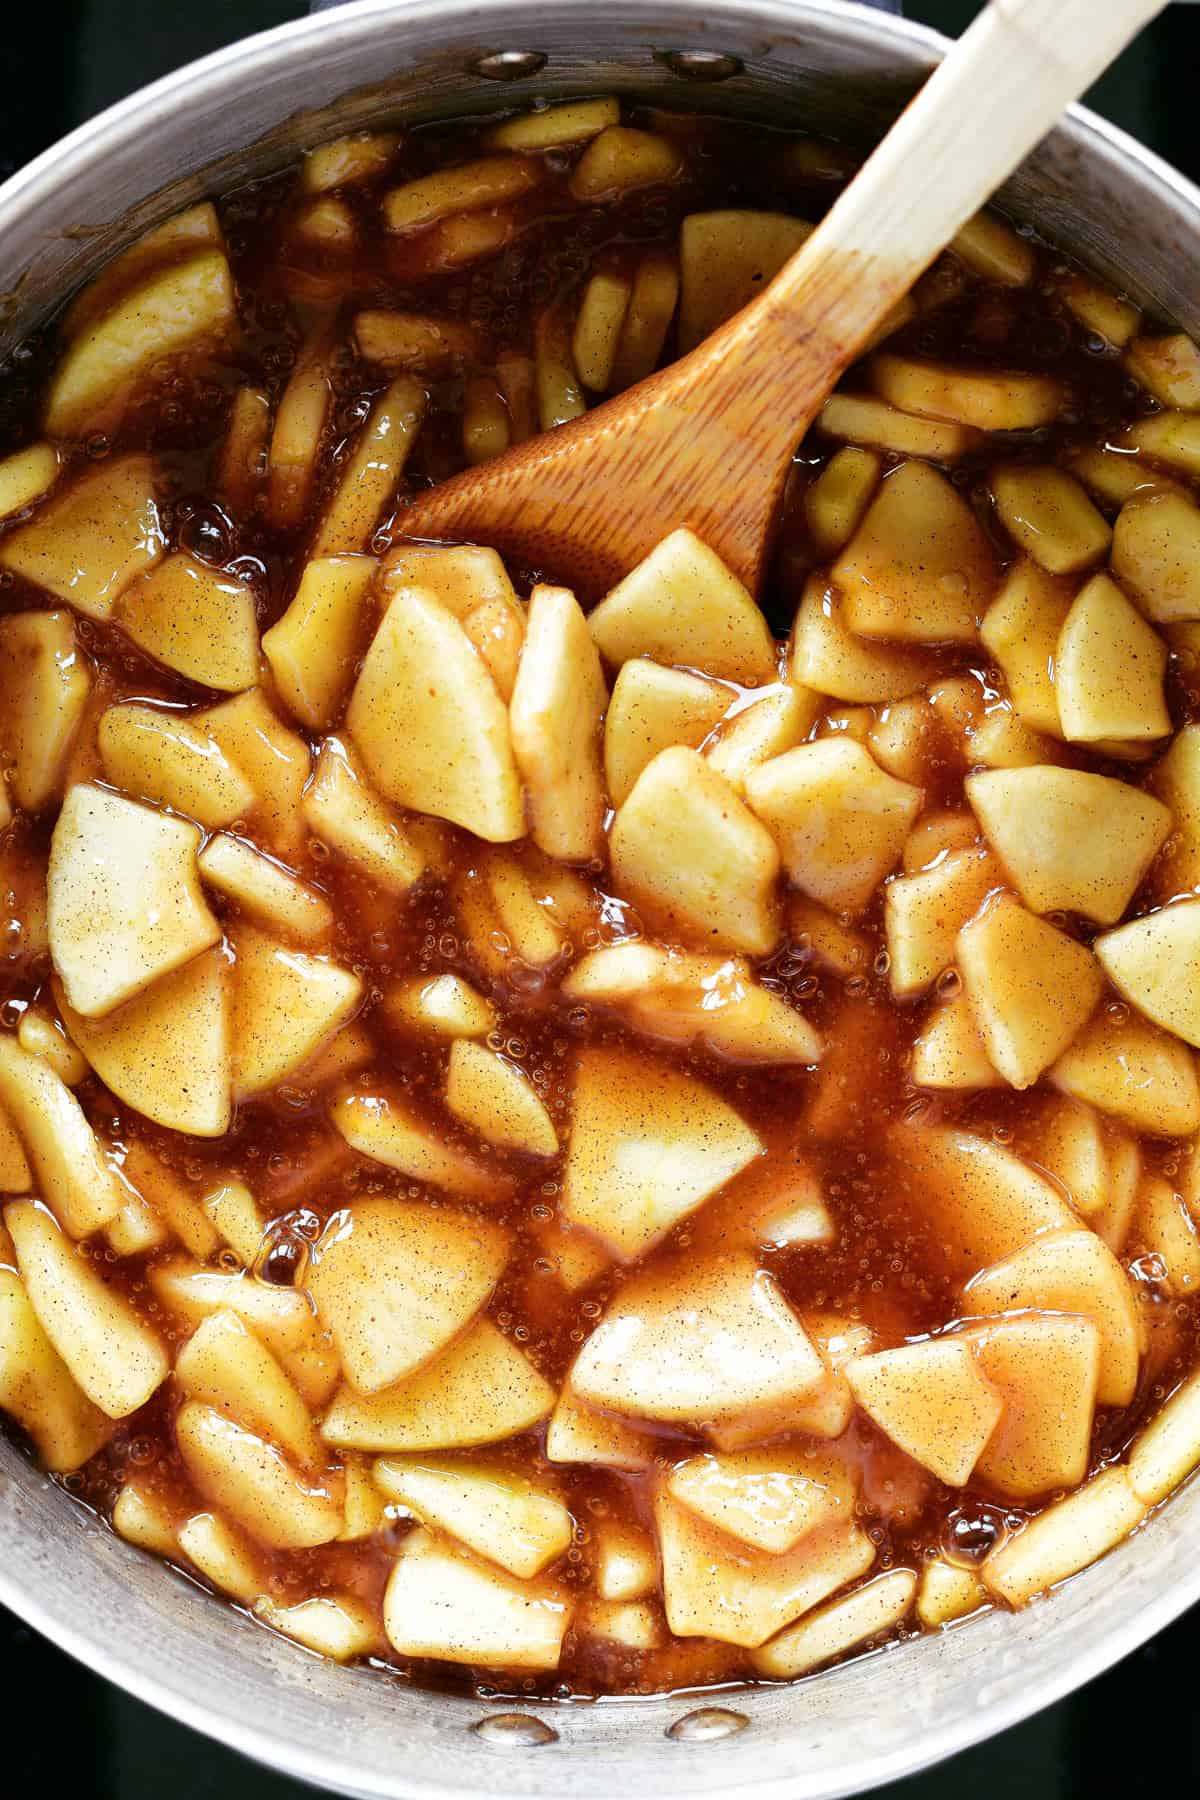
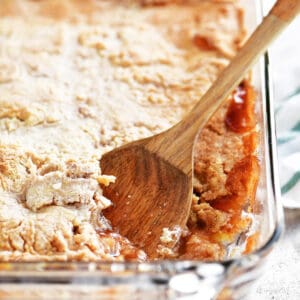
Now that the apples are prepared, it is time to make the filling. Put the sugars, cornstarch, and spices in a large pot and whisk to combine.
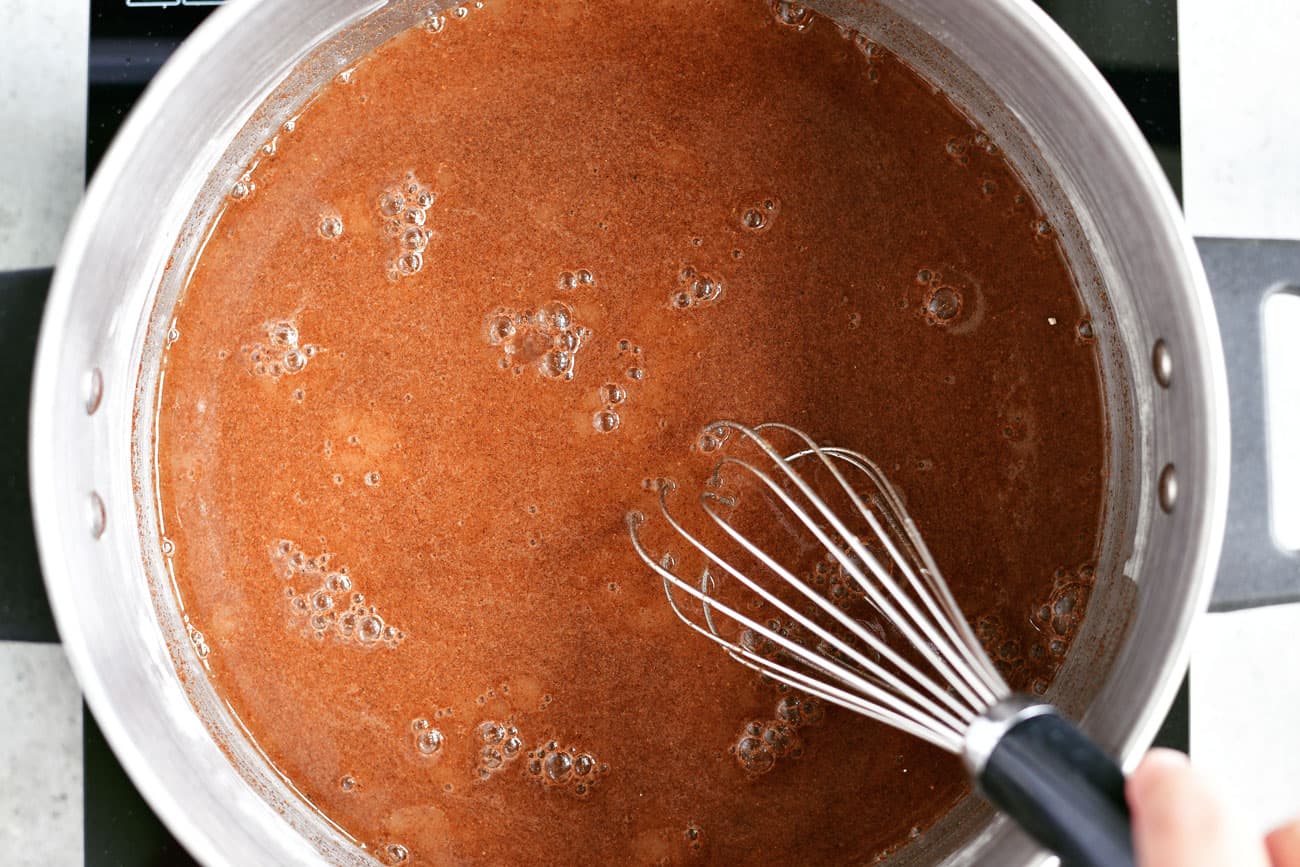
Then, slowly whisk in the water. Bring the mixture to a boil on the stovetop over medium heat, stirring often. Boil it for two minutes, stirring constantly, to thicken the sauce.

Now, drain the club soda from the apples, add the sliced apples to the sauce, and stir to coat them.

Reduce the heat, cover the pot, and simmer the apples for 6-9 minutes, stirring often until they are soft.

Allow the stovetop apple pie filling to cool, and then put it into freezer-safe containers or plastic zip-top freezer bags.

Tips For Success
The Best Apples for Baking
Apple filling starts with the apples, of course! When baking with apples, you’ll want to choose crisp tart apples to offset the sweetness of the filling. Also, make sure to use firm apples that will hold up to baking and won't turn mushy.
Granny Smith, Empire, Pink Lady, Braeburn, and Honeycrisp are a few of the best apples for baking. I like using Granny Smith because they are often cheaper than some of the other apples.
Some people prefer using two kinds of apples when making desserts for the combination of flavors as well as the optimal sweetness and tartness. So, that is something you can experiment with, and it is good to know if you have two kinds of apples on hand.
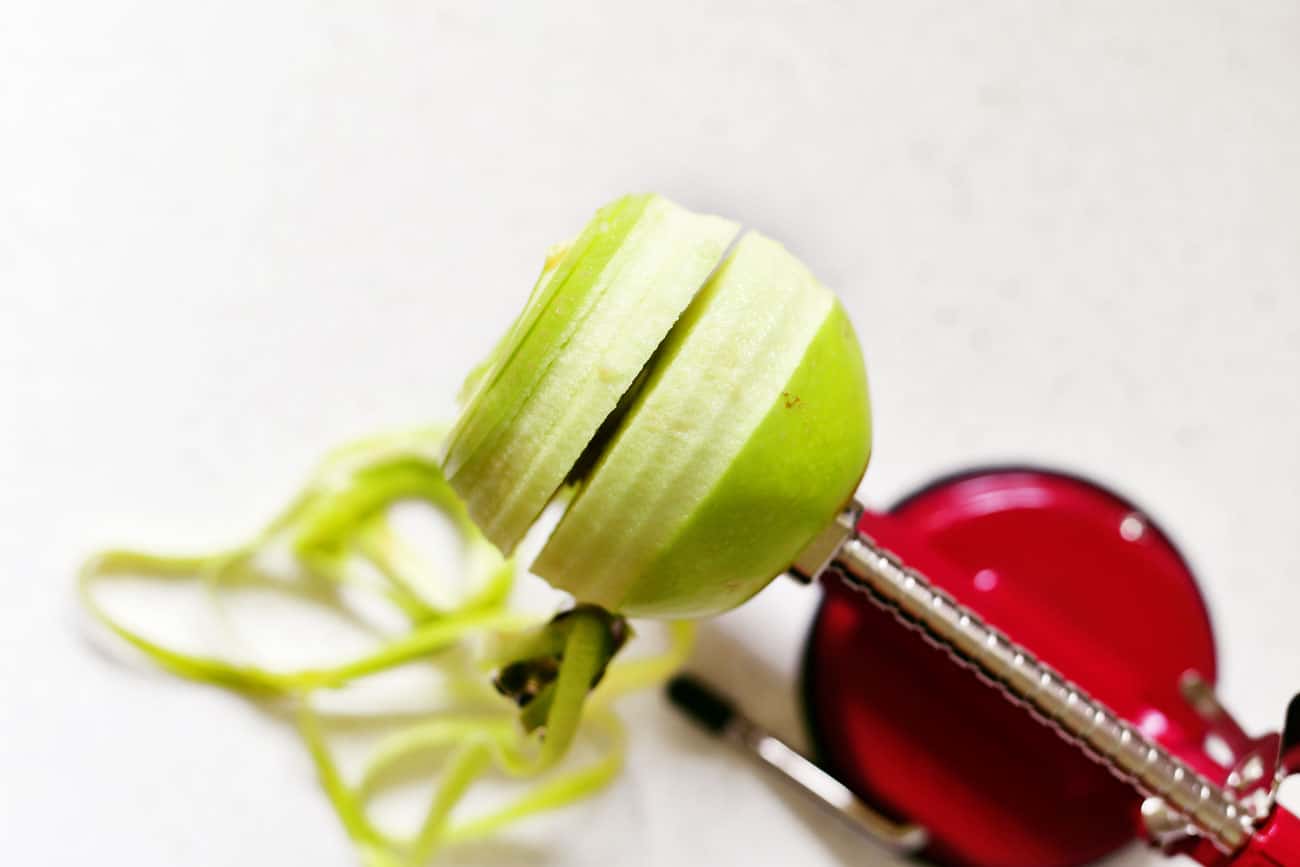
Best Way To Peel And Slice Apples
The best way to peel and slice apples is whatever you have available in your kitchen. You can use a knife, a combination of a vegetable peeler and a knife, or an apple peeler slicer corer like the one above.
The advantage of using a knife is that everyone has one in their kitchen, but it also gives you full control of exactly how you want the apples sliced. You can make thick or thin, large or small pieces.
On the other hand, an apple peeler slicer corer is the fastest way to prep the apples. You put the apple on the prongs and simply turn the crank to peel, slice, and core the apple. It cuts the apple into a spiral, and the slices are somewhat thin.
How To Prevent Apples From Browning
Some varieties of apples are naturally slow to brown, and others brown quickly. To prevent apples from browning, soak them in club soda for three minutes and then drain and set aside.
Another option is to toss them with three tablespoons of lemon juice. I prefer using club soda to prevent browning because it doesn’t alter the taste of the apples.
Or you can even skip this step if you aren’t worried about a little browning and can cut the apple quickly so they aren’t sitting out for a long period of time.
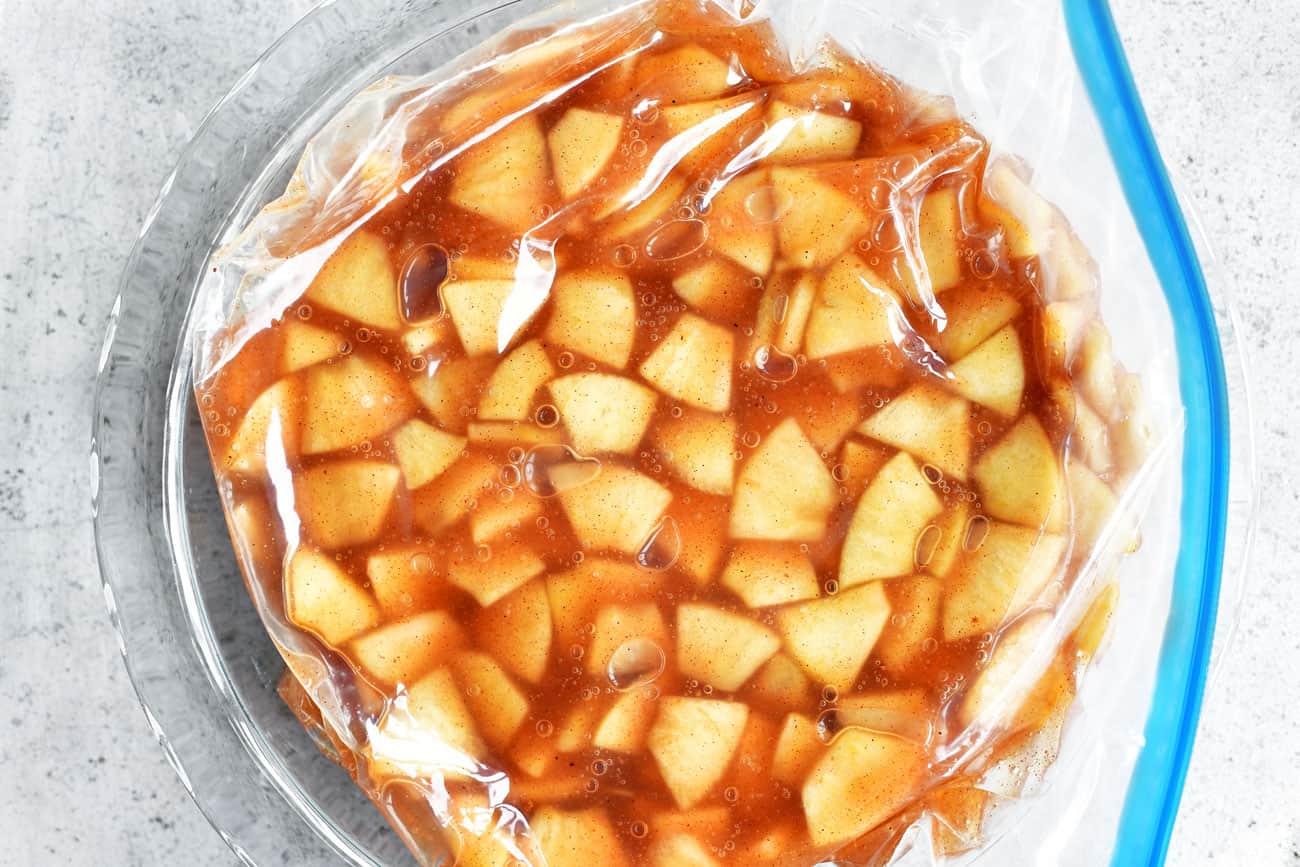
Freezing Apple Pie Filling
There are a couple of methods for freezing apple pie filling. The first method is to freeze it in the shape of a pie so that you can simply place the filling in the pie crust. The second method is to freeze it in containers.
Freeze In Bags For Pies
- Put about 4 2/3 cups of cool apple pie filling into a freezer-safe storage bag. Remove as much of the air as possible before sealing the bag.
- Place the bag with the filling into a 9-inch pie plate. Put the pie plate and the filling into the freezer.
- Once the filling is frozen, remove the pie plate and leave the filling in the freezer.
- Store in the freezer for up to a year.
- When you are ready to make an apple pie, put the frozen apple pie filling into a pie plate lined with a pie crust. Then, add a crumble topping or a second pie crust before baking.
Freeze In Containers
- Once you’ve portioned out the filling, label the containers or freezer bags with the contents, date, and amount.
- As a frame of reference, one can of apple pie filling is about 2 1/3 cups. An apple pie takes about two cans of apple filling or 4 2/3 cups.
- Store the containers or bags of apple pie filling in the fridge for 2-3 days or in the freezer for up to a year.
- When you are ready to use the apple filling, simply thaw one container (or more). If you know ahead of time that you will be baking, you can thaw the filling in the fridge overnight.
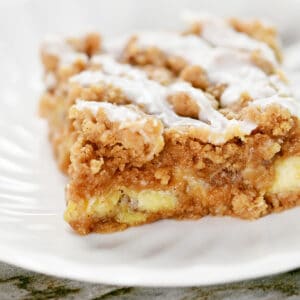
Ways To Use Apple Pie Filling
The most obvious way to use this simple apple pie filling recipe is to make an apple pie! But you can use it in so many other ways, such as cinnamon rolls with apple pie filling. Try it on pancakes or waffles, use it on ice cream, or make one of the following recipes.
- Caramel Apple Cheesecake Dessert is perfect for fall.
- Easy Apple Crisp: Serve it warm with vanilla ice cream and caramel!
- Apple Pie Taquitos from Jo Cooks: Like apple pie in a fun taquito form.
- Apple Cinnamon French Toast Casserole is the perfect breakfast for fall weekends!
- Make cinnamon rolls with apple pie filling instead of pumpkin using this recipe.
Apple Pie Filling
Video
Ingredients
- 12 cups sliced granny smith apples (10-12 tart, firm apples)
- 1 liter club soda optional, (or use 2 tablespoon lemon juice)
- 1 cup granulated sugar
- 1 cup brown sugar
- ½ cup cornstarch
- 2 teaspoon ground cinnamon
- ½ teaspoon ground nutmeg
- ¼ teaspoon ground allspice
- 4 cups cold water
Instructions
- Peel, core, and slice enough apples to make 12 cups.
- Pour the club soda over the apples. Allow them to soak for three minutes and then drain. Set aside. Or you can toss the sliced apples with lemon juice, if you prefer.
- Mix together granulated sugar, brown sugar, cornstarch, ground cinnamon, ground nutmeg, and ground allspice in a large pot.
- Whisk in the water and bring to boil, stirring often. Boil for two minutes, stirring constantly.
- Add the sliced apples and stir to coat. Reduce heat. Cover and simmer for 6-8 minutes, stirring occasionally, until tender but not too soft.
- Remove from heat and cool. Divide the apple pie filling between freezer-safe containers or zip-top bags. Label and date. Store in the fridge for 2-3 days and the freezer for up to a year. Thaw as needed.


Shelley Binney says
I’m making mini apple pies with this filling recipe. Cannot wait to eat one because the filling is amazing!! Thank you for the great recipe!
Joanne says
Can I make this with crabapples?
Tonia Larson says
Hello Joanne,
I’ve never tried using crabapples to make apple pie filling. Just like other apples, crabapples vary in tartness, bitterness, and texture. You would have to experiment with this recipe to make it work for crabapples possibly adding more sugar, spices, and cornstarch. Also, adding in some sweeter apples might help.
Best of luck,
Tonia
Sherie says
Very good! I will enjoy this for the holidays.
Deb says
Your apple pie filling is the BOMB 💥!!!
And so easy. I will be using this every fall.
Tonia says
That’s awesome! I’m happy to hear that you love it as much as I do.
Deb says
Your apple pie filling is the BOMB 💥!!!
And so easy. I will be using this every fall.
Rhonda says
Wahoo, thanks for sharing this recipe. Making apple pie filling is on my list of things to make this fall!!! So glad you read my mind.